Here we share how to line a cake tin for baking to make sure that your cakes come out of the tin perfectly, without breaking.
There is nothing more upsetting than spending time baking a gorgeous cake, only to have it fall apart when you try to take it out of the tin. I'm sure we've all been there!
I seem to be baking cakes all the time these days, and so here I am going to share my tried and tested method for lining a cake tin. Hopefully you won't need to worry about cakes sticking to the tin any more.
Happy cake baking!
You will need:
- Baking paper / parchment paper / greaseproof paper (whatever you like to call it)
- Pencil
- Pair of scissors
- Butter
- Flour (or cocoa powder also works for chocolate cakes)
How do you grease and line a cake tin?
Start by preparing the parchment paper:
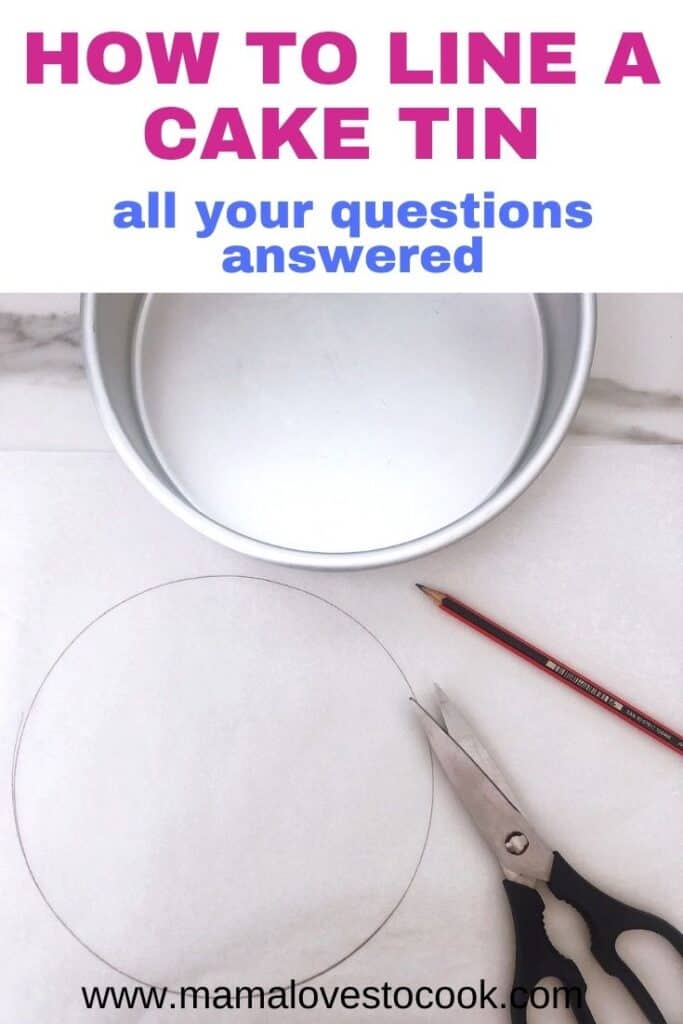
Place your cake tin on top of a sheet of parchment paper and use the pencil to draw around it. We are using a round cake tin, but this works with any shape.
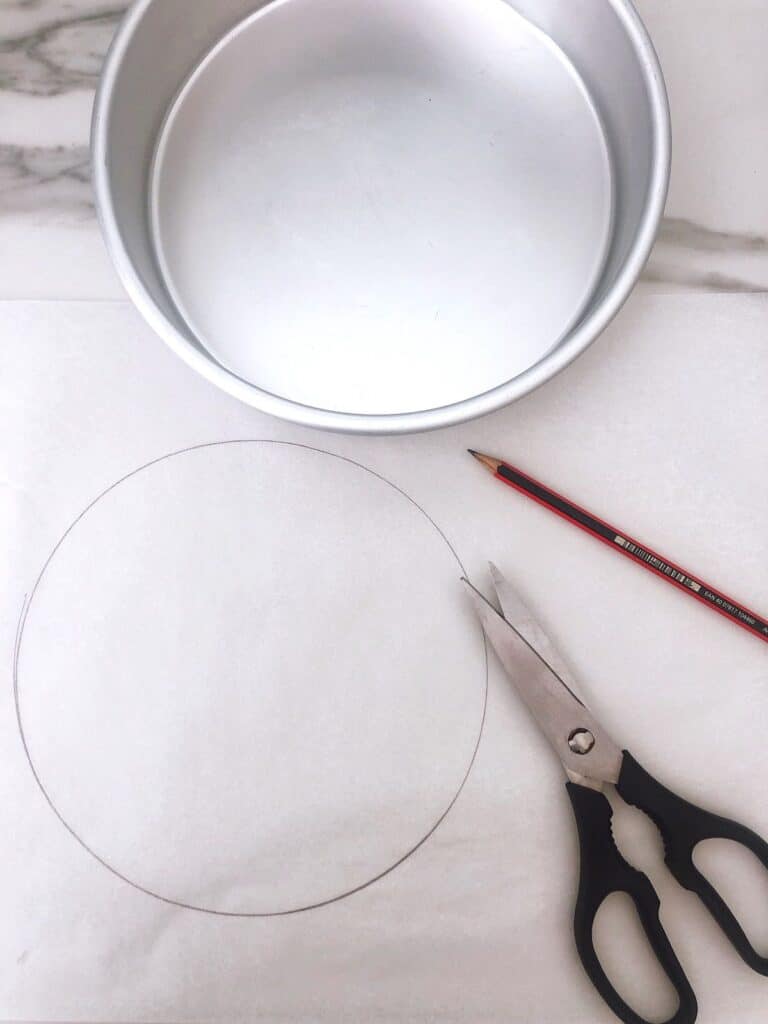
Cut out the shape and set aside.
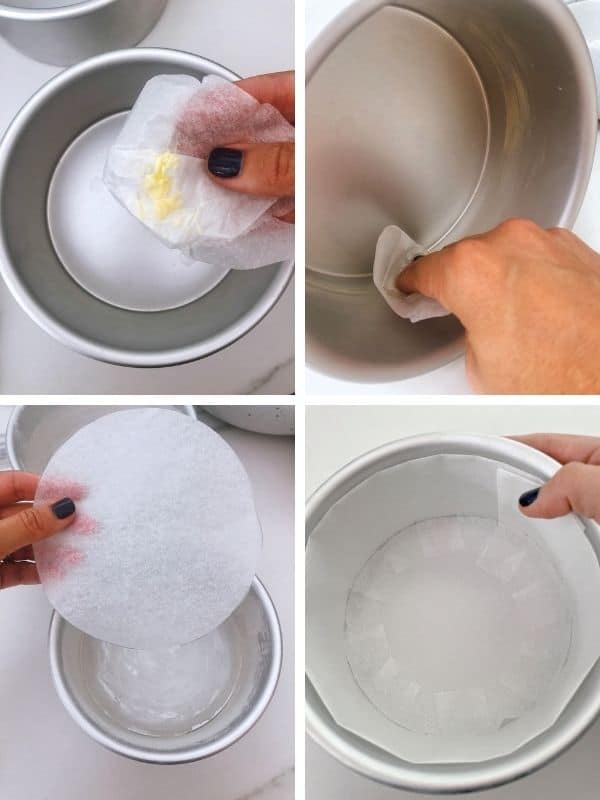
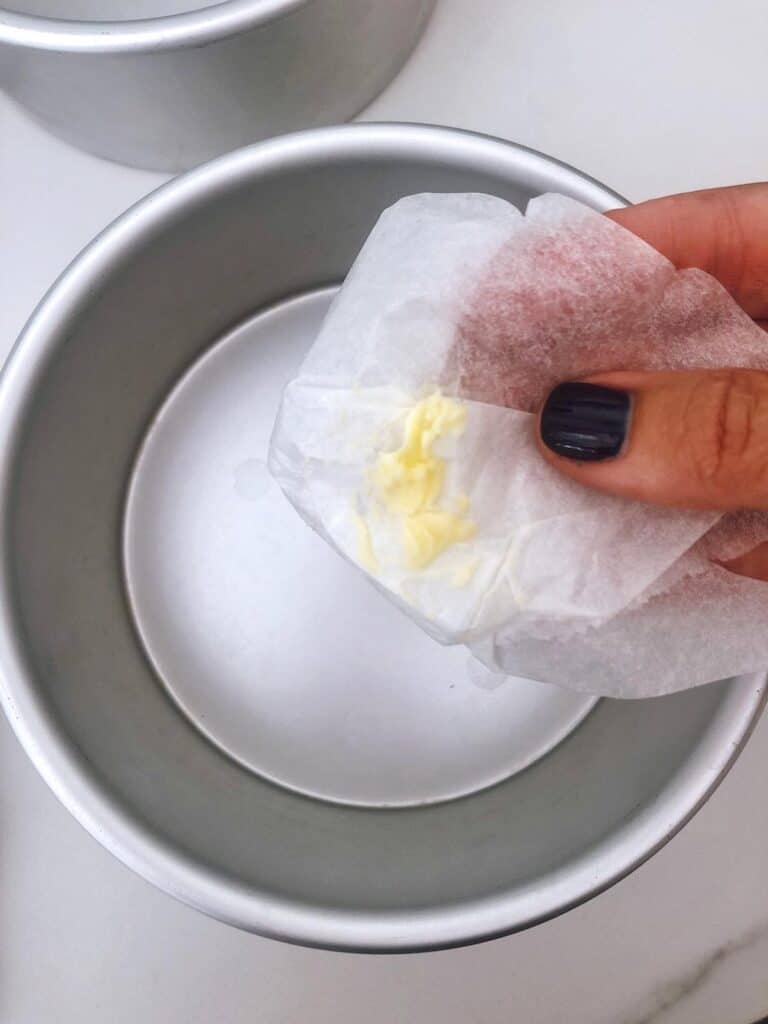
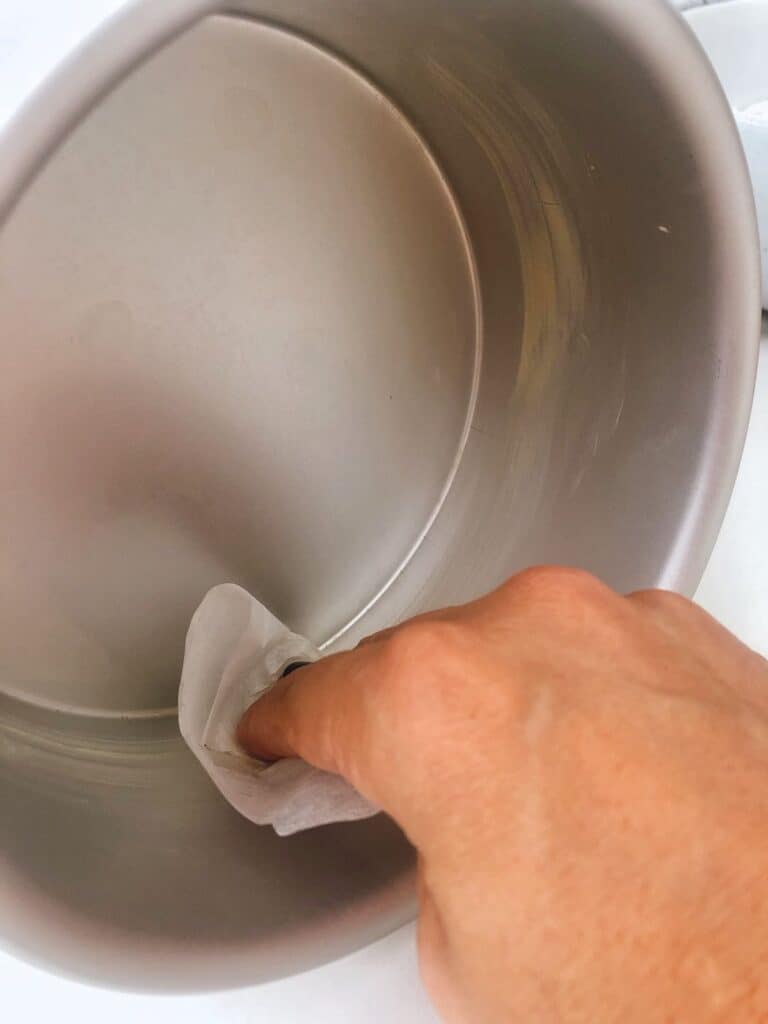
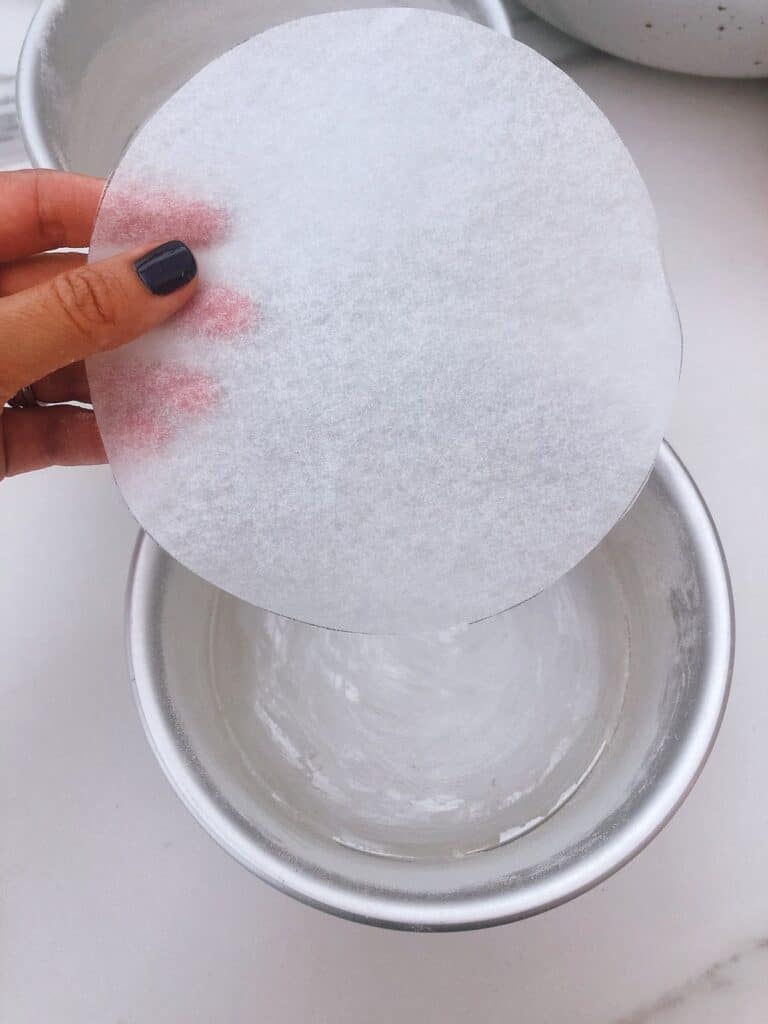
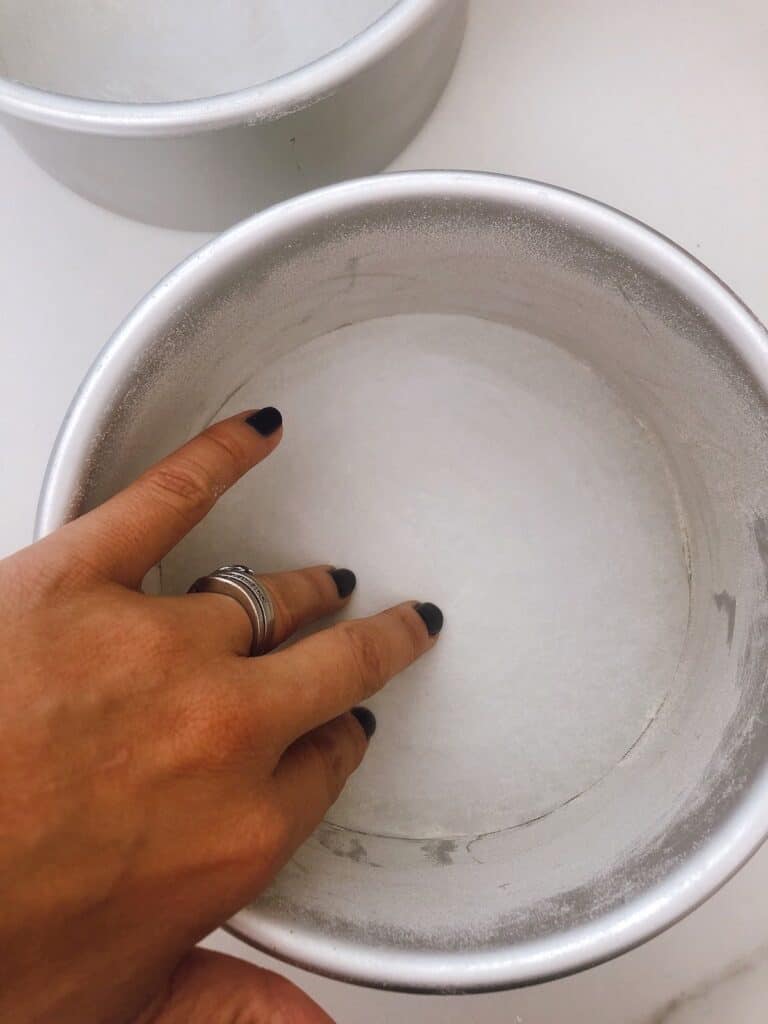
Now take another piece of parchment paper (I use the off-cuts from the step above) and scoop up a little butter. Use this soft butter to coat the inside of the tin - paying particular attention to the sides of the cake tin.
Use as much as you need to form a thin layer. You could also use melted butter and a pastry brush.
(Because you are going to use paper on the base, you don't really need to grease the bottom of your cake pan too. But I find that the butter helps the paper stick to the cake tin base, which is helpful for when you pour in the cake batter).
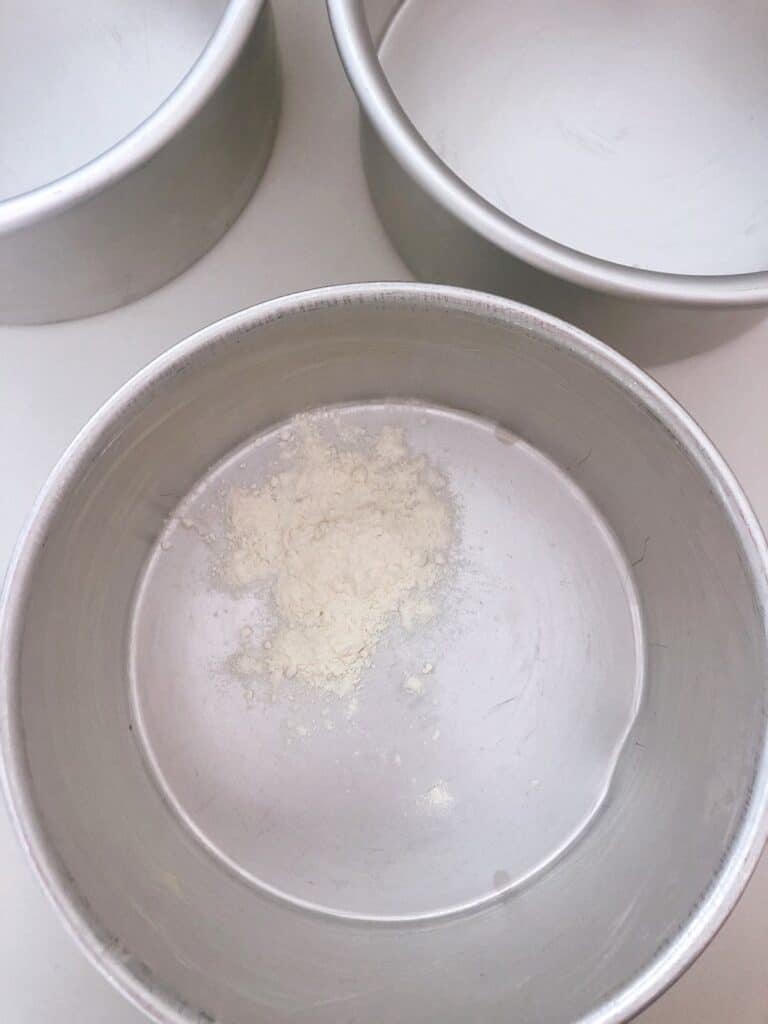
Next, add a spoonful of flour to the inside of the cake tin. If you are making a chocolate cake you can also substitute the flour for cocoa powder.
Tap the tin and move the flour around the interior surface - paying particular attention to the sides of your cake pan to ensure it is all covered. Throw away any excess flour.

Now take your circle of parchment paper and pop it into the bottom of the cake tin. And you are good to go!
How to get cake out of the cake tin
When you remove the cake from the oven, leave it for around 10 minutes to cool (or however long the recipe stipulates).
Then take a blunt knife or palette knife (so you don't scratch your cake tin with a sharp knife) and gently run it around the inside edge of the pan to make sure that no cake is stuck to the edges.
Take a cooling rack and place it over the cake. Then use an oven glove or clean tea towel to hold the cake tin and tip the whole thing upside down so the wire rack is underneath. The cake should now be sitting on the cooling rack!
Should you line the sides of a cake tin?
These days I never line the sides of the tin. I find that greasing and flouring the sides, together with the paper in the base of the tin, means that you don't need to line the sides with paper too.
However, if you do want to line the sides - this is how to do it:
Measure the circumference of the tin (I use a length of string) and cut a long strip of parchment paper slightly longer than this. You will need the paper to be around an inch higher than the height of the tin.
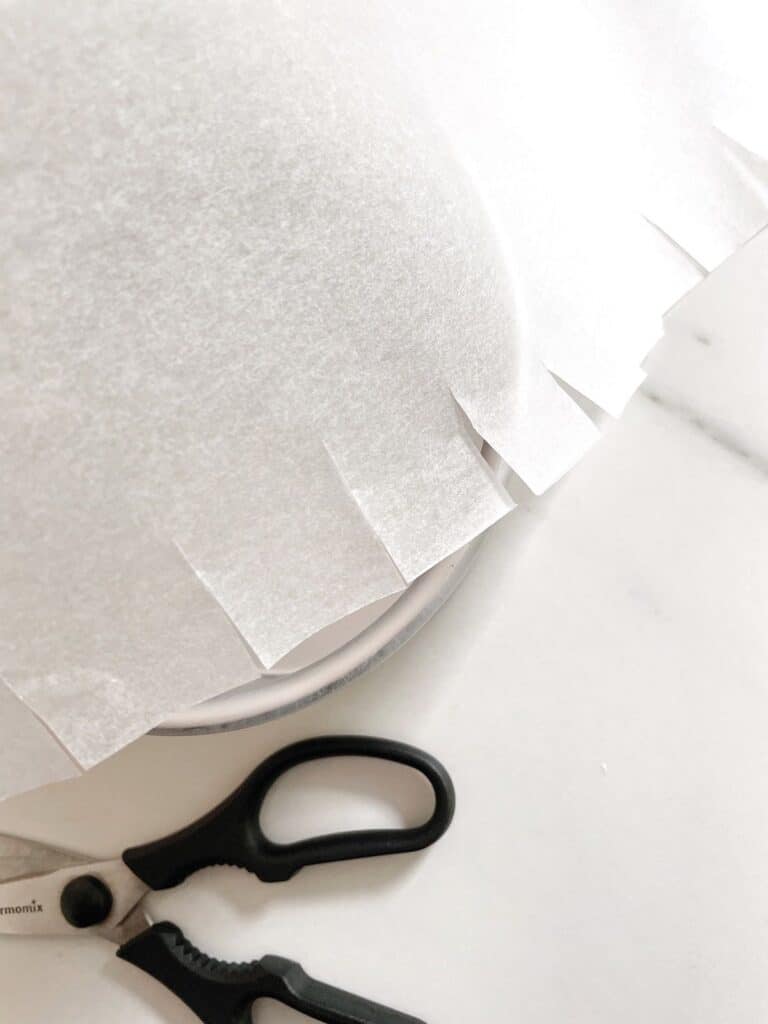
Next make a series of cuts about an inch apart along one edge of the paper.
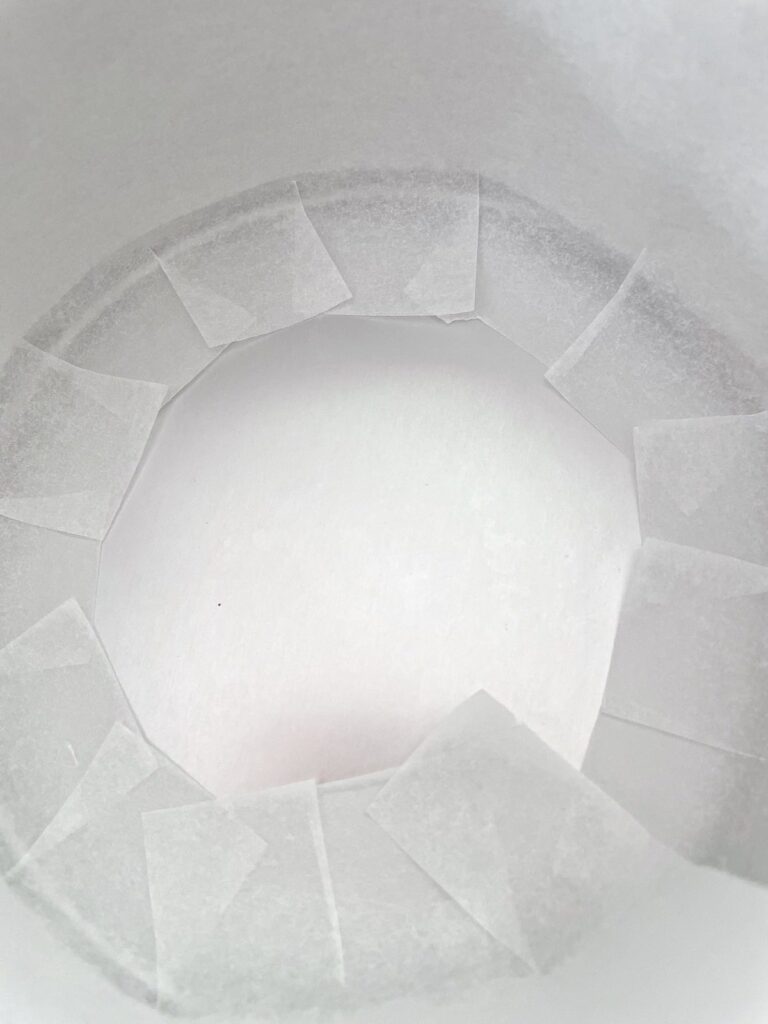
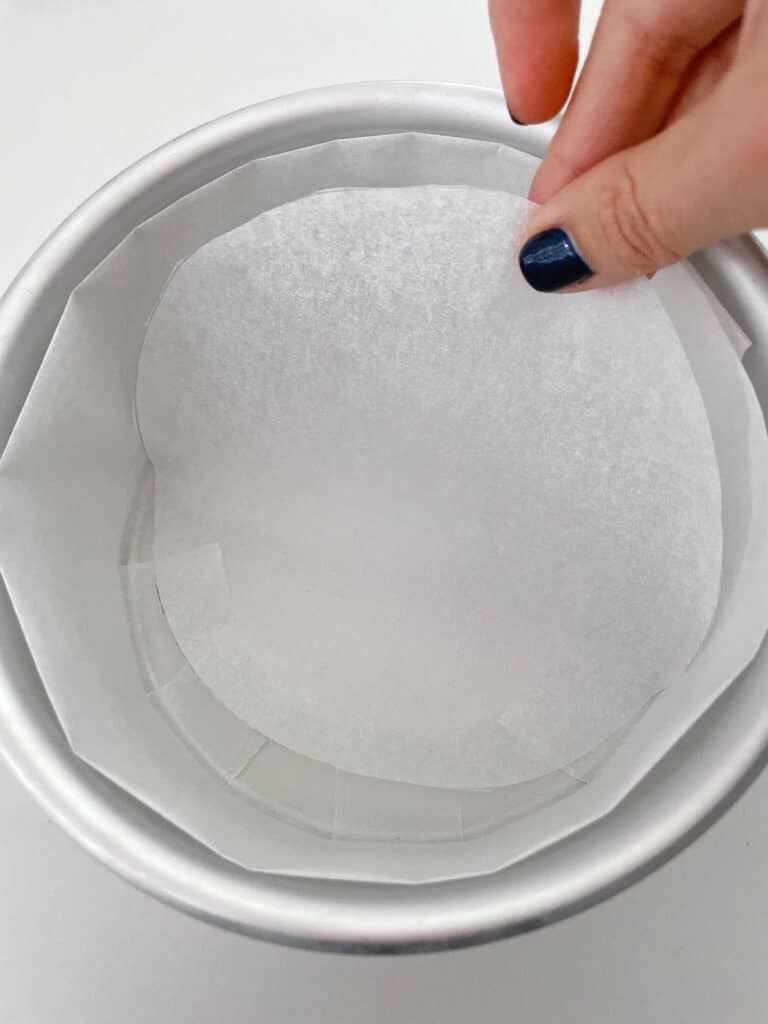
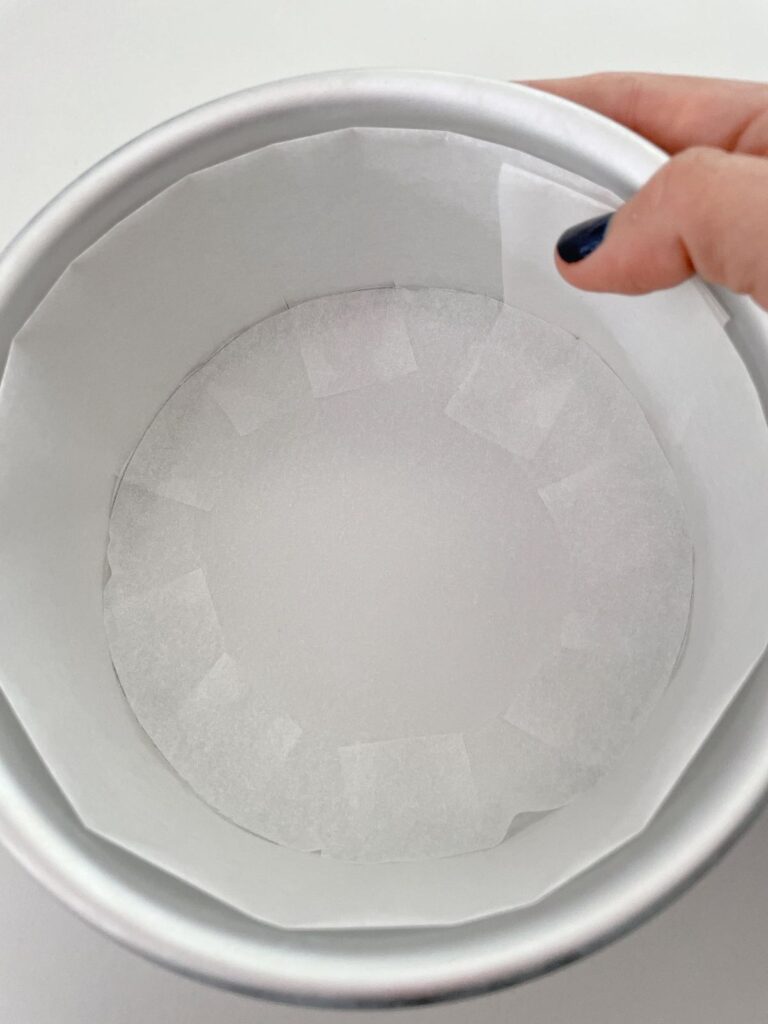
Place the snipped paper lining into the tin with the cuts of the snipped edge folding inwards on the base. Place the circle for the base on top of the cuts to finish.
Top Tips and FAQs
It's important to grease and line a cake tin to prevent the cake from sticking to the tin when baking. Greasing and lining the cake tin prior to baking ensures that you can remove the cake from the tin easily without it breaking.
The best thing to line a cake tin is a combination of butter, flour and parchment paper. You can also use vegetable oil, vegetable shortening, non-stick spray, or just parchment paper if that is all you have.
If you don't have any parchment paper then follow the steps above - grease the tin with butter and coat with flour. Allow the cake to cool for at least 10 minutes in the tin before removing.
Baking paper is coated to help make it non-stick and heat resistant. For this reason regular paper is not a viable substitute as it has no anti-stick or heat resistant properties.
Baking paper is usually coated both sides so it doesn't matter which way you place it in your cake tin. If it is only coated one side, make sure the shiny side is against the food as this will be the non-stick side.
Baking paper is designed to be non-stick so there is no need to grease it.
You should follow the directions in the recipe, but as a general rule you should always allow the cake to cool for around 10 minutes before removing it from the cake tin. This allows it to firm up and reduces the chances of it breaking.
Pin it for Later!

Leave a Reply