
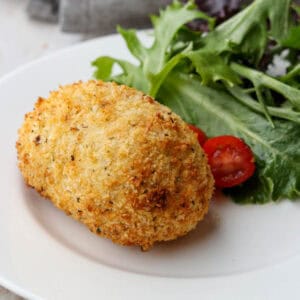
This easy homemade Thermomix Chicken Kiev features a crispy golden coating, juicy chicken filling and a delicious garlic butter centre.
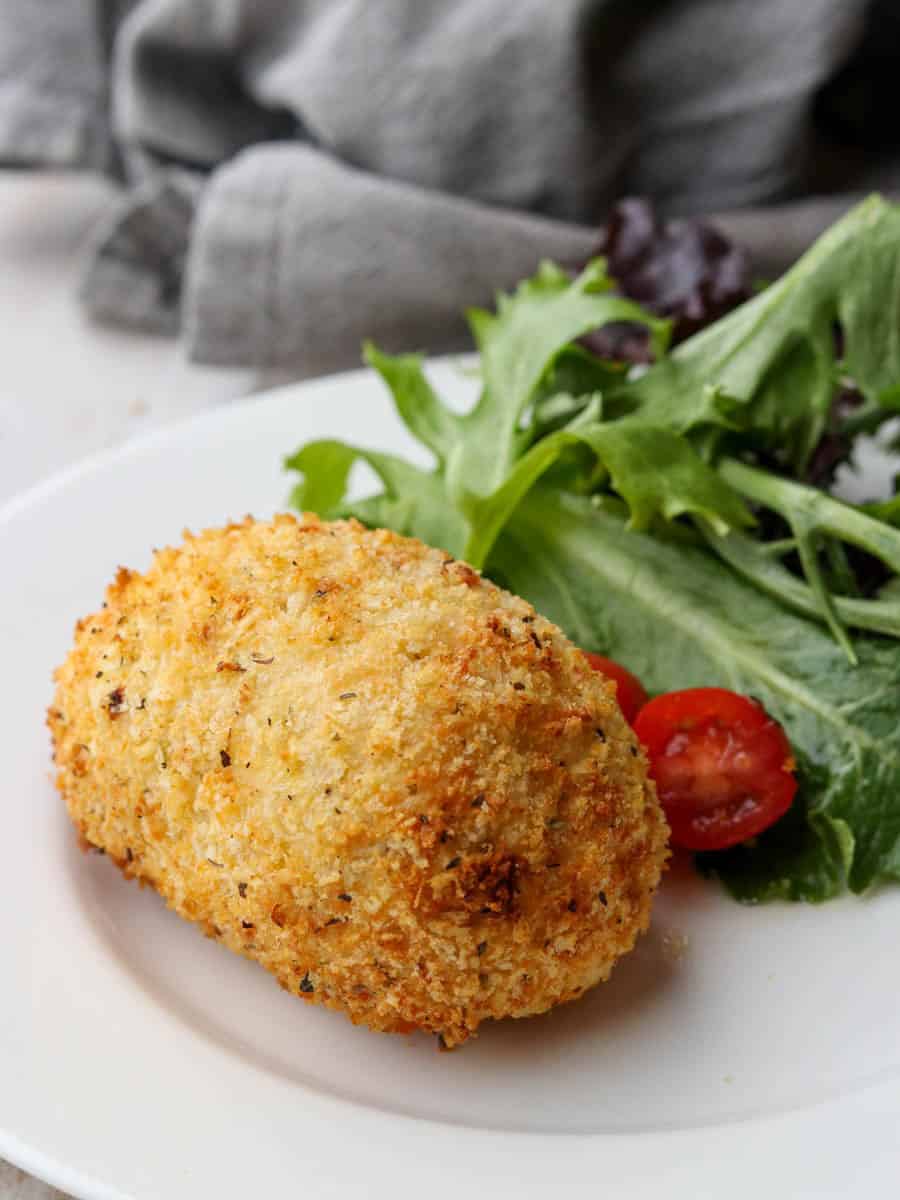
Chicken Kiev (sometimes called Chicken Kyiv) is one of those retro dishes that never really goes out of style. Popular in pubs and family restaurants throughout the 1980s and 90s, it's easy to see why people still love it today.
Crispy golden coating, juicy chicken and that delicious garlic butter centre that spills onto the plate when you cut into it. What's not to love?
Traditional Chicken Kiev recipes are usually made by flattening a chicken breast and wrapping it around a piece of garlic butter. I've tried this many times over the years and always seem to end up with holes in the chicken and butter leaking everywhere.
So for this Thermomix Chicken Kiev recipe, I've taken a different approach. Instead of using whole chicken breasts, the Thermomix makes quick work of turning chicken breast into a seasoned chicken mixture that is much easier to shape around the garlic butter.
Not only is it easier to work with, but it also means you can add flavour directly into the chicken itself.
The result is a crispy, golden Chicken Kiev that's much easier to make than the traditional version. Comfort food at its best!

Why you'll love this recipe
- Crispy golden coating with a rich garlic butter centre.
- Easier to make than traditional Chicken Kiev recipes.
- The Thermomix does all the hard work of mincing and mixing the chicken.
- Perfect for family dinners or entertaining guests.
- Freezer-friendly and great for making ahead.
Ingredients
You will need the following ingredients for this recipe. Exact quantities can be found in the recipe card at the bottom of this post.
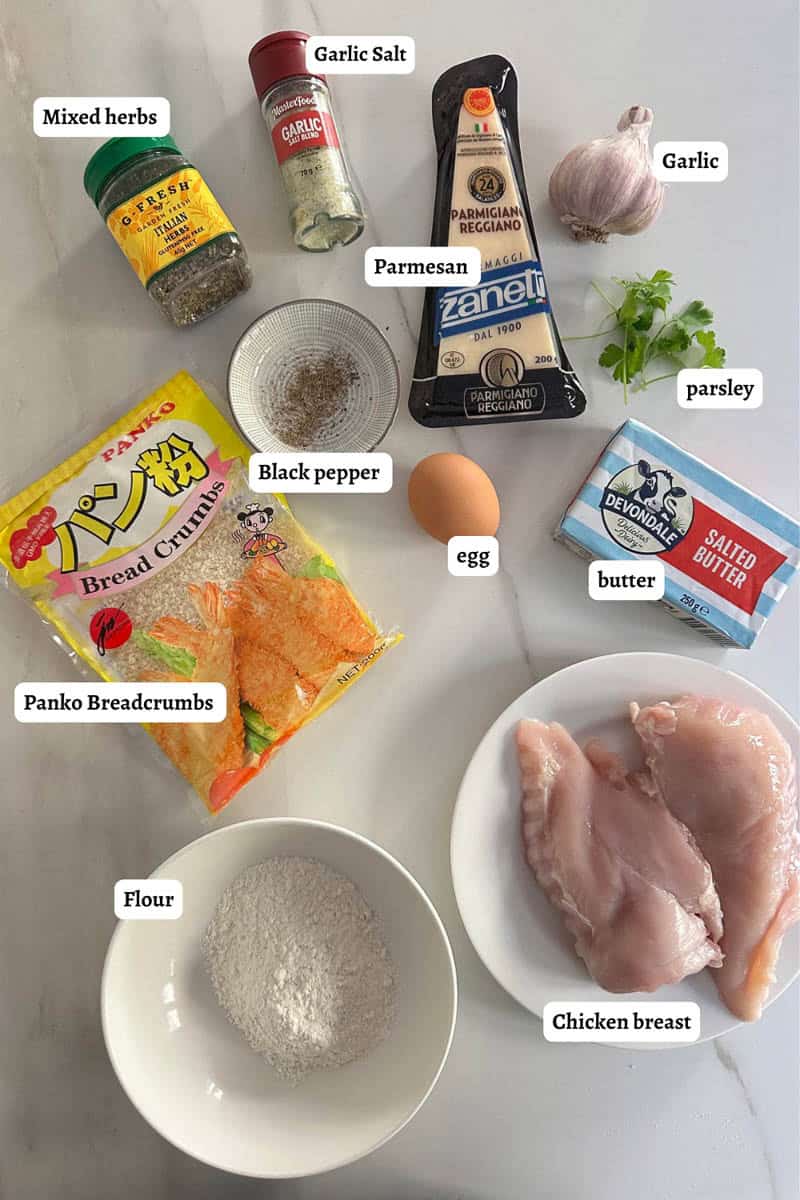
- Butter - for the garlic butter. I use salted butter, but you can use unsalted and then add salt to taste if you prefer.
- Garlic - for the garlic butter
- Parsley - to flavour the garlic butter. You can add other herbs too if you like.
- Panko Breadcrumbs - you can substitute with normal breadcrumbs but you get a crisper outside with panko.
- Parmesan - to flavour the breadcrumbs and help achieve the nice golden brown crust.
- Garlic Salt - to flavour the breadcrumbs.
- Mixed herbs - to flavour the breadcrumbs. You can also add other herbs or spices such as paprika.
- Black pepper - to flavour the breadcrumbs.
- Chicken breast - you can use thigh fillets too.
- Flour - for dredging
- Egg - to help the breadcrumbs stick.
How to make Thermomix Chicken Kiev (step by step)
Full instructions with exact steps can be found in the recipe card at the end of this post.
There are five steps to this Chicken Kiev recipe:
- Step 1: Make the garlic butter
- Step 2: Make the crumb coating
- Step 3: Make the chicken mixture
- Step 4: Assemble the chicken kievs
- Step 5: Cook the chicken kievs
Step 1: Make the Garlic Butter
Making garlic butter in the Thermomix takes just minutes.
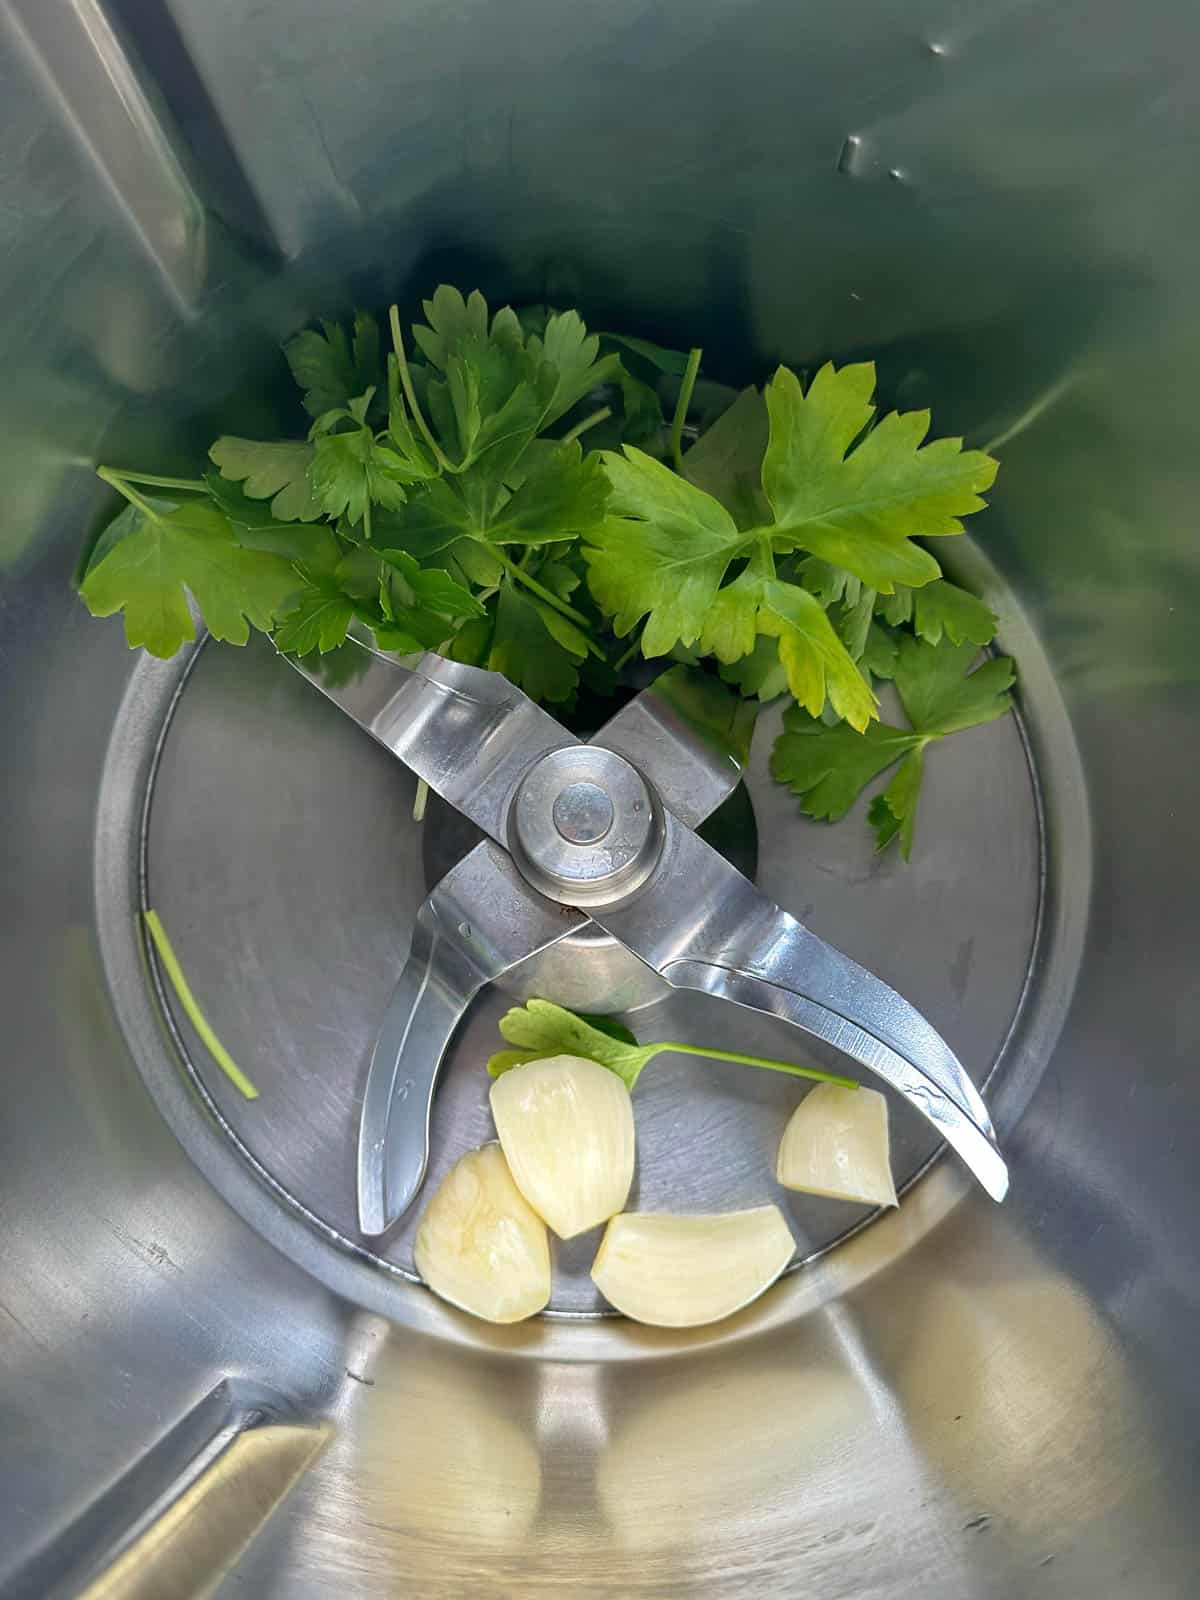
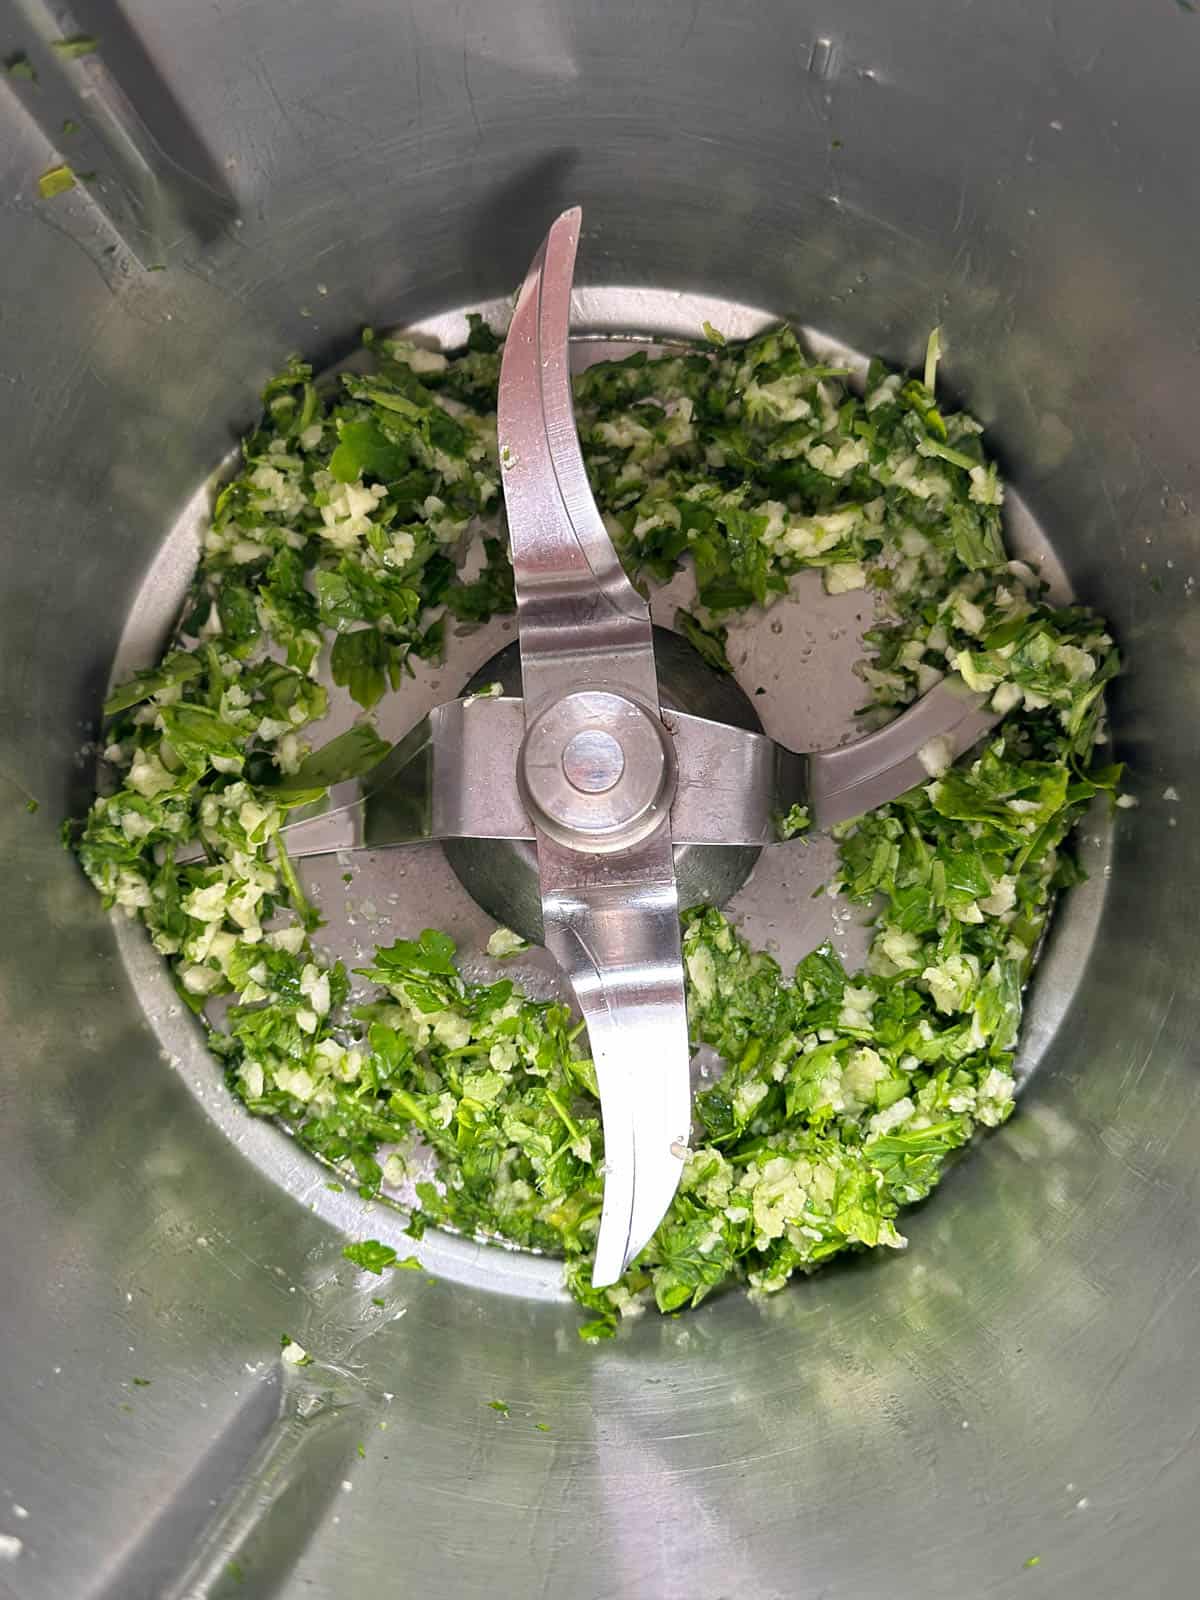
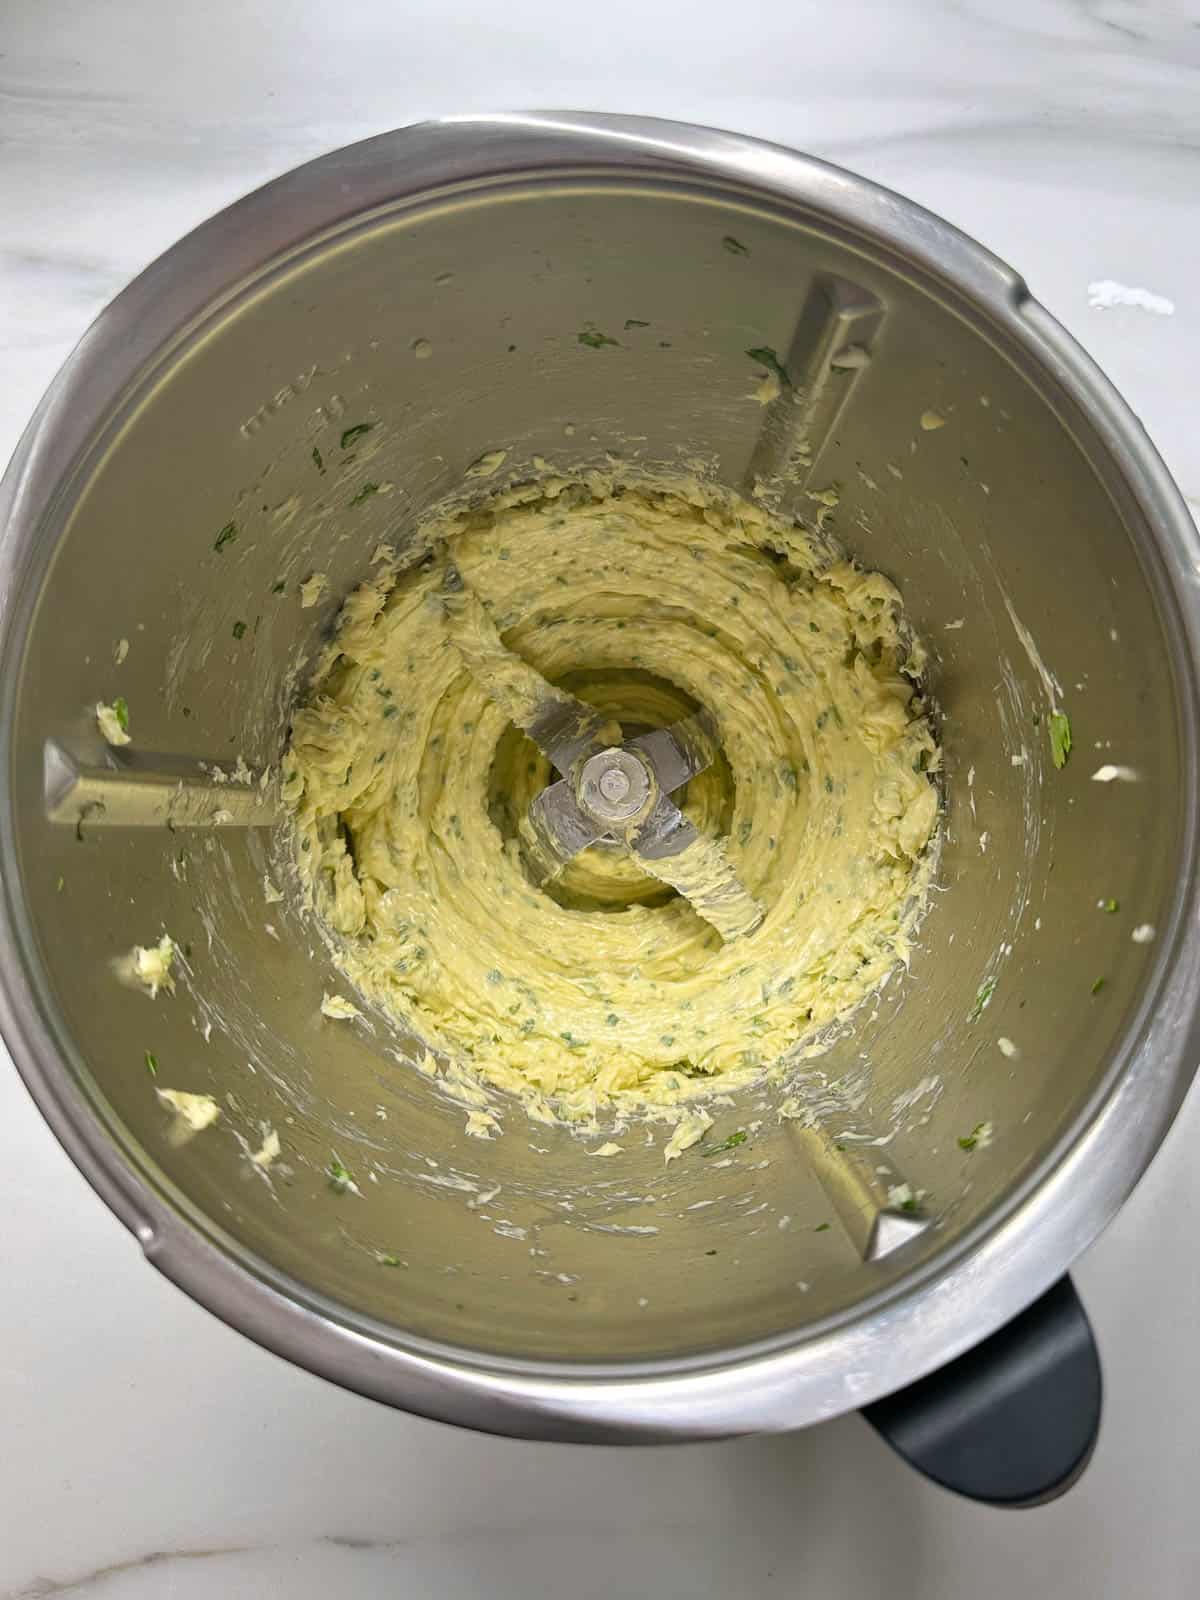
First, chop the garlic and parsley. Then add the butter and mix.
Now remove the garlic butter from the bowl and shape it into a rectangle approximately 10 cm x 5 cm. Wrap it in plastic wrap and place in the fridge until needed.
Step 2: Make the Crumb Coating
To make the crumb coating, start by grating the parmesan - add it to the bowl and whizz it up for 10 seconds / speed 10.
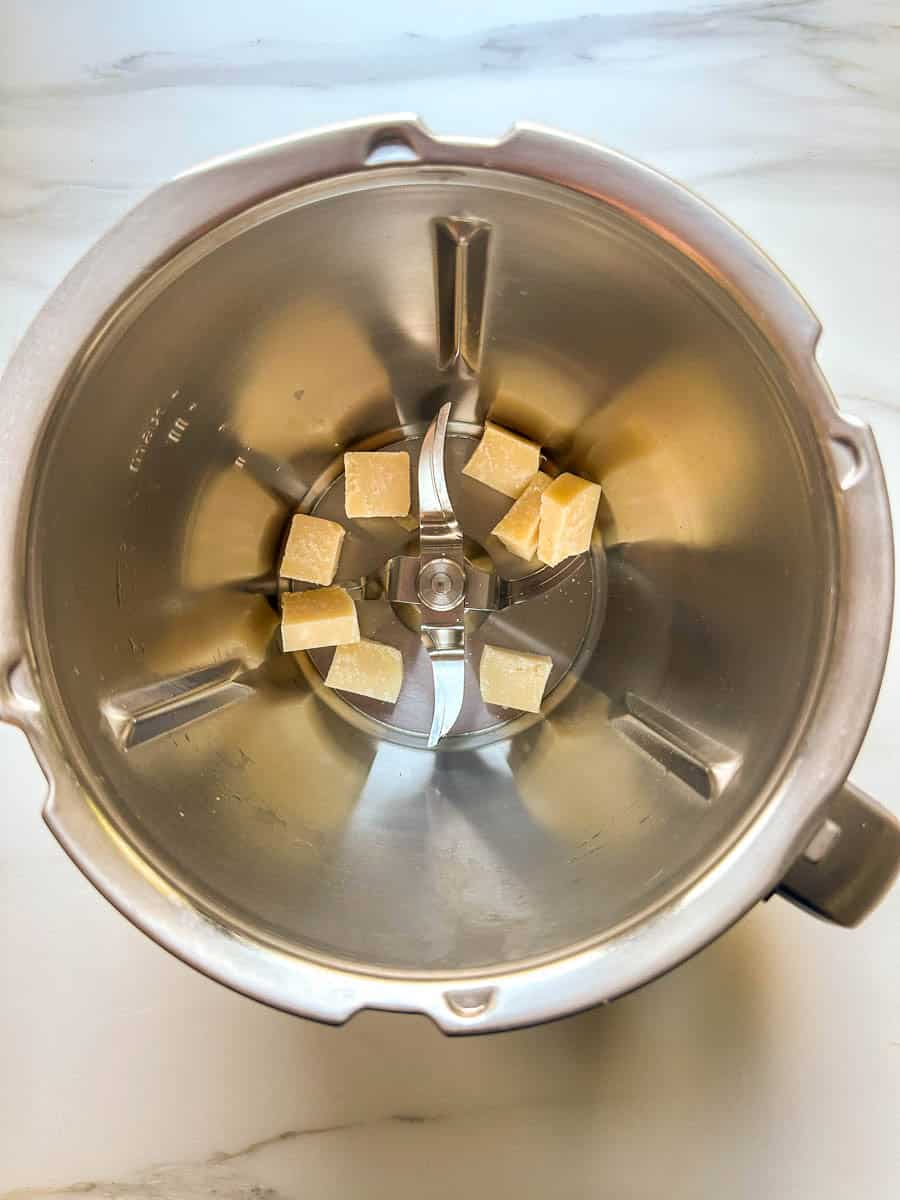
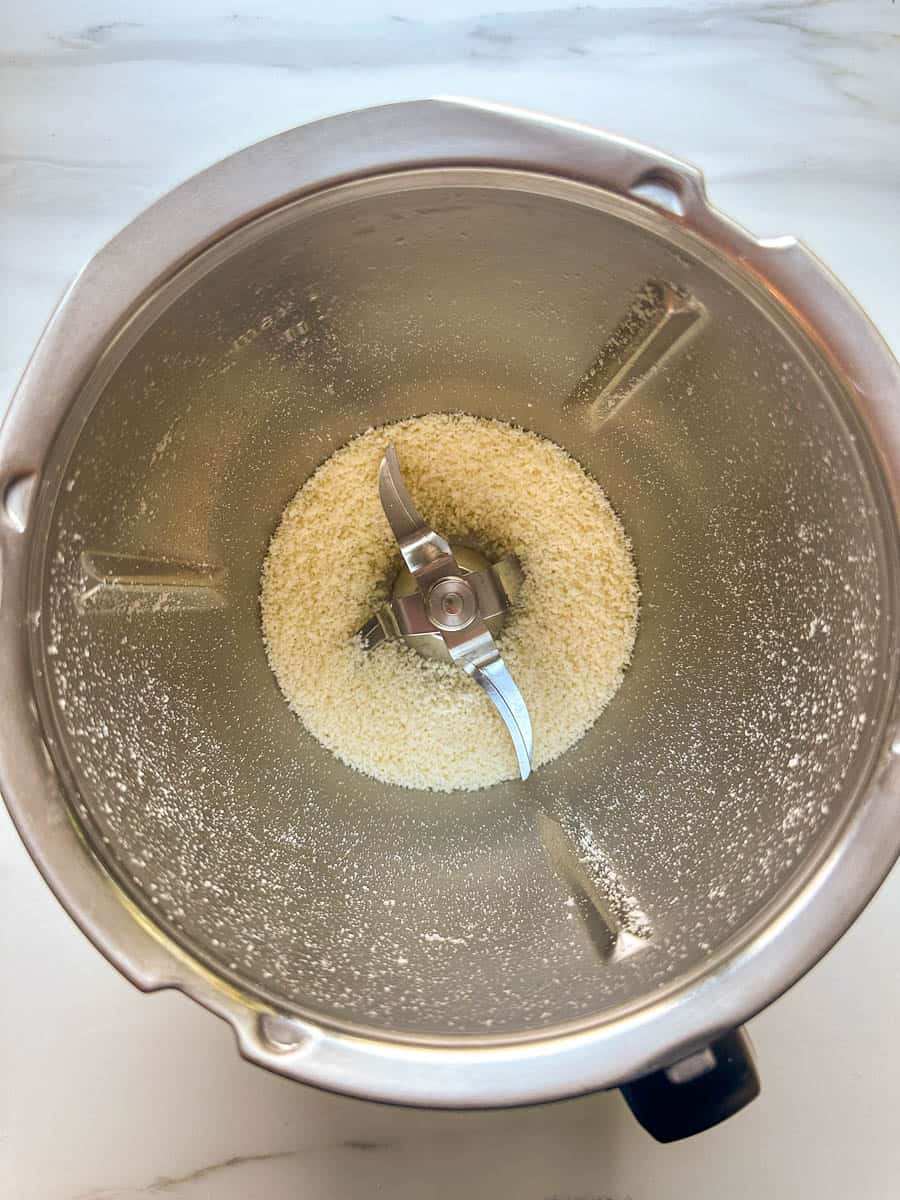
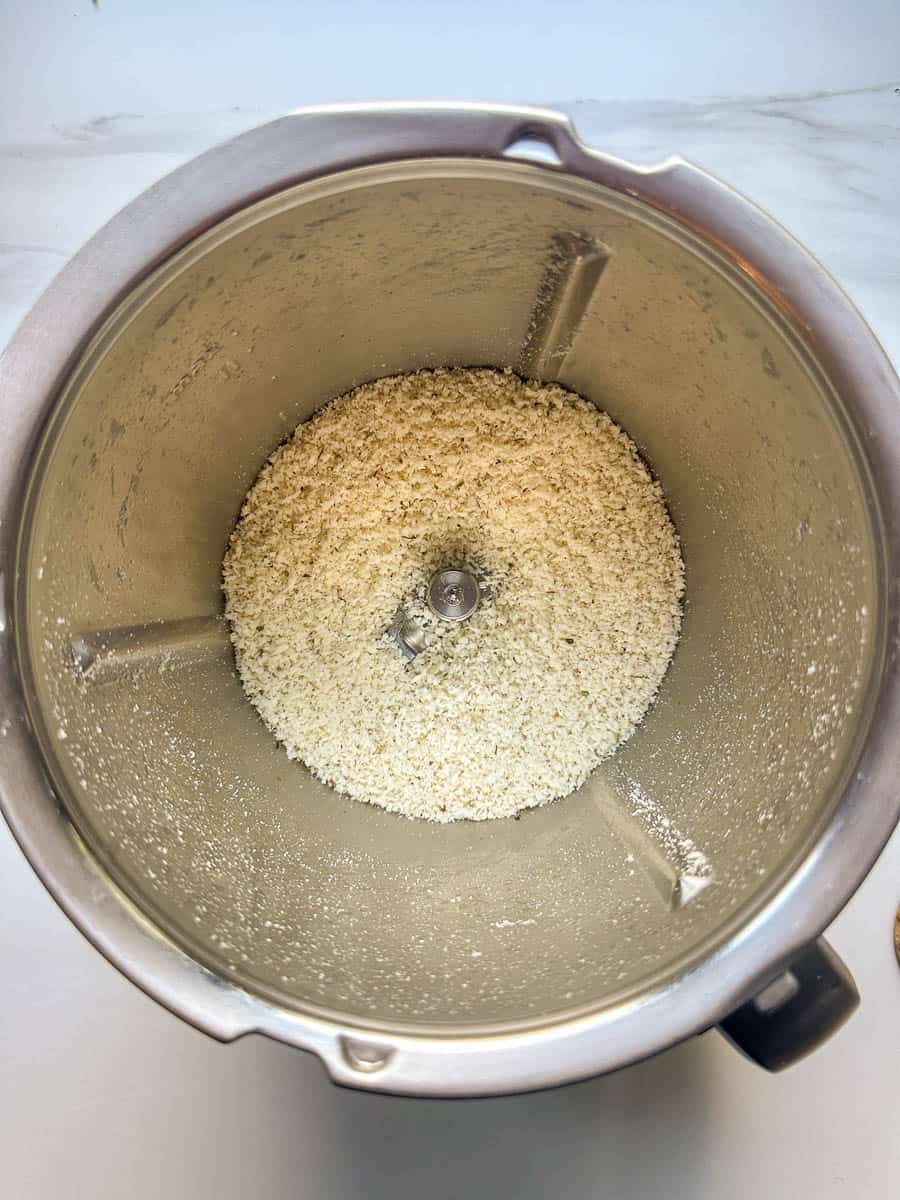
Next, add the breadcrumbs, garlic salt, mixed herbs and black pepper and mix together.
Set it aside for later.
Step 3: Make the Chicken Mixture
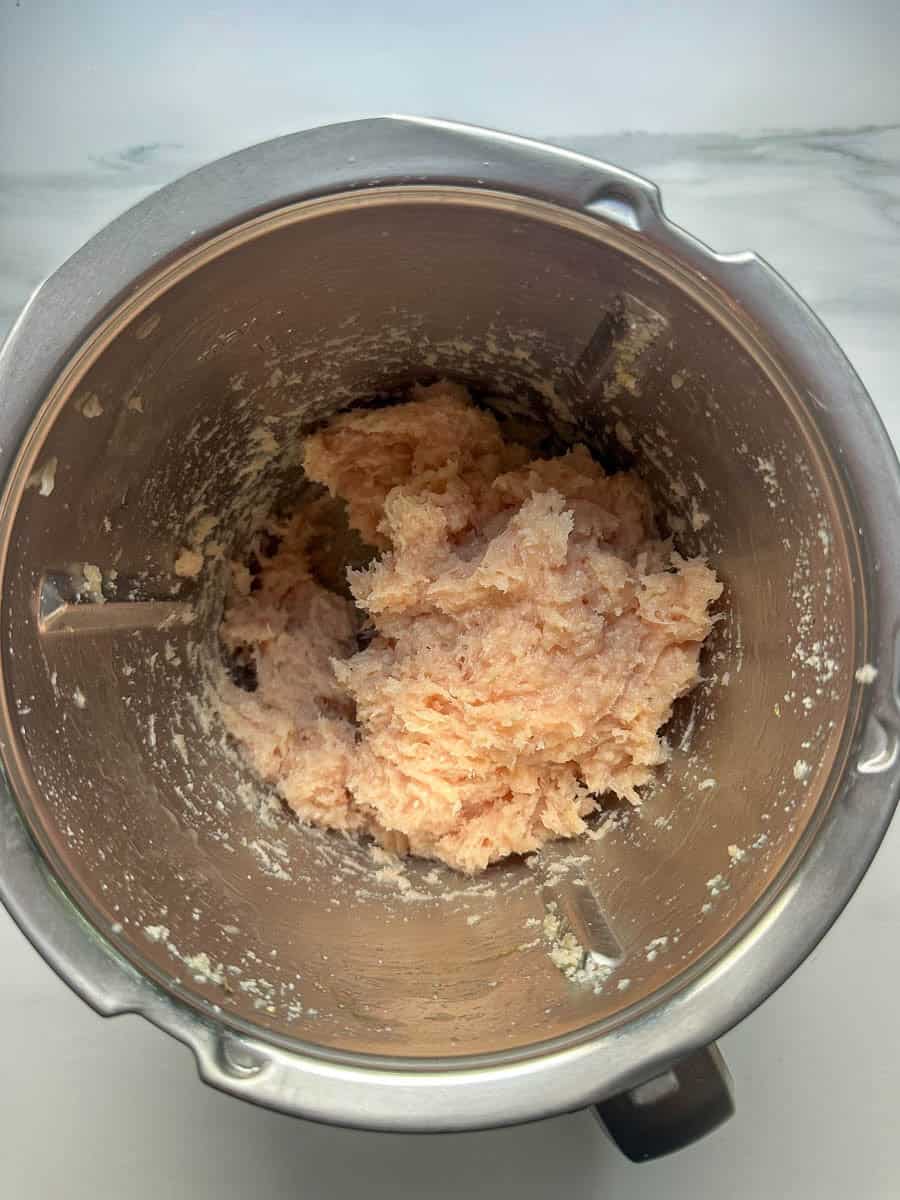
The chicken mixture is equally easy to make. Simply add the diced chicken breast, egg and crumb mixture to the bowl and mix together for 30 seconds.
Step 4: Assemble the Chicken Kievs
This recipe can make either four large or eight small Kievs.
Remove the butter from the fridge and divide it into four (or eight, depending on whether you are making large or small Kievs) equal slices.
Divide the chicken mixture into four (or eight) equal portions.
Take a portion of the chicken and flatten it out on your hand. Place a slice of the garlic butter in the middle of the mixture.
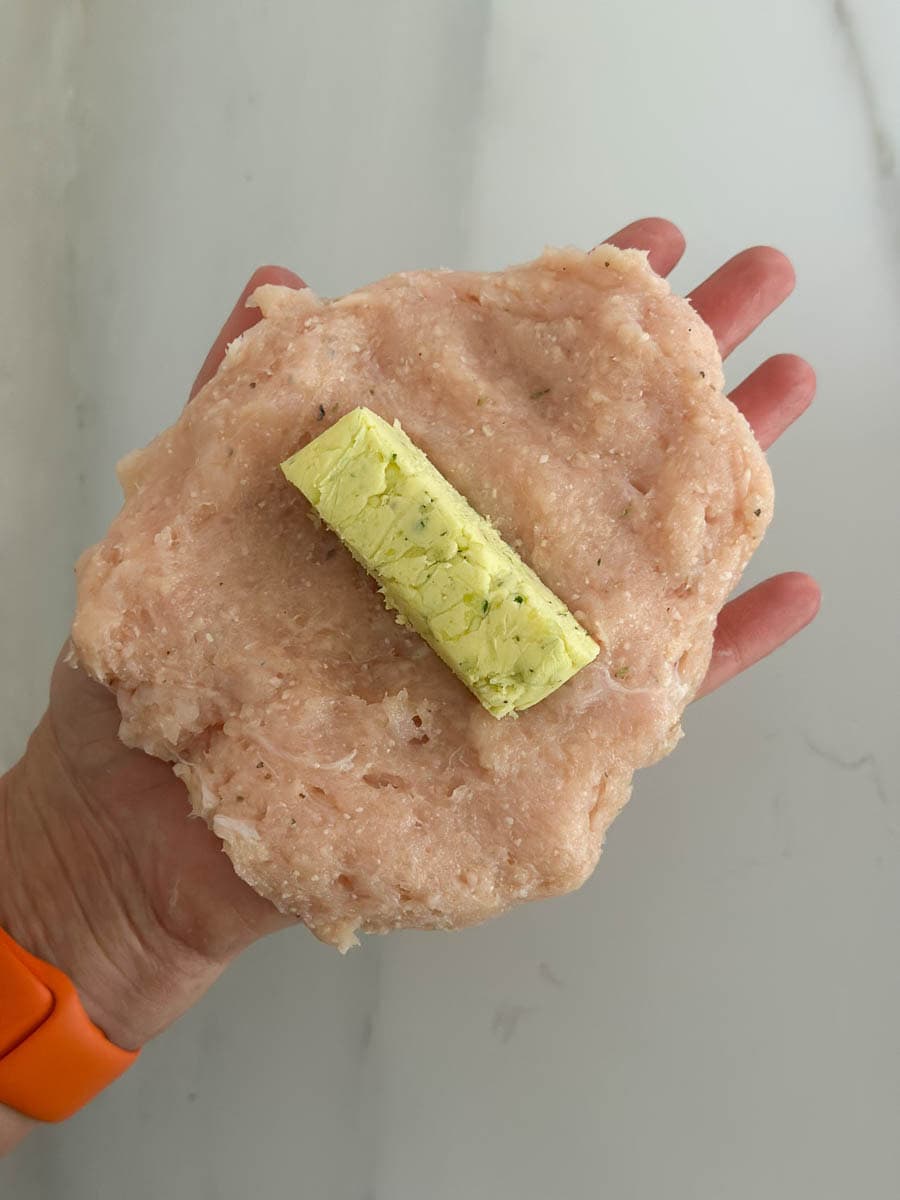
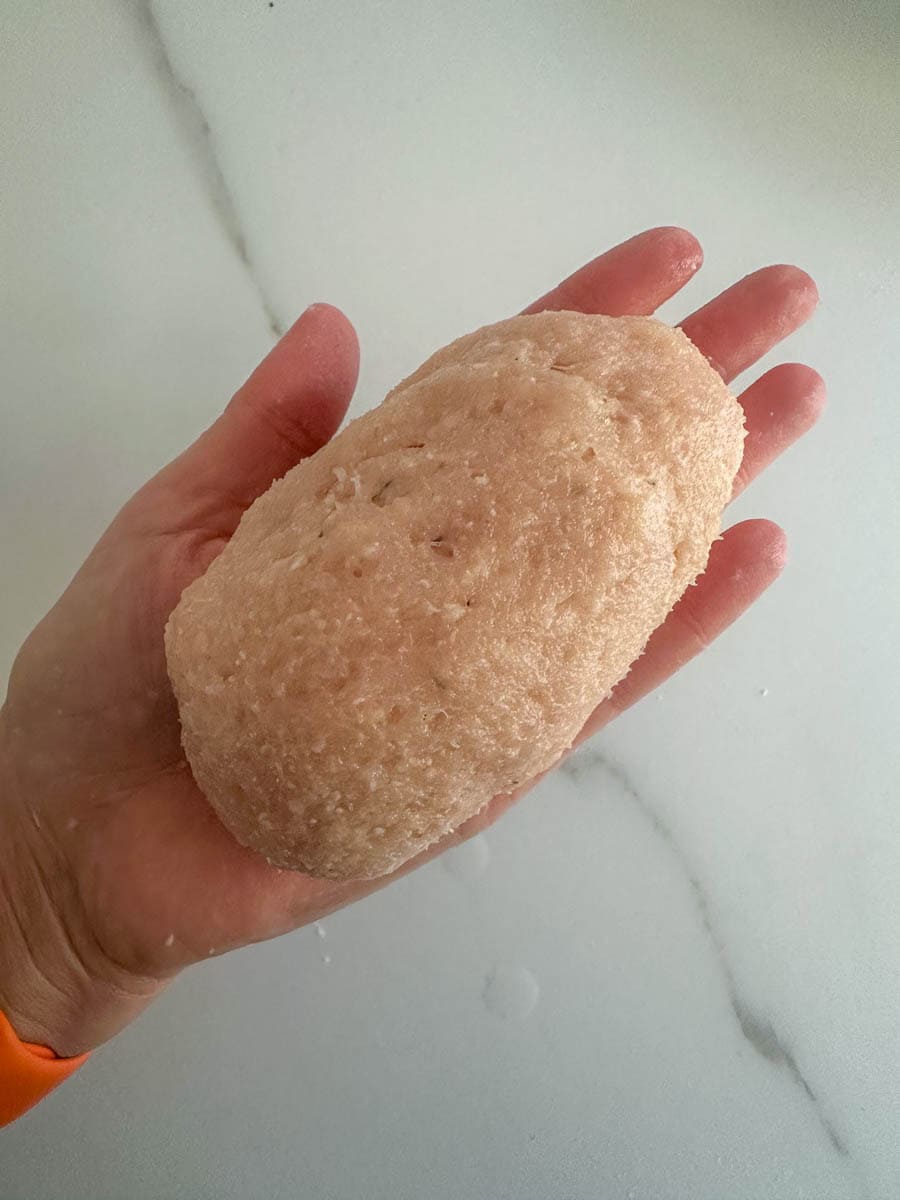
Now, use your hands to shape the minced chicken around the butter, forming an oval shape. Make sure the garlic butter is completely enclosed by the chicken. Repeat with the remaining portions.
Set aside on a well-floured surface or plate.
Now take three bowls:
- Bowl 1: Add the flour
- Bowl 2: Crack the egg and beat well with a fork
- Bowl 3: Add the crumb mixture
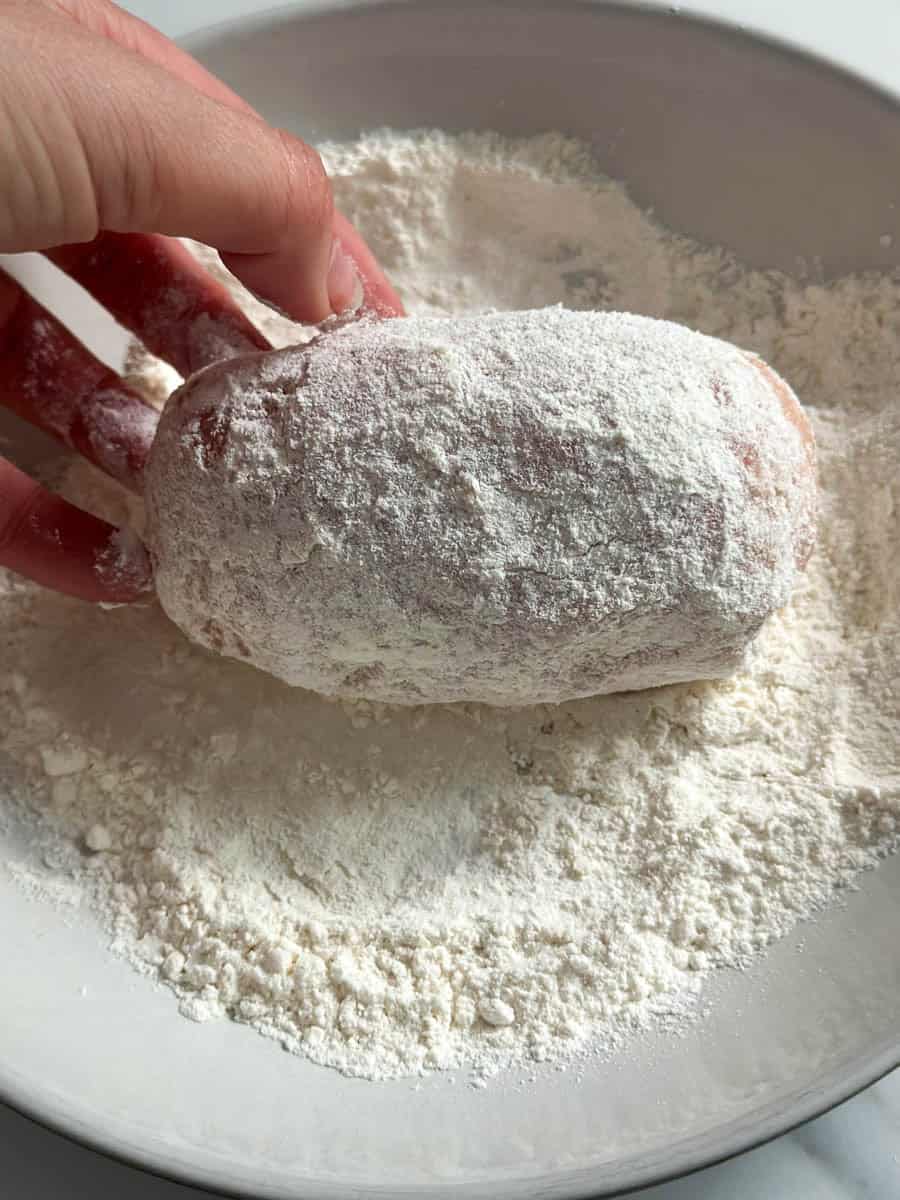
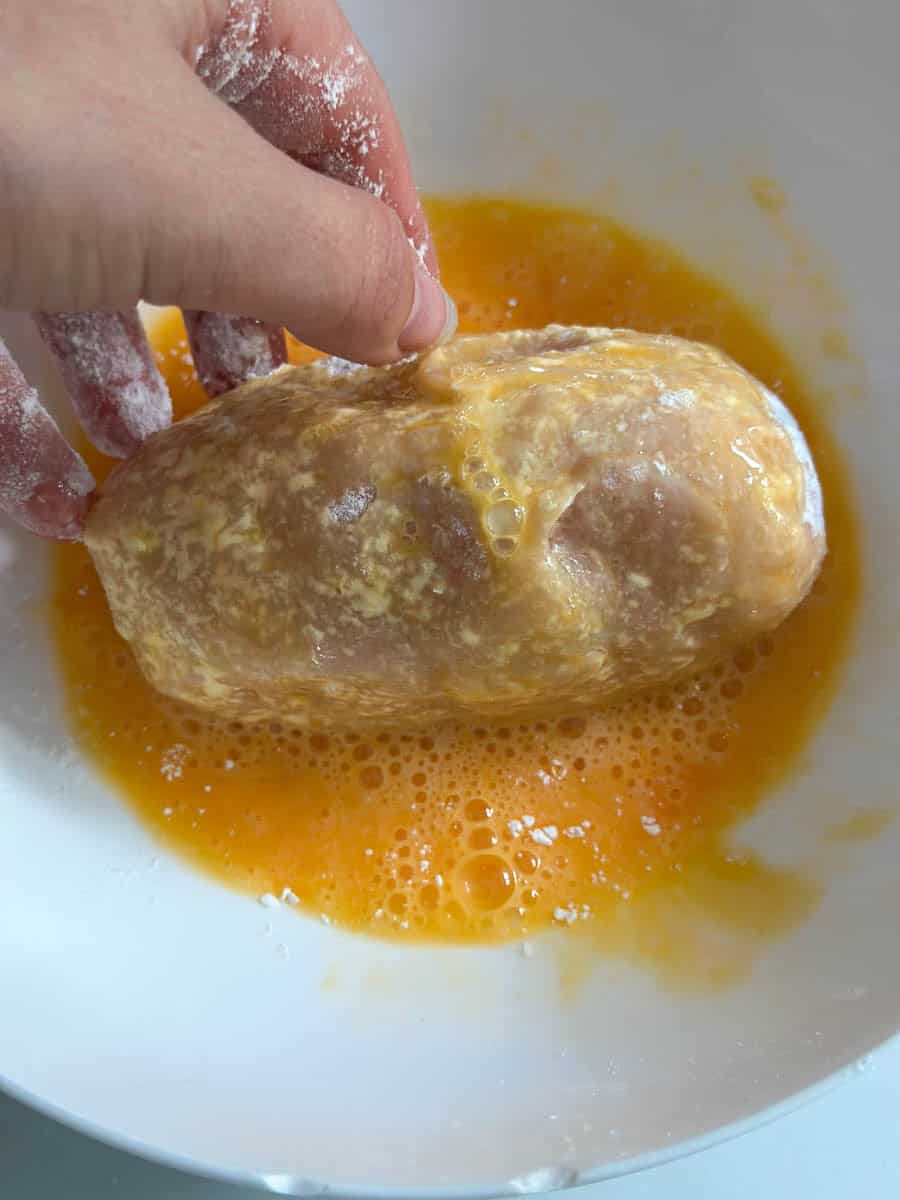
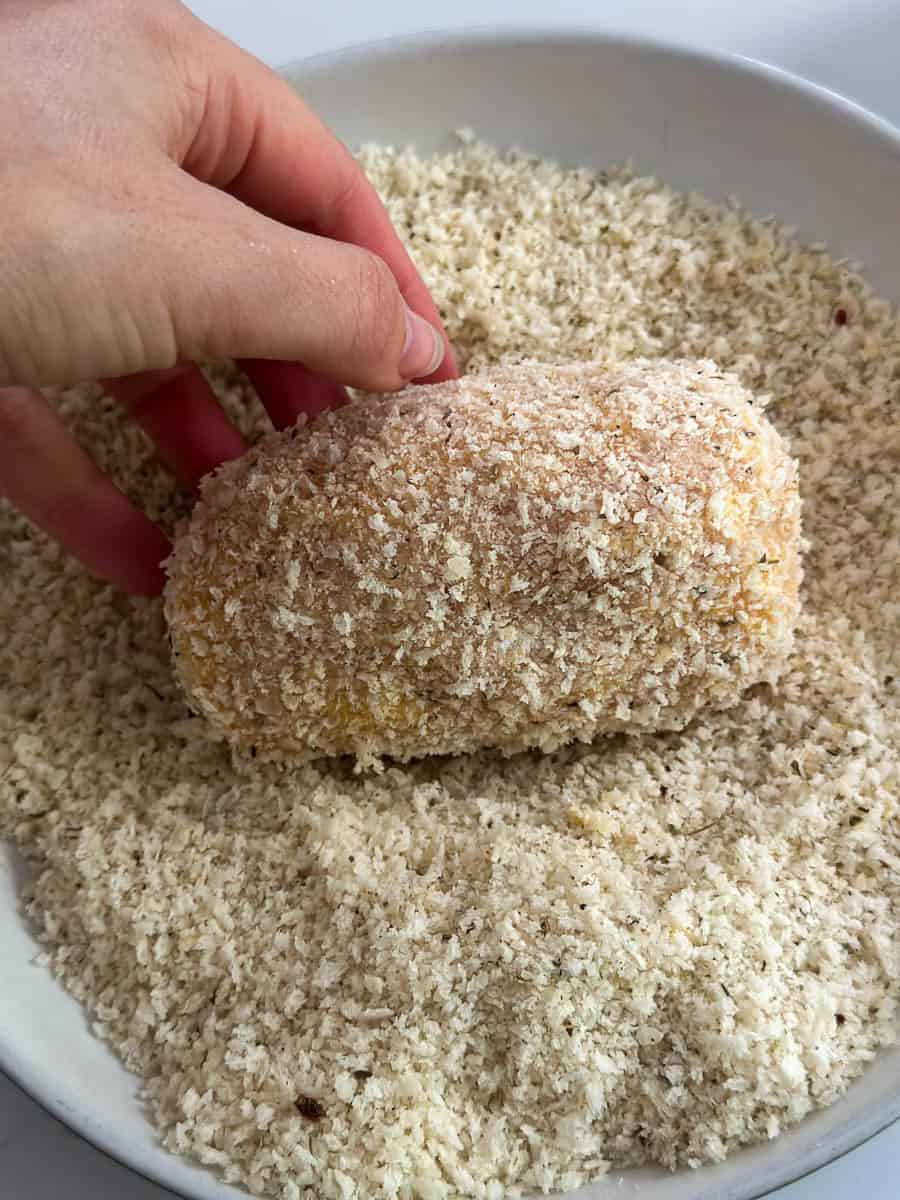
Take each chicken Kiev and first roll it in the flour to ensure it is well coated. Then, dip it in the egg. And finally roll it in the crumb mixture ensuring it is well coated all over.
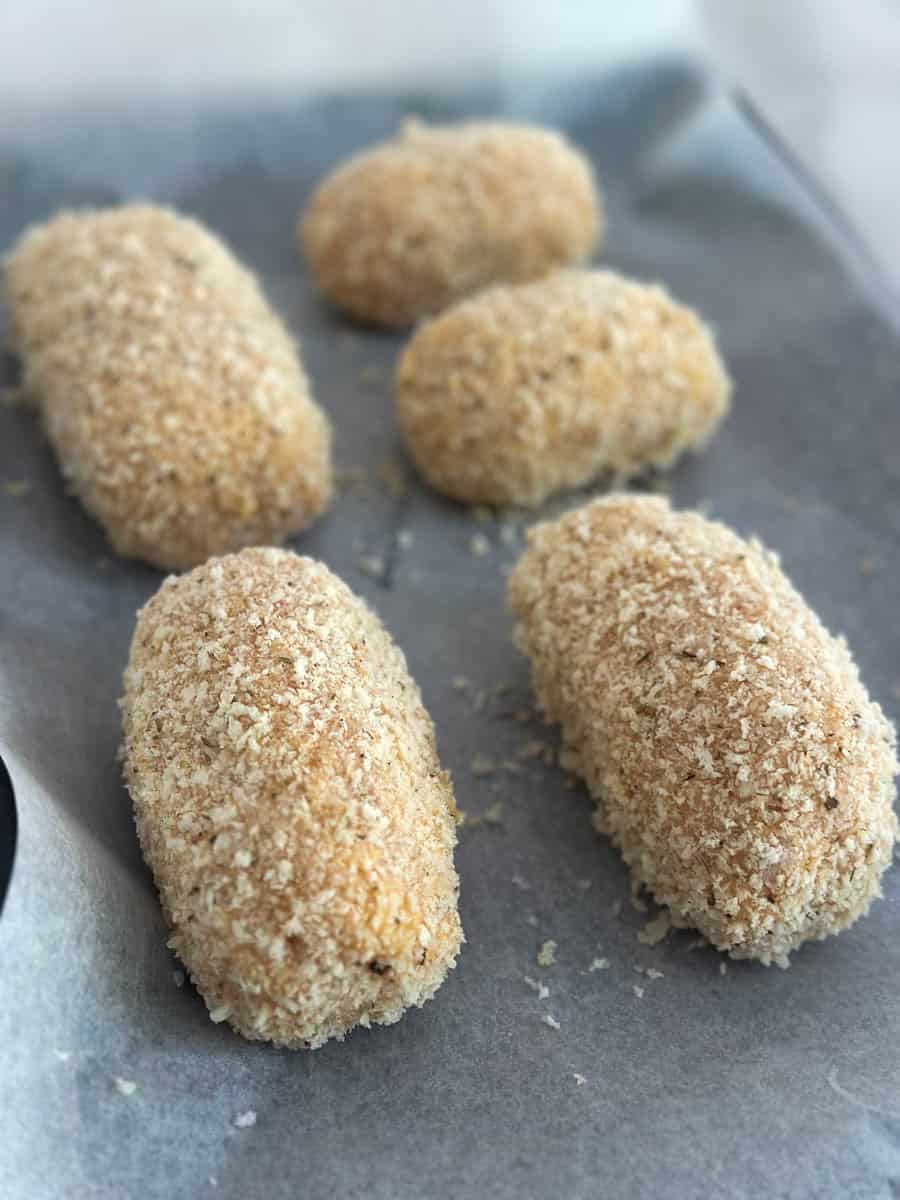
Now place the Kievs in the fridge until you are ready to cook them (I recommend chilling them for at least 30 minutes before cooking).
Step 5: Cook the Chicken Kiev
There are two ways I like to cook these Chicken Kievs:
- Shallow-fry them in olive oil, then finish in the oven.
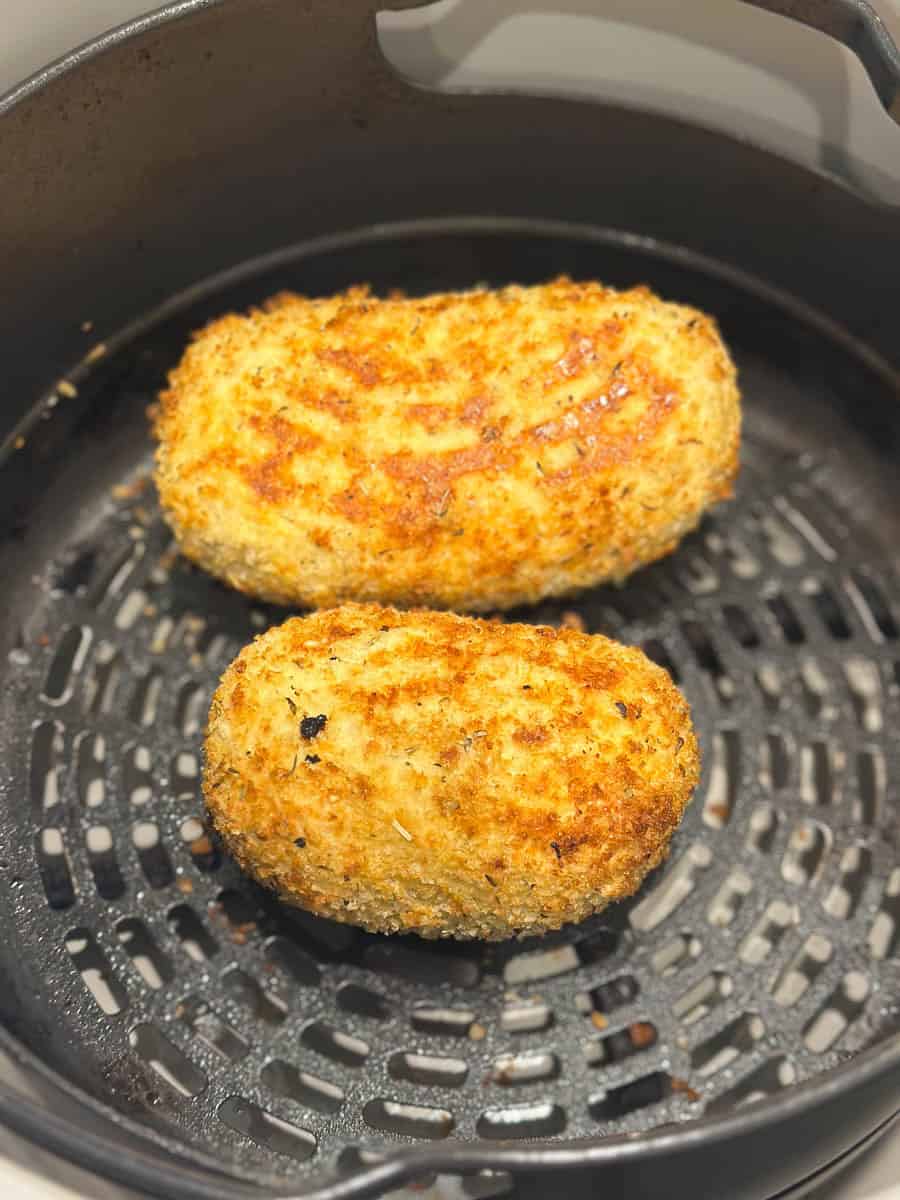
- Cook them in the air fryer.
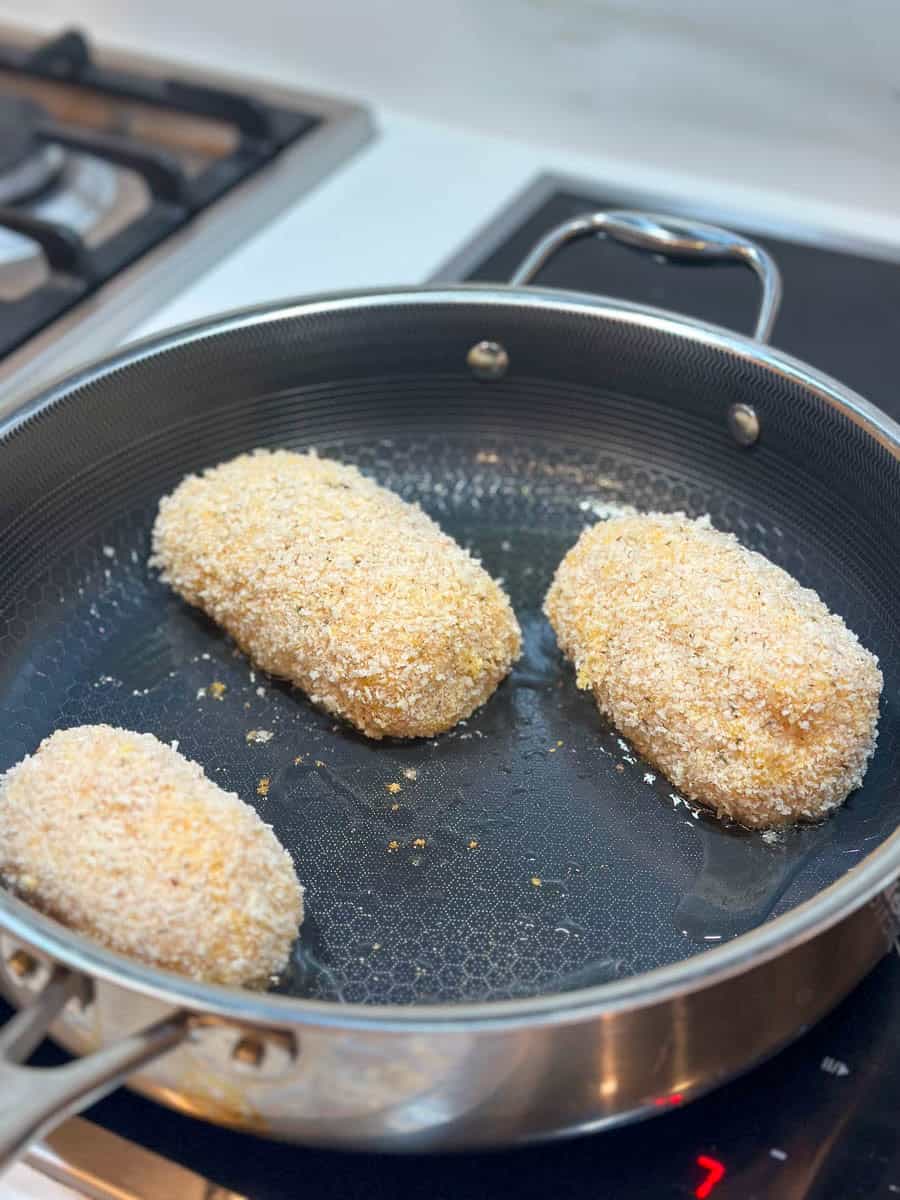
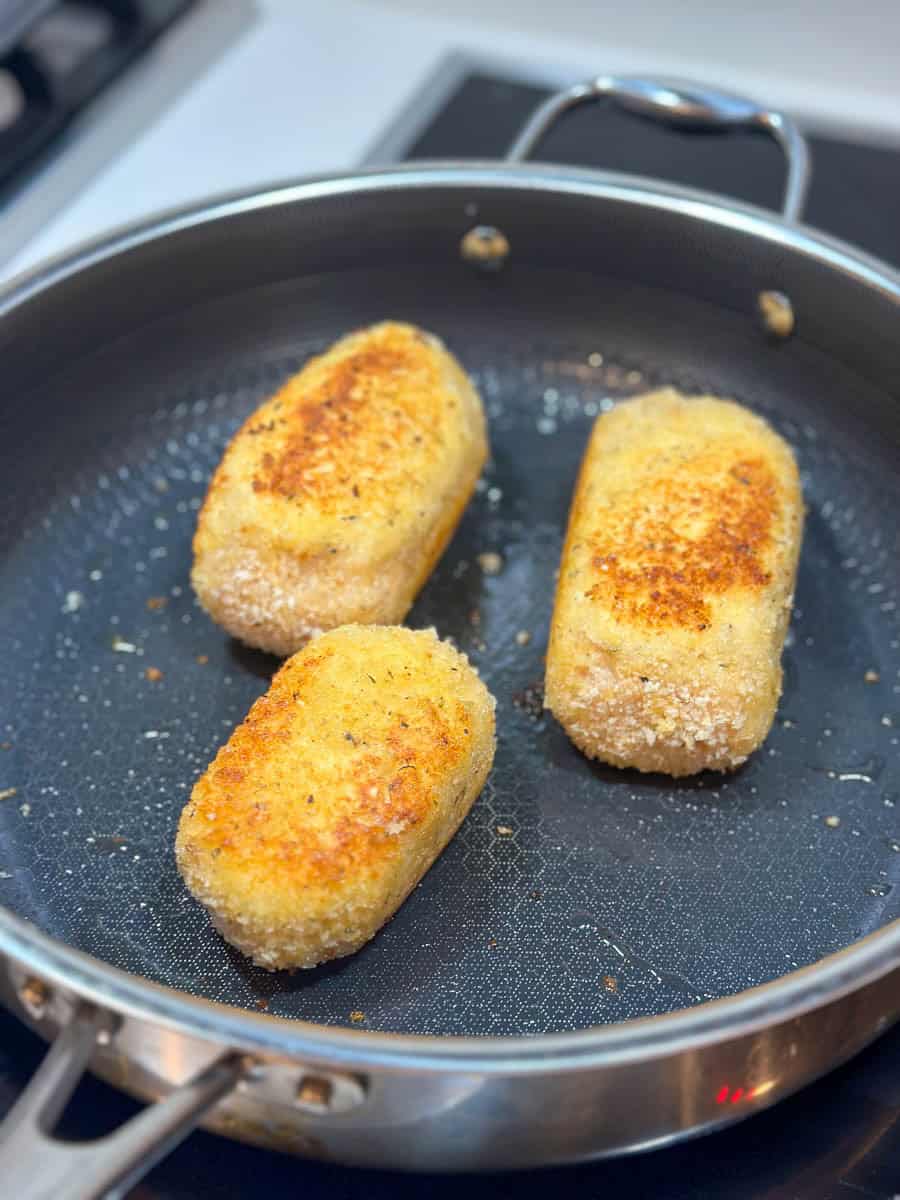
You will get a more even browning on the coating and a crispier, crunchier outside by cooking them in the air fryer, but some people prefer the flavour of pan frying them first.
What to serve with Chicken Kiev
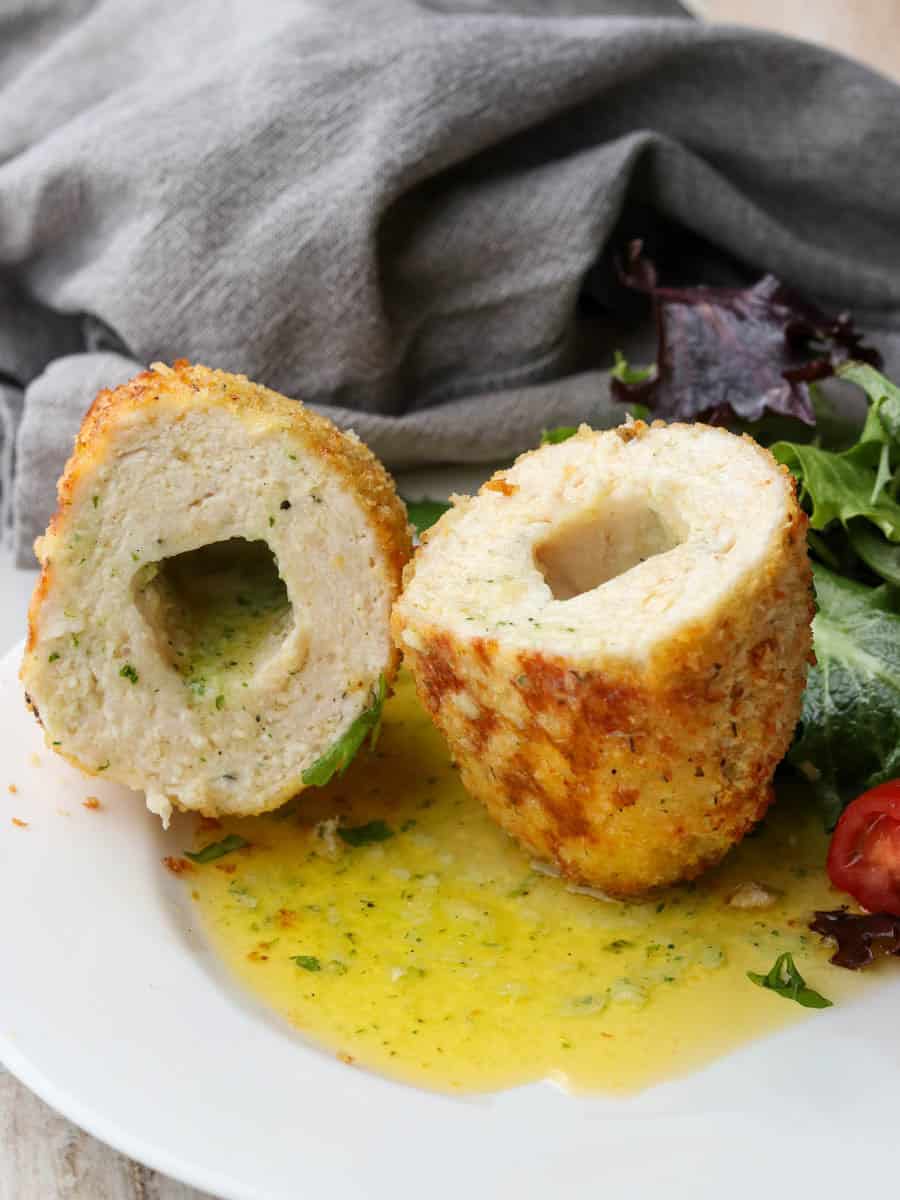
Remember that the buttery juices from the Kiev will pour out onto the plate, so the sides will be coated with this delicious garlicky butter.
- Green salad
- Steamed green vegetables
- Plain Pasta
- Mashed potato
- Buttered new potatoes
- Crusty bread for mopping up the garlic butter
You may also like these recipes:


Did you try this recipe? Please leave me a ⭐ review below!
Don’t forget to tag me on Instagram @mamalovestocookblog and follow along on Pinterest and Facebook! Enjoy!!!
Ingredients
For the Garlic Butter
- 2 cloves garlic
- small handful parsley leaves
- 80 g butter
For the Crumb Coating
- 60 g parmesan
- 80 g panko breadcrumbs
- 1 teaspoon garlic salt
- 1 teaspoon mixed herbs
- ¼ teaspoon black pepper
For the Chicken Mixture
- 750 g chicken breast
- 1 egg
- 40 g crumb coating
To Assemble the Chicken Kiev
- 1 egg
- 3 tbsp flour
- Remaining crumb mixture
Instructions
To make the Garlic Butter
- Add the garlic and parsley to the Thermomix bowl. Chop for 3 seconds / speed 7. Scrape down the sides of the bowl and repeat.
- Add the butter to the bowl. Season with black pepper to taste and mix for 20 seconds / speed 4.
- Remove the garlic butter from the bowl. Shape into a rectangle approximately 10cm x 5cm . Wrap in plastic wrap and store in the fridge until needed.
- Clean and dry the bowl.
To make the Crumb Coating
- Cut the parmesan up into cubes and add to the Thermomix bowl. Chop for 10 seconds / speed 10.
- Add the panko breadcrumbs, garlic salt, mixed herbs and black pepper and mix for 5 seconds / REVERSE / speed 3. Set aside.
To Make the Chicken Mixture
- Roughly dice the chicken and add to the Thermomix bowl together with 40g of the crumb coating and 1 egg. Mix for 30 seconds / speed 9.
To assemble the Chicken Kievs
- Divide the chicken mixture into four (or eight, depending on whether you are making large or small Kievs) equal portions.
- Remove the butter from the fridge and cut into four (or eight) equal portions.
- Using wet hands, take a portion of the chicken and flatten it out in the palm of your hand. Place a slice of the butter in the middle of the chicken and use your hands to mould the chicken into an oval shape, ensuring the butter is completely enclosed. Repeat with the remaining portions.
- Set up three shallow bowls: one with the flour, one with beaten egg and the other with the crumb coating.
- Take each portion, first roll it in the flour, then coat it in the beaten egg, then press it into the breadcrumbs. Make sure that it is well covered in breadcrumbs.
- Now place them in the fridge until you are ready to cook them (I recommend chilling them for at least 30 minutes before cooking).
To Cook the Chicken Kievs
- To Pan Fry/ Oven Cook:Pre-heat the oven to 180 C. Heat 3 tablespoons of olive oil in a frying pan. Cook the Chicken Kievs for around 3 minutes, turning over until the coating is golden brown. Place on a baking sheet and bake in the oven for 15 minutes.
- To Air Fry: Pre-heat the air fryer for 5 minutes. Spray the Chicken Kievs with an olive oil spray. Cook at 200 C for around 12-15 minutes until golden brown.




Leave a Reply