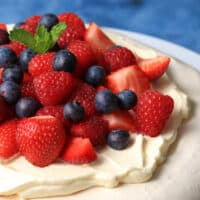
This Thermomix Pavlova is sure to wow your guests at a dinner party - and is super easy to make thanks to the Thermomix.
Pavlova has the reputation for being difficult to make and people often avoid making it as they are scared of it all going wrong.
But it is actually really easy to make a pavlova, especially by using the Thermomix and following a few basic steps.
I think the most important thing when making a pavlova is to have a low-heat oven, and to leave the pavlova in the oven after cooking until it is completely cooled.
And even if you think your pavlova is not perfect - maybe it cracks a little - nobody cares! You can cover it over with cream and fruit and everyone will still rave about how delicious it is, I promise you.

Mama Loves to Cook is a participant in the Amazon Services LLC Associates Program, an affiliate advertising program designed to provide a means for sites to earn advertising fees by advertising and linking to Amazon.com
Ingredients
There are four essential ingredients for making the meringue base to a pavlova - egg whites, sugar, cornflour and white vinegar.
I also include vanilla to add a little extra flavour (completely optional).
When making meringues you can get away without the cornflour and vinegar, but for a pavlova they are more important as they help to stabilise the base (ie prevent it from collapsing) and help get that lovely chewy soft inside that makes a pavlova sooo irresistible.
You CAN also make a completely delicious meringue base with just egg whites and sugar - it will just be more crunchy/dry and a little less chewy and soft. You might just want to add on a little extra cream in this case.
This is what you will need for this Thermomix pavlova:
- Egg whites - make sure when you separate the egg whites from the yolks that you don't get even a speck of egg yolk into the whites, or the eggs won't whip properly.
- Sugar - I use caster sugar, but as you mill it in the beginning anyway, you can also use granulated white sugar.
- Vanilla extract
- Cornflour
- White vinegar

How to make the Pavlova Base
Making the pavlova base in the Thermomix is super simple and this easy recipe takes just a few minutes.
Start by whizzing up the sugar - you can make meringue with caster sugar as it is, but I think it mixes in even better if you mill it further.
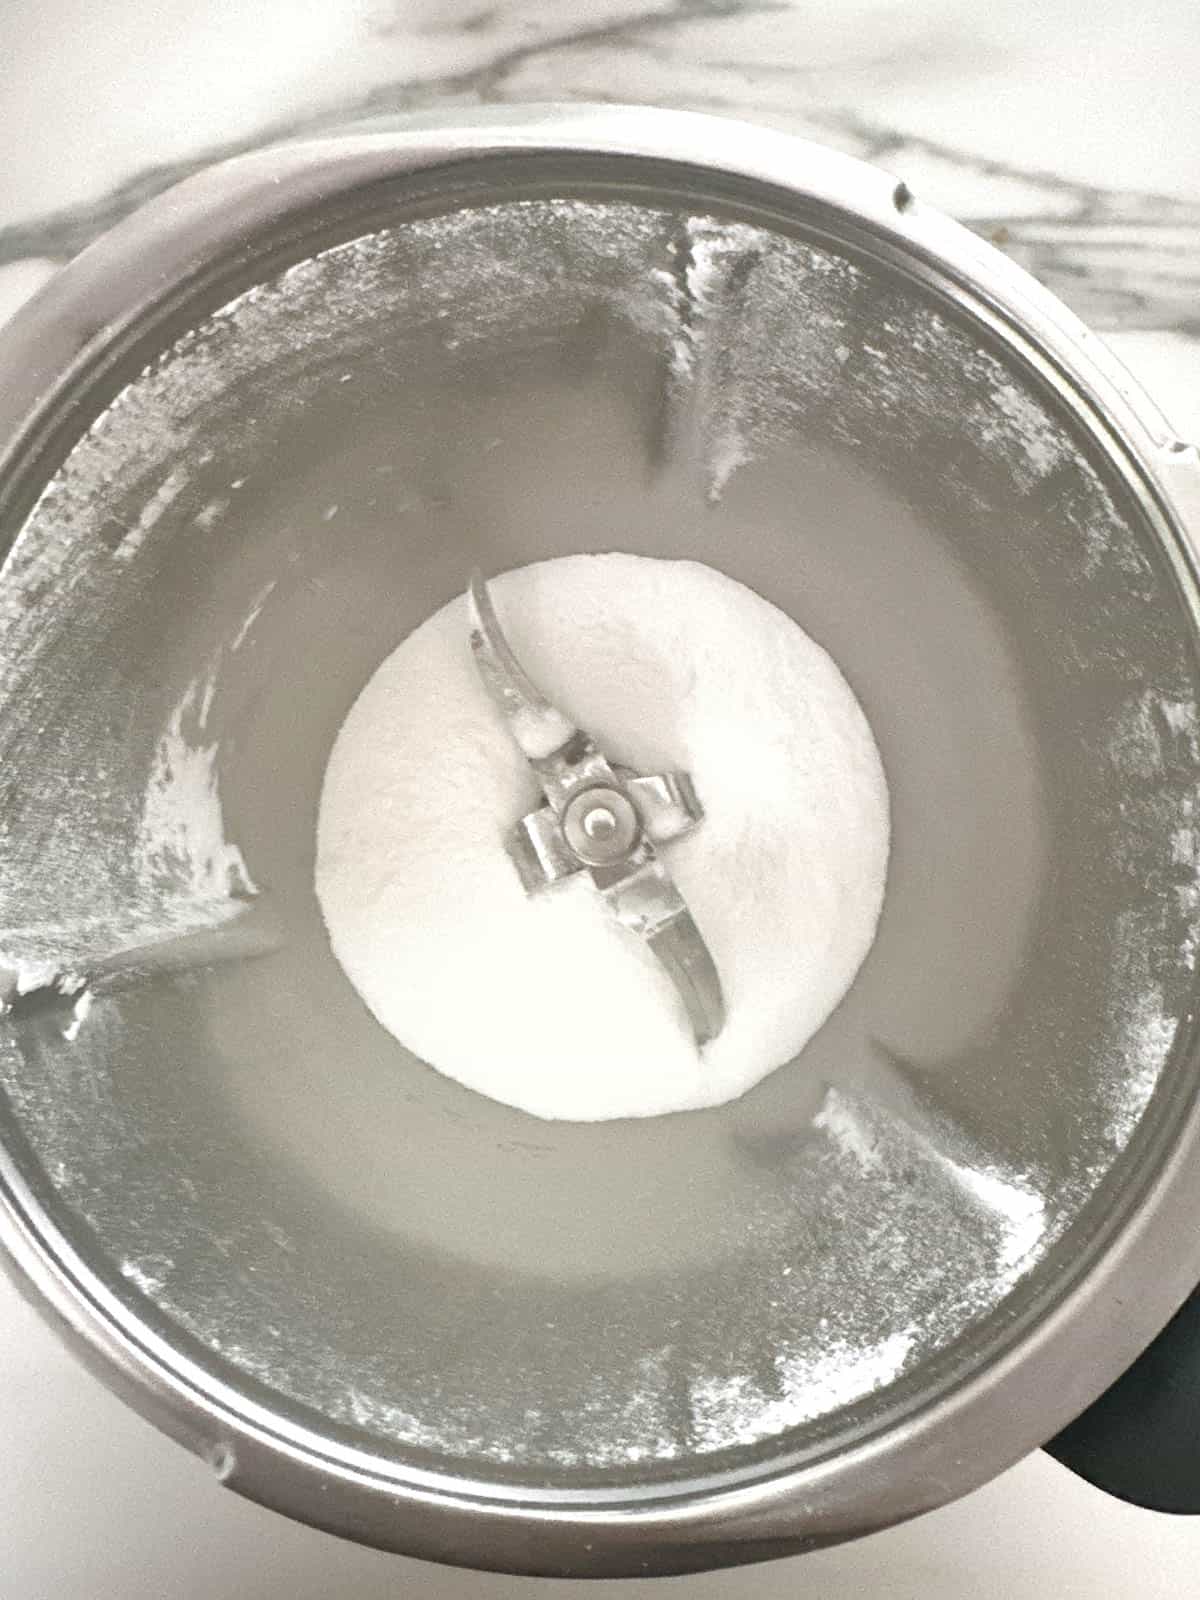
Set the sugar aside and ensure the bowl is completely clean and dry before you place egg whites in there. (This is where a second bowl would be handy.)
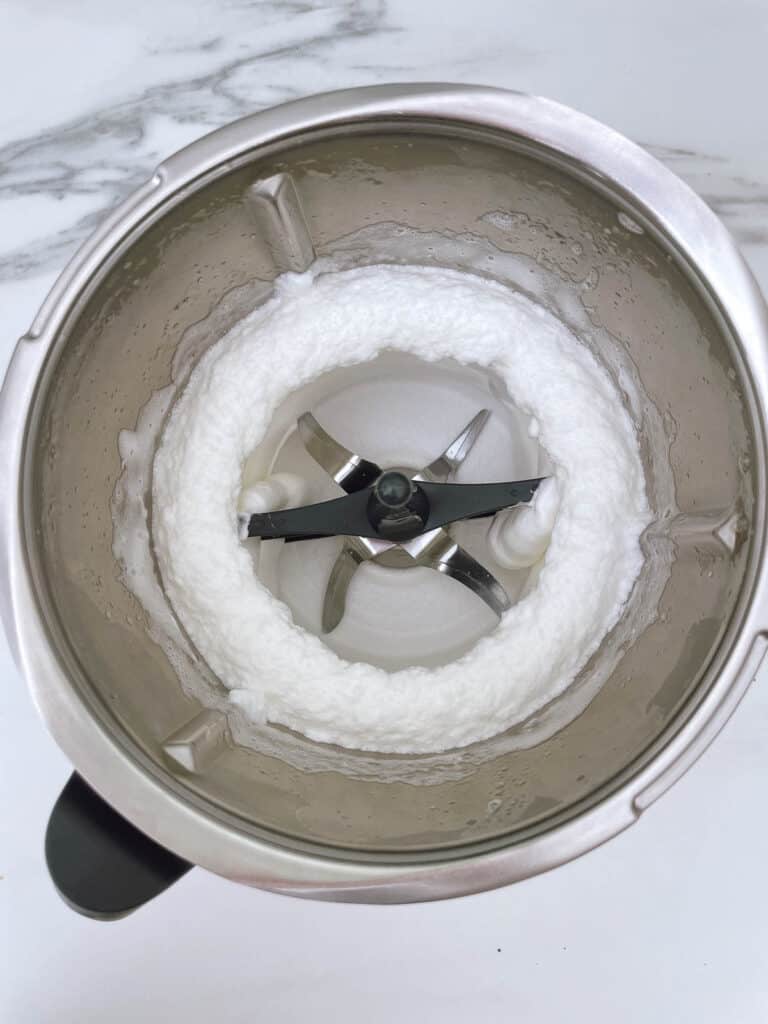
You will need the butterfly whisk in the bowl and whisk the egg whites for 2 minutes / 37 degrees / speed 3.5 with the measuring cup off to allow the air to circulate. The eggs should be stiff and fluffy.
Now set the timer to 3 minutes and the speed to 3. With the measuring cup off, slowly - one tablespoon at a time - add the sugar through the hole in the lid of the mixing bowl.
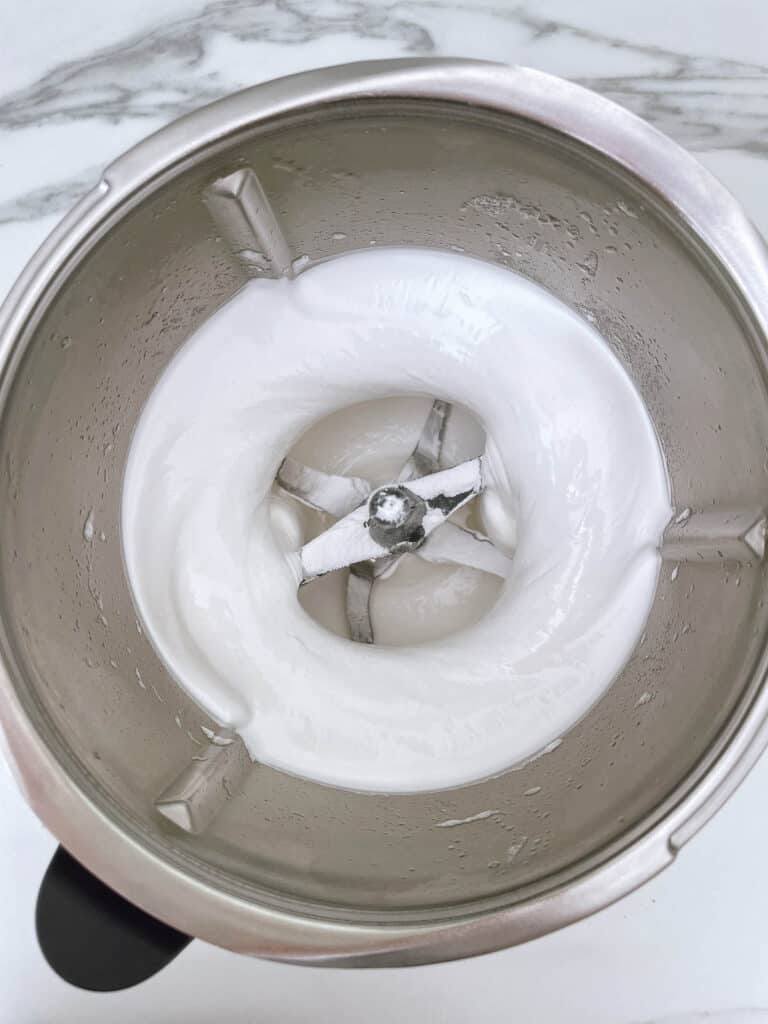
The mixture should be smooth, glossy and shiny.
Next add the cornflour and vinegar to the Thermomix bowl and mix for a further 30 seconds / speed 3.
It is now ready to bake.
Line a baking tray with baking paper and spoon out the mixture into a circle (you can draw a circle on the paper first if you think it will help). It should be around 20cm in diameter.
Now place it in the oven. The oven should be pre-heated to 150C / 300F. But as soon as you put the pavlova in the oven, you need to reduce the temperature to 100C / 250F.
Cook the pavlova for 1 hour and a half and then turn off the oven but don't open the door and leave the pavlova in the oven until it is completely cool - this will take several hours.
Don't keep peeking in the oven while it is cooking!
Assembling the pavlova
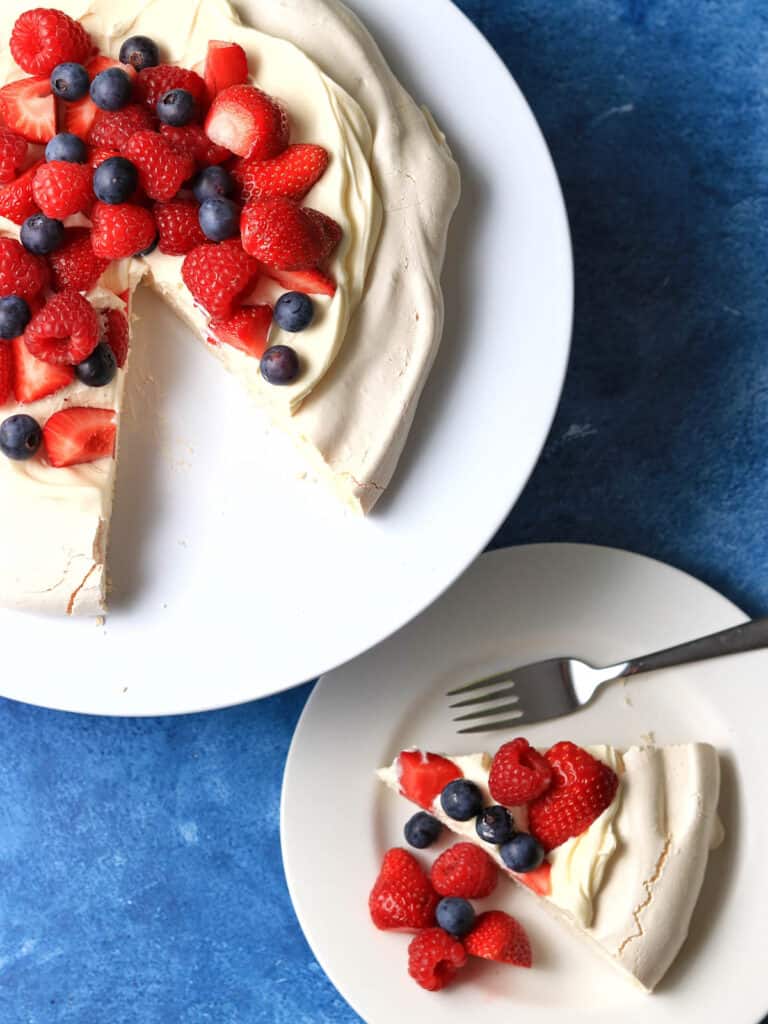
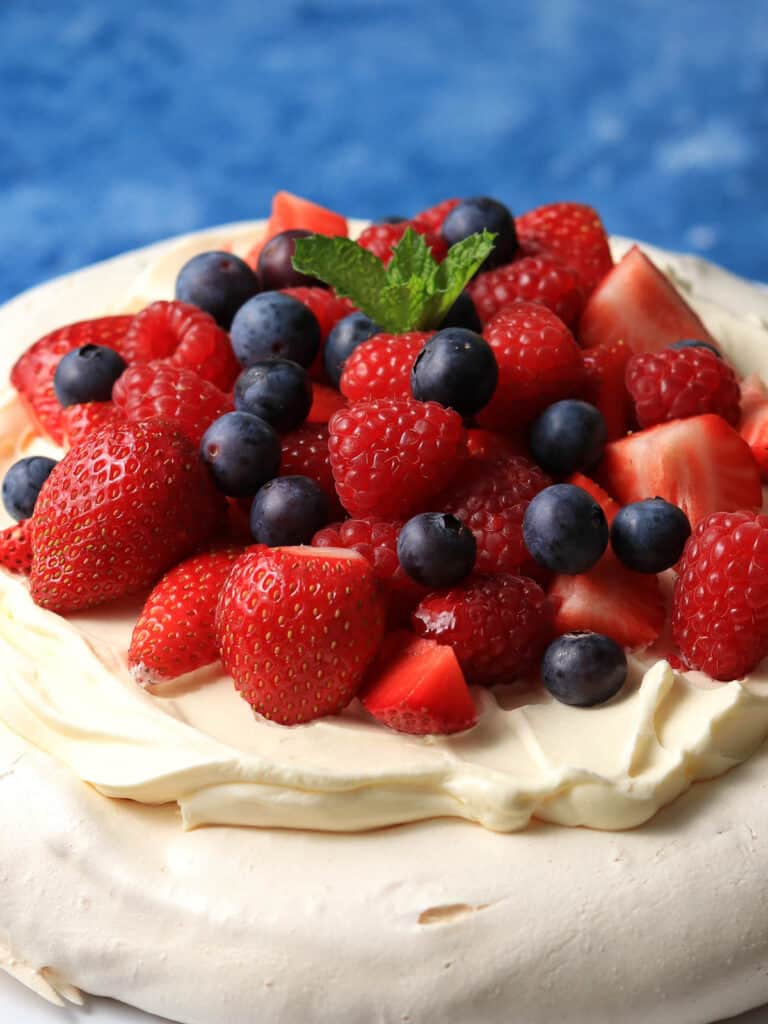
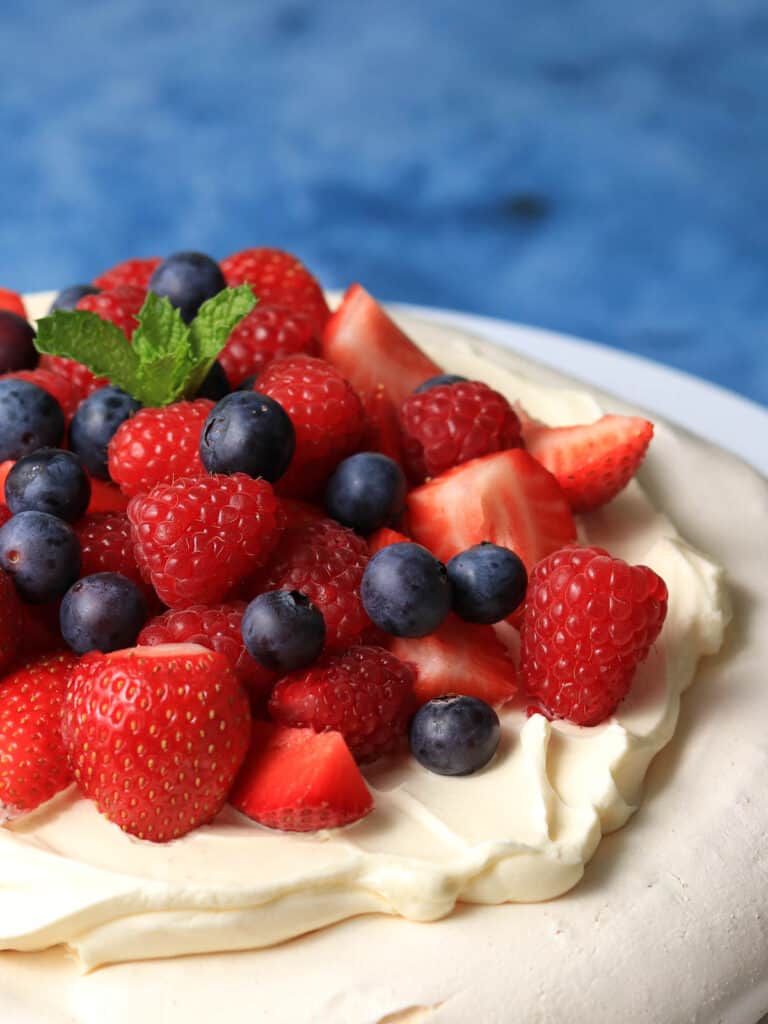
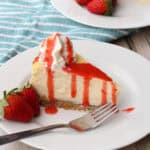
What makes pavlova so amazing is the incredible combination of meringue with fresh whipped cream and fruit.
Whipping cream in the Thermomix is super quick and easy but you do need to keep a close eye on it to make sure it doesn't split.
To do this, just keep the measuring cup off and look through the hole in the lid while it is whipping - you will notice it starting to change in texture as it is nearly ready.
Read more about making Thermomix Whipped Cream here.
To assemble the pavlova, all you need to do is pile the cream on top of the meringue base and top it with fresh cut fruit.
Best toppings for pavlova
I love fresh fruit on a pavlova - either berries or tropical fruit are the most popular, but you can have fun experimenting with different toppings.
Because of the sweetness of the meringue, including a sharper fruit like raspberries or passion fruit always works well.
Here are some ideas:
- Berries - strawberries, raspberries and blueberries
- Tropical fruit - mango, passionfruit and pineapple or kiwi fruit. Don't forget the Passion fruit coulis!
- Cherries & chocolate - cherries, chocolate flakes and coconut flakes
- Banoffee - sliced bananas, creme de leche and chocolate flakes
- Lemon & berry - lemon curd, rasperries and fresh mint leaves
What is the Secret to a good pavlova?
Making pavlova is really not that difficult but there are a few rules you should follow. Here are my top tips:
- Make sure your bowl is completely clean and dry before starting.
- Egg whites whisk best when they are at room temperature (but eggs are easier to separate when cold from the fridge).
- Be very careful when you separate the eggs. The slightest speck of egg yolk in the whites will stop them from whisking properly.
- Add the sugar slowly - one spoonful at a time to ensure the sugar gets incorporated properly.
- If possible, try to avoid overly humid days.
- Bake the pavlova base at a low oven temperature.
- Leave it in the oven to cool completely.
FAQs and Tips
You can make the pavlova base and store in an airtight container for up to two days. It is best not to top the pavlova with whipped cream and fruit until close to when you are ready to serve it.
The base can be kept in an airtight container for up to two days.
Pavlova is definitely best eaten on the day it is made. However it will last in the fridge for up to two days - just cover it with plastic wrap or in an airtight container.
Pavlova does not freeze well. The base can go soft and sticky when it defrosts and it is therefore best eaten fresh.
A pavlova can go brown if your oven is too hot. If you find your pavlova is going brown, try reducing the heat of your oven by 10C next time.
Vinegar and cornflour act as a stabilise for the meringue and helps prevent it from collapsing and/or cracking. It also helps to get that classic soft and chewy centre to the meringue base.
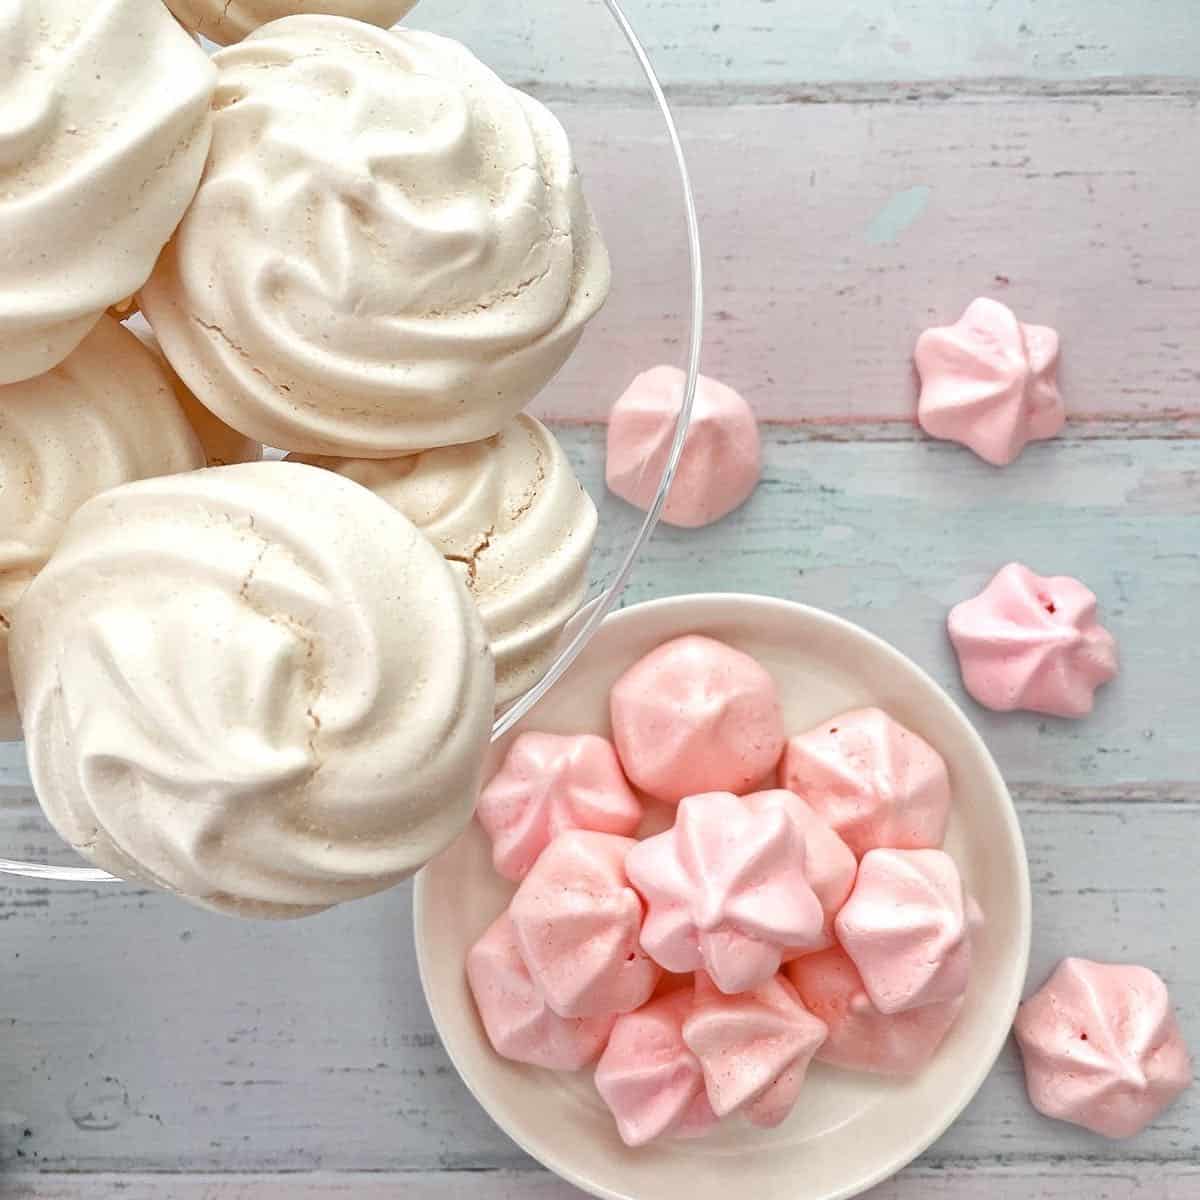
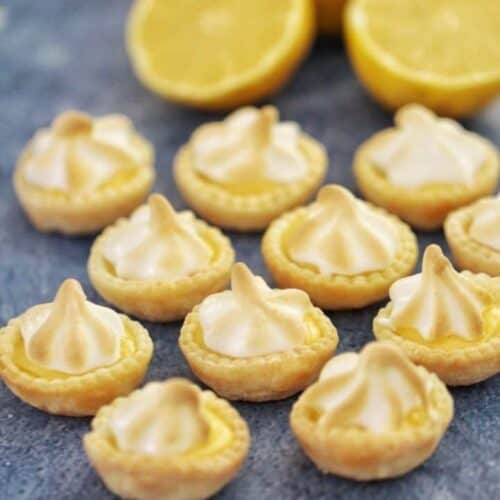
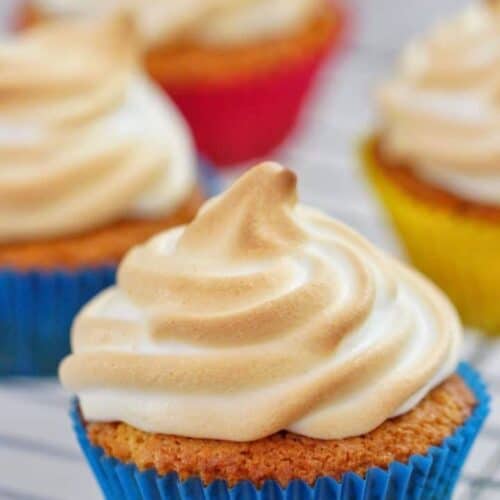
Love Meringues? You may like these recipes:
Did you try this recipe? Please leave me a ⭐ review below!
Don’t forget to tag me on Instagram @mamalovestocookblog and follow along on Pinterest and Facebook! Enjoy!!!
Thermomix Pavlova
Ingredients
- 4 large egg whites
- 220 g caster sugar
- 1 teaspoon vanilla extract
- 1 tablespoon cornflour corn starch
- 1 teaspoon white vinegar
- 375 g thickened cream
- Fresh seasonal fruit for topping
Instructions
To make the Meringue Base
- Pre-heat the oven to 150C / 300F. Line a baking sheet with baking paper.
- Add sugar to the Thermomix bowl. Mill for 10 seconds / speed 9. Set aside.
- Now thoroughly clean and dry the Thermomix bowl.
- Insert butterfly and add egg whites to the bowl. Whisk for 2 minutes / 37 degrees / speed 3.5 / MC off. The egg whites should be stiff and fluffy.
- Add vanilla extract. Set the Thermomix to 3 minutes / speed 3 / MC off and slowly - 1 tablespoon at a time - add the sugar through the hole in the lid. The mixture should be smooth and glossy.
- Add the cornflour and vinegar. MIx for 30 seconds / speed 3 / MC off.
- Carefully spoon the mixture onto your baking sheet into a circle shape (you can draw a circle on the paper first if it makes it easier). It should be around 20cm in diameter.
- Reduce the oven temperature to 100 C / 210 F. Bake the pavlova in the oven for 1 hour and 30 minutes.
- Now switch off the oven and leave the pavlova in the oven until it is completely cool (this will take several hours, you can even leave it overnight).
To assemble the pavlova
- To make the whipped cream, insert the butterfly attachment. Add the cream to the bowl and whip for around 1 - 1:30 minutes / speed 3 / MC off. Watch it carefully from 30 seconds onwards and keep an eye out for the texture changing to avoid over whipping. You want it to be thick and fluffy.
- Carefully peel the pavlova from the baking paper and transfer to a serving plate.
- Top the pavlova wth the whipped cream and pile the fruit on top. Serve immediately.

Wow I've never attempted a pavlova before and was really worried it would be a disaster. I followed this recipe exactly and it came out perfect! Crunchy on the outside and beautiful soft on the inside and delicious! Thanks so much!
Yay! I'm so pleased you enjoyed and it was a success 🙂
Hi
Can this recipe be doubled successfully for a larger pav?
Any tips for a pav beginner???
Thanks Allana
I don't see why you can't double the recipe (although I haven't tried). All my top tips are included in the article above 🙂
Looks delicious! Is the oven temperature fan forced or without?
Hi Lydia, all my recipes use a fan-forced oven. Thanks!
How long will the naked pavlova last?