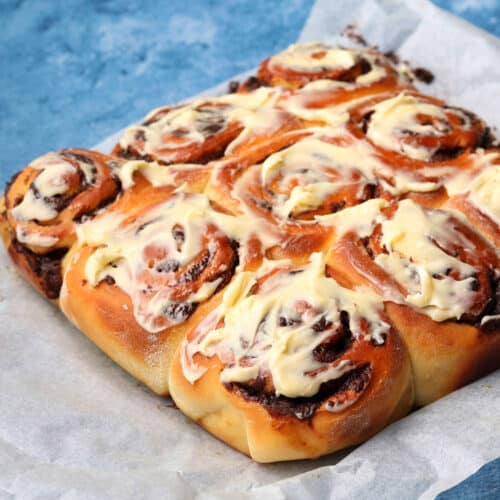
These soft fluffy Thermomix Cheese and Bacon Rolls are smothered with melted cheese and crispy bacon pieces, with the added bonus of a delicious cheesy filling.

These Cheese and Bacon Rolls are very similar to the ones you can buy at Baker's Delight here in Australia.
But I like to give mine an extra kick of cheese and bacon by stuffing the inside of the roll too. If you are in a rush you can skip this step and just go with the traditional way of just having the cheese and bacon on top.
This recipe uses a milk bread. This makes the rolls extra soft and fluffy. I also use this milk bread in some other bread recipes, including my Thermomix Garlic Bread and Thermomix Cheese & Vegemite Scrolls.
These Cheese & Bacon rolls are perfect for lunch boxes, after-school snacks, picnics or even an on-the-go breakfast.
The rolls also freeze well, so you can keep them in the freezer then pull one out whenever you need it.
Why you'll love this recipe
- The rolls are super soft and fluffy and smothered with delicious bacon and melty cheese.
- They are perfect for lunch boxes, picnics or an on-the-go breakfast.
- They can be frozen for later.

Ingredients
This recipe uses the following ingredients. Exact quantities can be found in the recipe card at the bottom of the post.
- Milk - the milk helps make the bread really soft and fluffy. You can substitute with water but the bread won't be as soft.
- Instant yeast - this recipe uses instant yeast, which doesn't require sugar to activate it. If you are using a different type of yeast, such as fresh yeast, then read this article to learn how to substitute it. This recipe calls for two teaspoons of yeast - if you have sachets, then one 7g sachet is fine.
- Sugar
- Flour - bread flour is generally considered the best flour for baking bread because of its higher protein content. This helps create gluten, which creates chewiness in bread. However, for this recipe I usually just use good quality plain flour (all purpose flour).
- Salt - this not only gives flavour to your dough, but it also strengthens it.
- Olive oil - helps to tenderise the dough and give it some extra stretchiness.
- Egg - used for brushing the tops of the rolls.
- Bacon - I usually just use back bacon for this as it has less fat, otherwise the rolls can get too greasy.
- Cheese - I use cheddar, but you could substitute with hard mozzarella or other cheeses if you wish. A packet of shredded pizza cheese from the supermarket works fine too.
How to make Cheese & Bacon Rolls
There are a few steps to making these rolls:
- Make the bread dough
- Proof the bread dough
- Prepare the bacon and cheese
- Assemble the rolls
- Second proofing of the rolls
- Bake the rolls
Full instructions with exact steps can be found in the recipe card at the bottom of this post.
Step 1: Make the dough
The Thermomix makes light work of making bread dough, doing all the kneading for you.

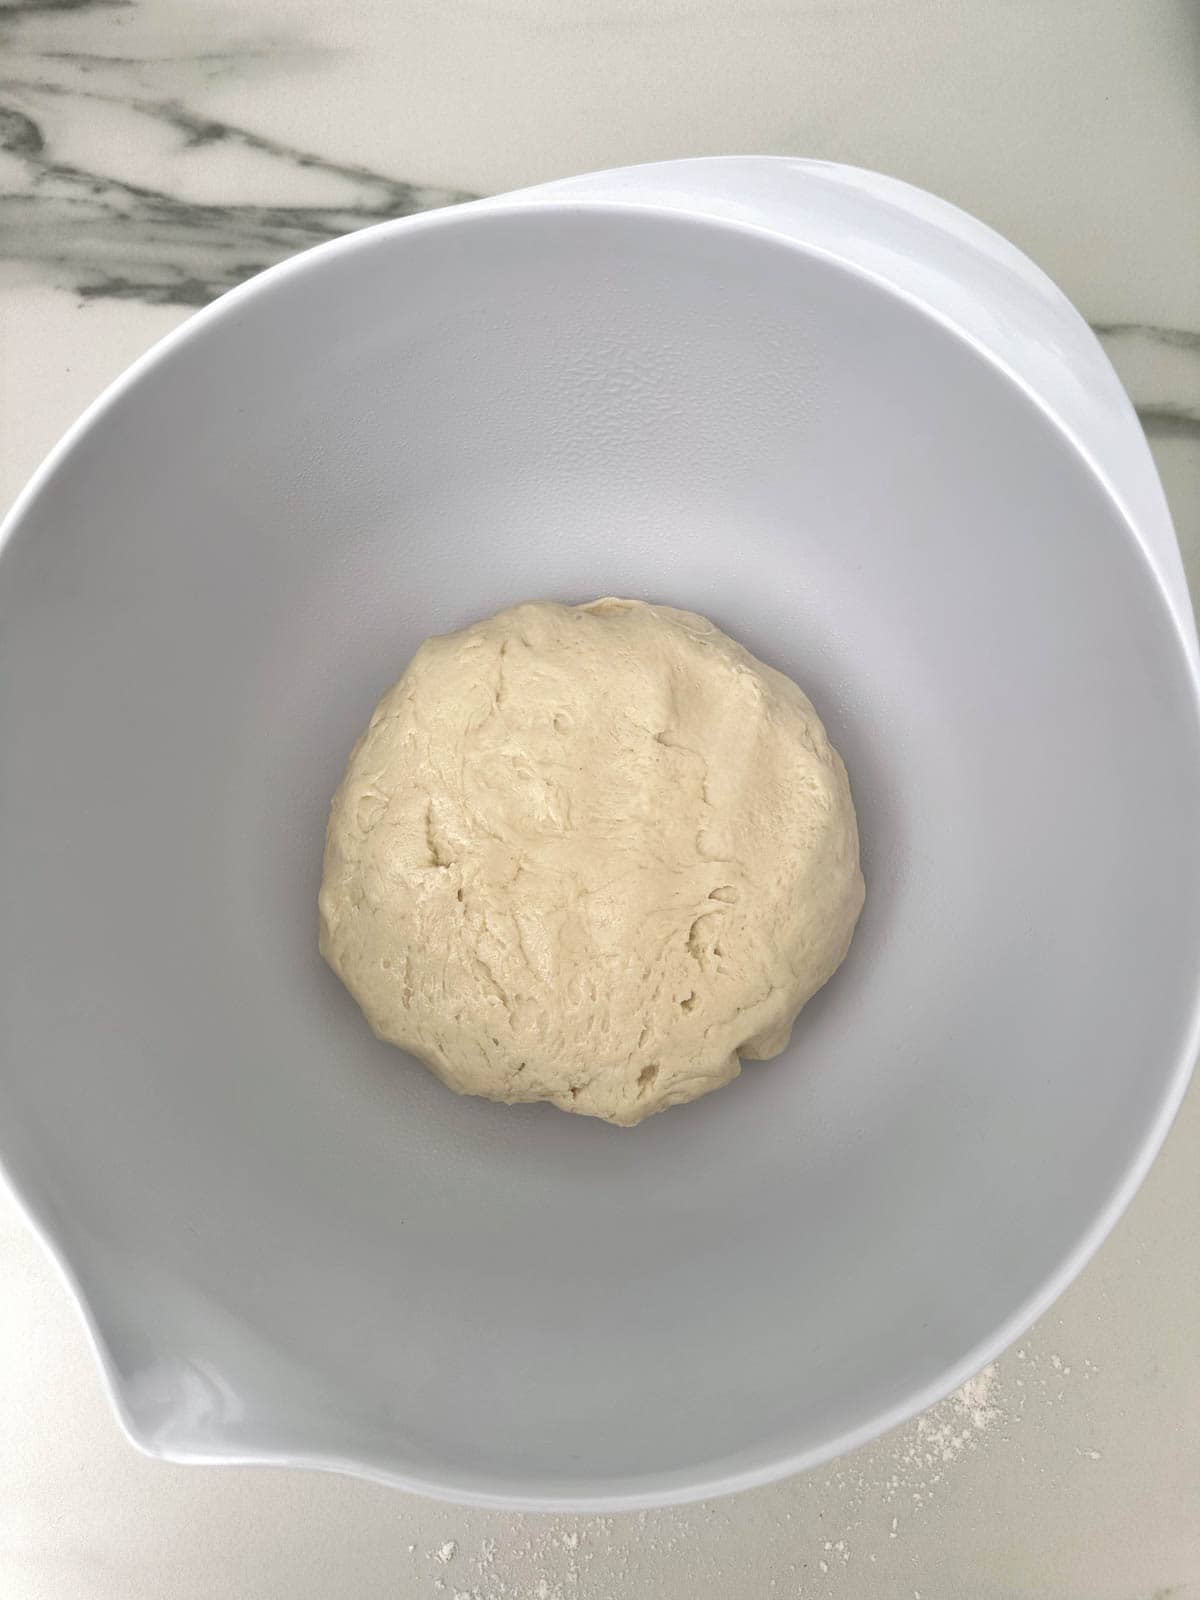
Start by adding the milk, yeast and sugar and mixing over a low heat. Then you just add the flour, salt and olive oil and let the Thermomix do all the hard work.
Note that the dough for this is quite sticky (see the photo above). Much more sticky than you would expect from pizza dough or normal Thermomix bread. Once it has proofed it will be less sticky.
Step 2: Proof the dough
Now it's time to proof the dough. To do this, place it in a large, lightly oiled bowl and cover it with a damp tea towel.
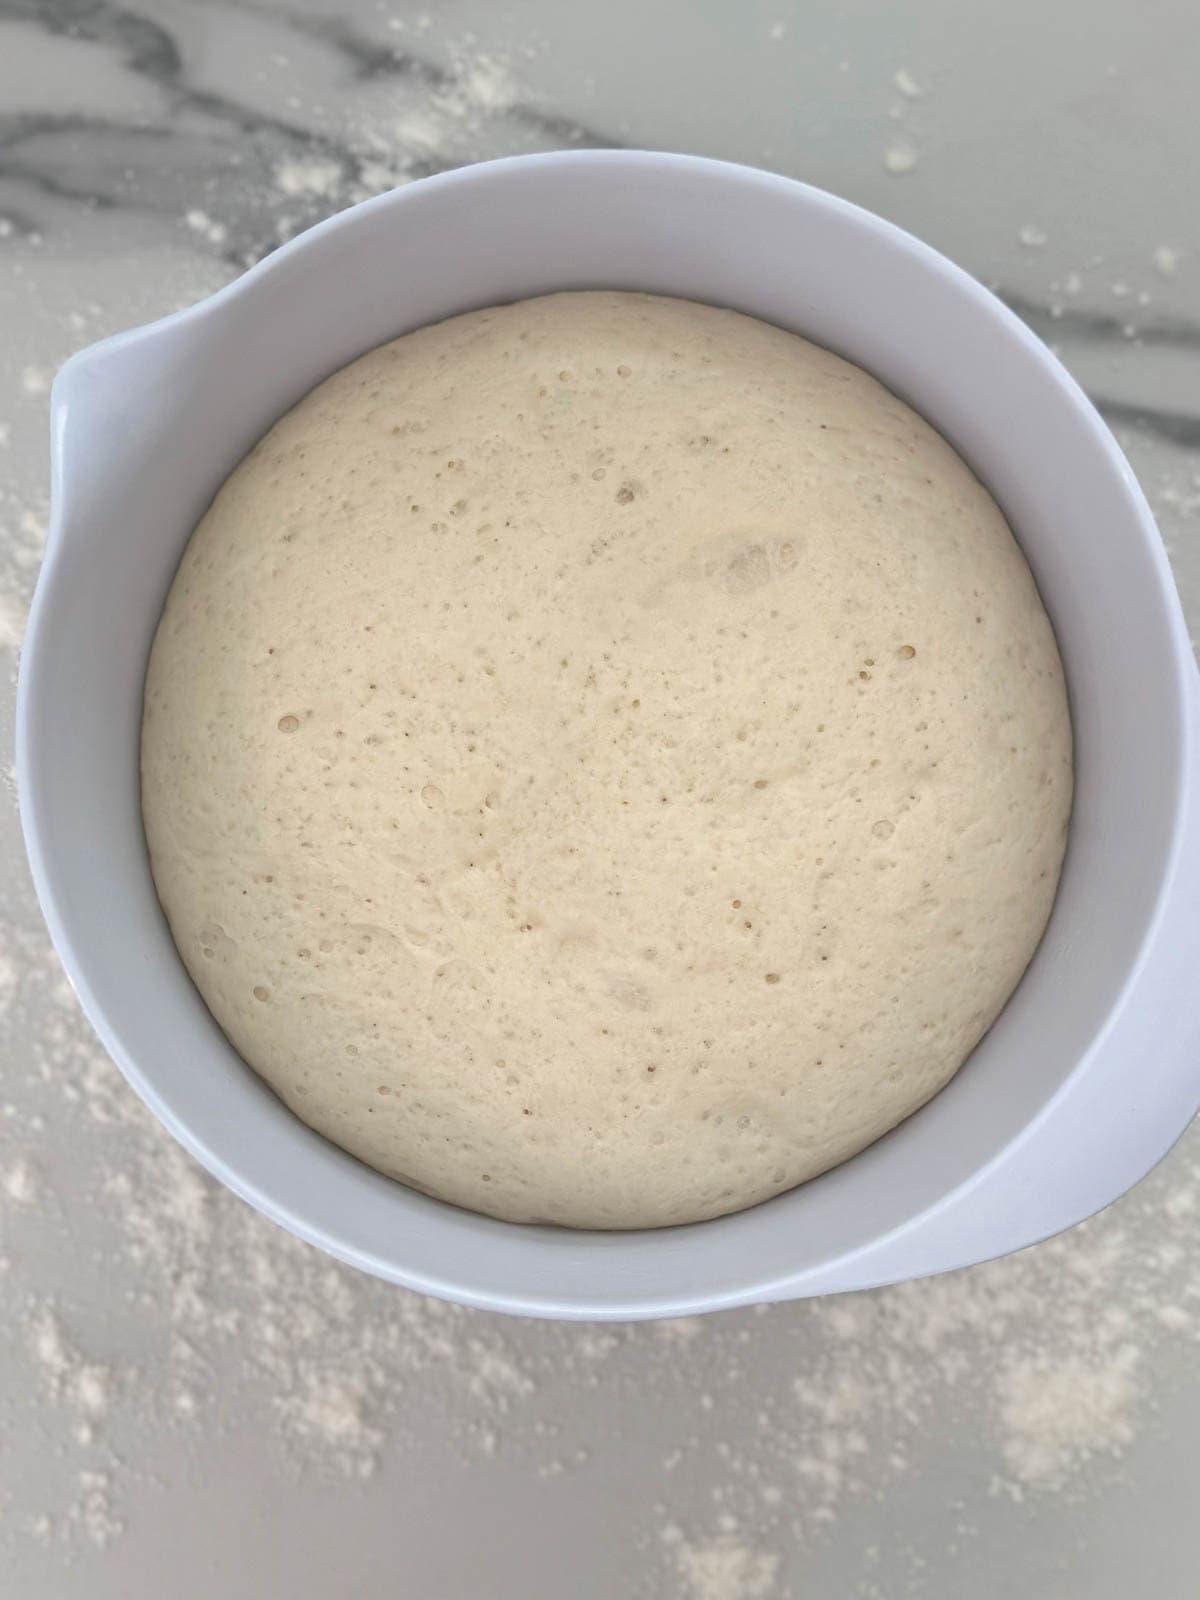
Now leave it somewhere warm to rise. You want it to double in size and be pillowy and soft.
The time this takes will depend on how warm your house is. It should be around 1 - 1.5 hours.
Step 3: Prepare the bacon and cheese
Next we need to prepare the bacon and cheese for the rolls. Firstly, grate the cheese and set aside.

Then saute half the bacon. This is the half that will go inside the rolls.
The other half of the bacon will be sprinkled over the top of the rolls uncooked and will cook in the oven while the rolls are baking.
Step 4: Assemble the Rolls
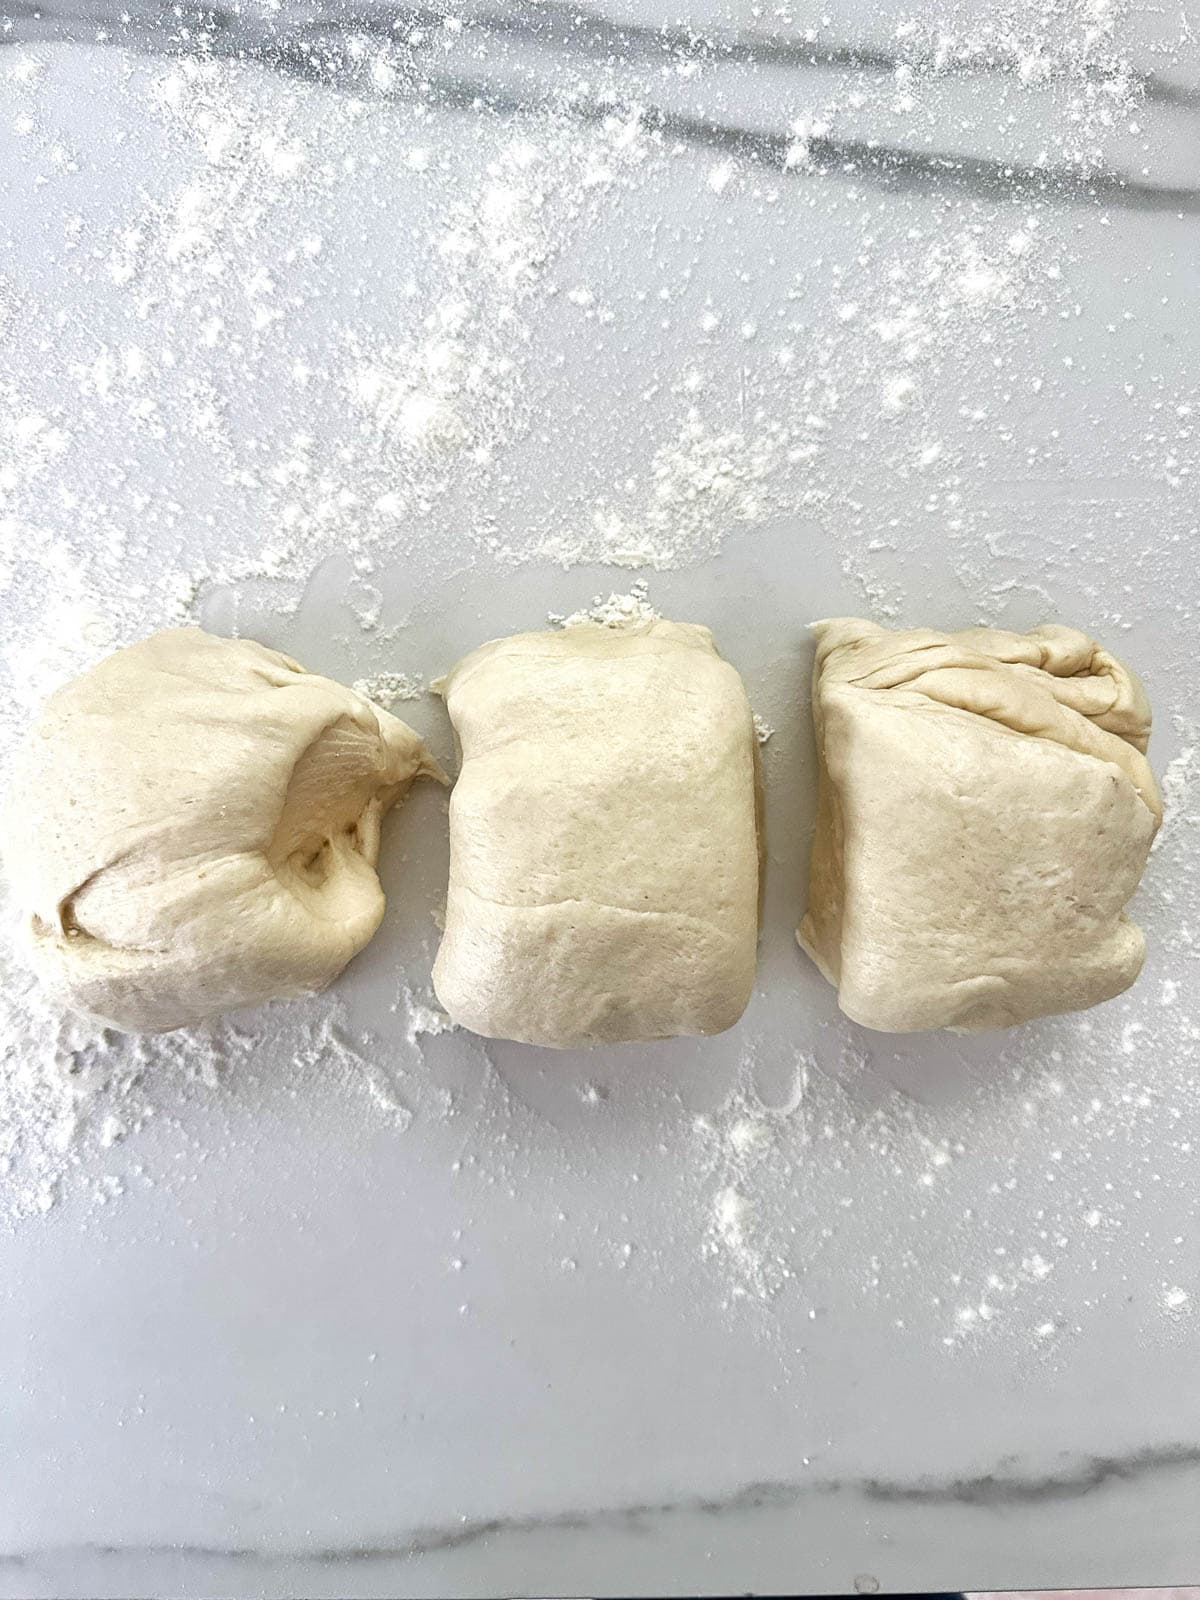
We are going to make 9 rolls. So the first step is dividing the dough into 9 equal portions.
I find the easiest way to do this is to divide the dough into 3 equal portions. And then divide each portion into 3 equal portions again.

Now take each small portion and roll it into a rough ball shape.
Make a dip in the middle of the sphere and fill it with a teaspoon of the cooked bacon and a teaspoon of cheese.

Pull the dough over the top and pinch to seal, then turn it over.
Now flour your hands and use the inside edges of your hands to tuck the edges of the dough under itself on all sides to form a ball, rotating the dough as you go. You should have a nice round ball shape with the folds underneath.
Place the balls of dough onto a baking tray lined with baking paper.

Lightly beat the egg and use a pastry brush to brush the top of the rolls.

Sprinkle the top of the rolls with the remaining grated cheese and the uncooked bacon.

Step 5: Second Proof
Cover the rolls with a clean dry tea towel and leave for a second proof for around 30 minutes to rise slightly.
Step 6: Bake the Rolls
Bake the rolls in a pre-heated oven for around 20 minutes, or until they are golden brown.
Then transfer them to a cooling rack - or eat them while still warm so the filling is nice and melty.

Love Bread? You will also love these recipes:


Did you try this recipe? Please leave me a ⭐ review below!
Don’t forget to tag me on Instagram @mamalovestocookblog and follow along on Pinterest and Facebook! Enjoy!!!

Thermomix Cheese and Bacon Rolls
Ingredients
- 330 g milk
- 2 teaspoon instant yeast (or a 7g sachet)
- 10 g sugar
- 450 g flour
- 1 teaspoon salt
- 25 g olive oil
- 200 g bacon
- 200 g cheese
Instructions
To make the dough
- Add the milk, yeast and sugar to the Thermomix bowl. Mix for 1 minute / 37 degrees / speed 1.
- Add the flour, salt and 20g of olive oil to the bowl. Mix for 20 seconds / speed 3. Then knead for 5 minutes / DOUGH function.
- Transfer to a large, lightly oiled bowl and cover with a damp tea towel. Leave in a warm place to proof until doubled in size.The time this takes depends on how warm your house is, but it should take around 1 - 1.5 hours.
Prepare the cheese and bacon
- Cut the cheese into pieces and add to the Thermomix bowl. Grate for 5 seconds / speed 8. Set aside.
- Wipe out the bowl to remove any leftover cheese. Chop the bacon into small pieces. Set aside half of the bacon and add the remaining half (100g) and the remaining 5g of olive oil to the Thermomix bowl. Cook for 10 minutes / 120 degrees / speed 1. Set aside.
To assemble the rolls
- Turn the dough out onto a floured surface and knock out the air. Divide the dough into three equal portions, then divide each portion into three equal portions again, so that you have nine portions.
- Form each portion into a rough ball. Hollow out the middle of the sphere and add a teaspoon of the cooked bacon and a teaspoon of the grated cheese. Now fold over the dough to cover the cheese and bacon and pinch to seal. Turn it over, flour your hands and use the inside edges of your hands to tuck the dough under itself, rotating it on the work surface as you go. This will help create smooth, even bread rolls with the folds underneath.
- Arrange the rolls on a baking tray lined with baking paper, in three rows of three.
- Lightly beat the egg and use a pastry brush to brush the egg mixture over the top of the rolls.
- Now sprinkle over the remaining cheese and the uncooked bacon.
- Now it's time for the second proof. Cover the rolls with a clean tea towel and leave them in a warm place for 30 minutes.
- Meanwhile pre-heat your oven to 180 C / 350 F.
- Bake in the oven for 20-25 minutes, until golden brown.
- Transfer to a cooling rack or serve while still warm and melty.


I've wanted to make a recipe like this for ages but kept putting it off. Today I finally made them, and I'm honestly so glad I did. They turned out super fluffy, with bits of cheese falling off and crisping up into golden, cheesy bottoms. Absolutely delicious, I’ll definitely be making them again!
Hi,Could the formed rolls be refrigerated overnight and then cooked in the morning after the second rise?
Yes that should be fine. You might even find they are even better, as I know our pizzas always taste better if the dough is in the fridge overnight.
Awesome recipe, kids mentioned better than bakers delight! I just did the egg wash, cheese and bacon bits after last raise, worked a treat. Will definitely do again
Yay! I'm so pleased the kids liked them 🙂