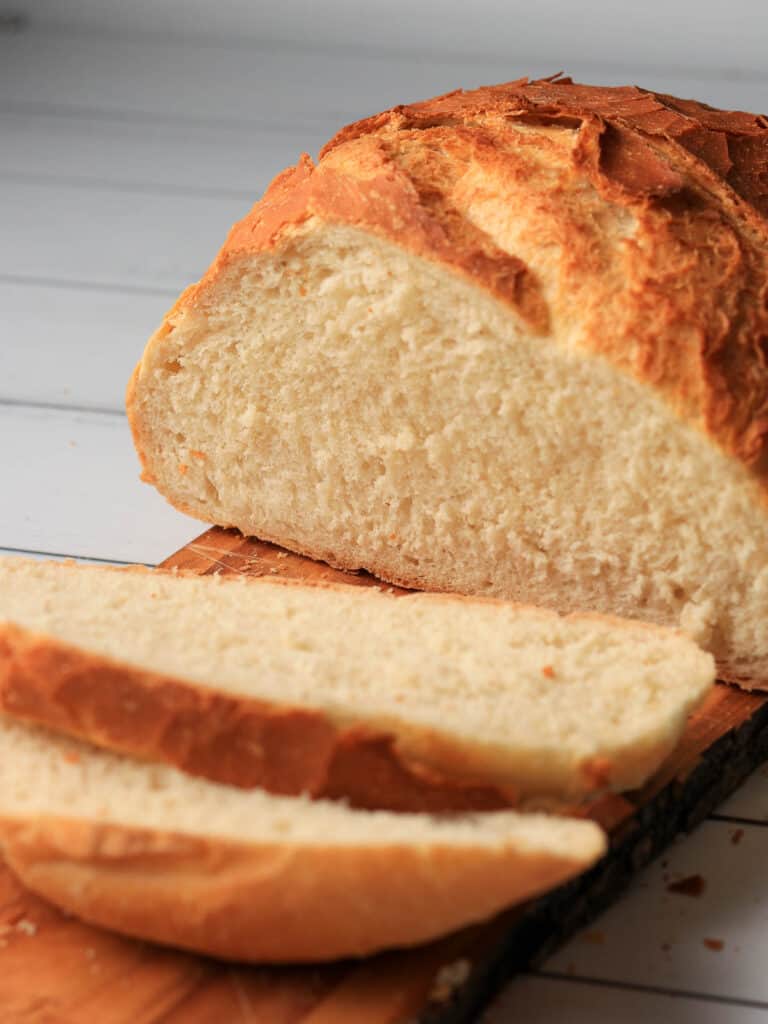
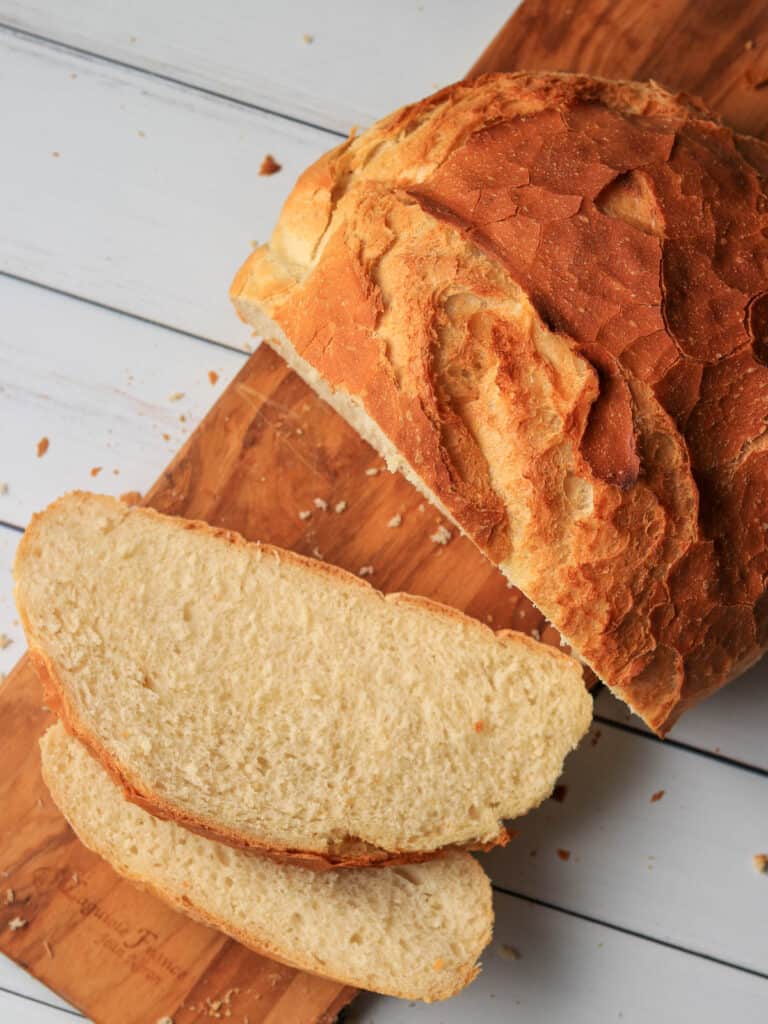
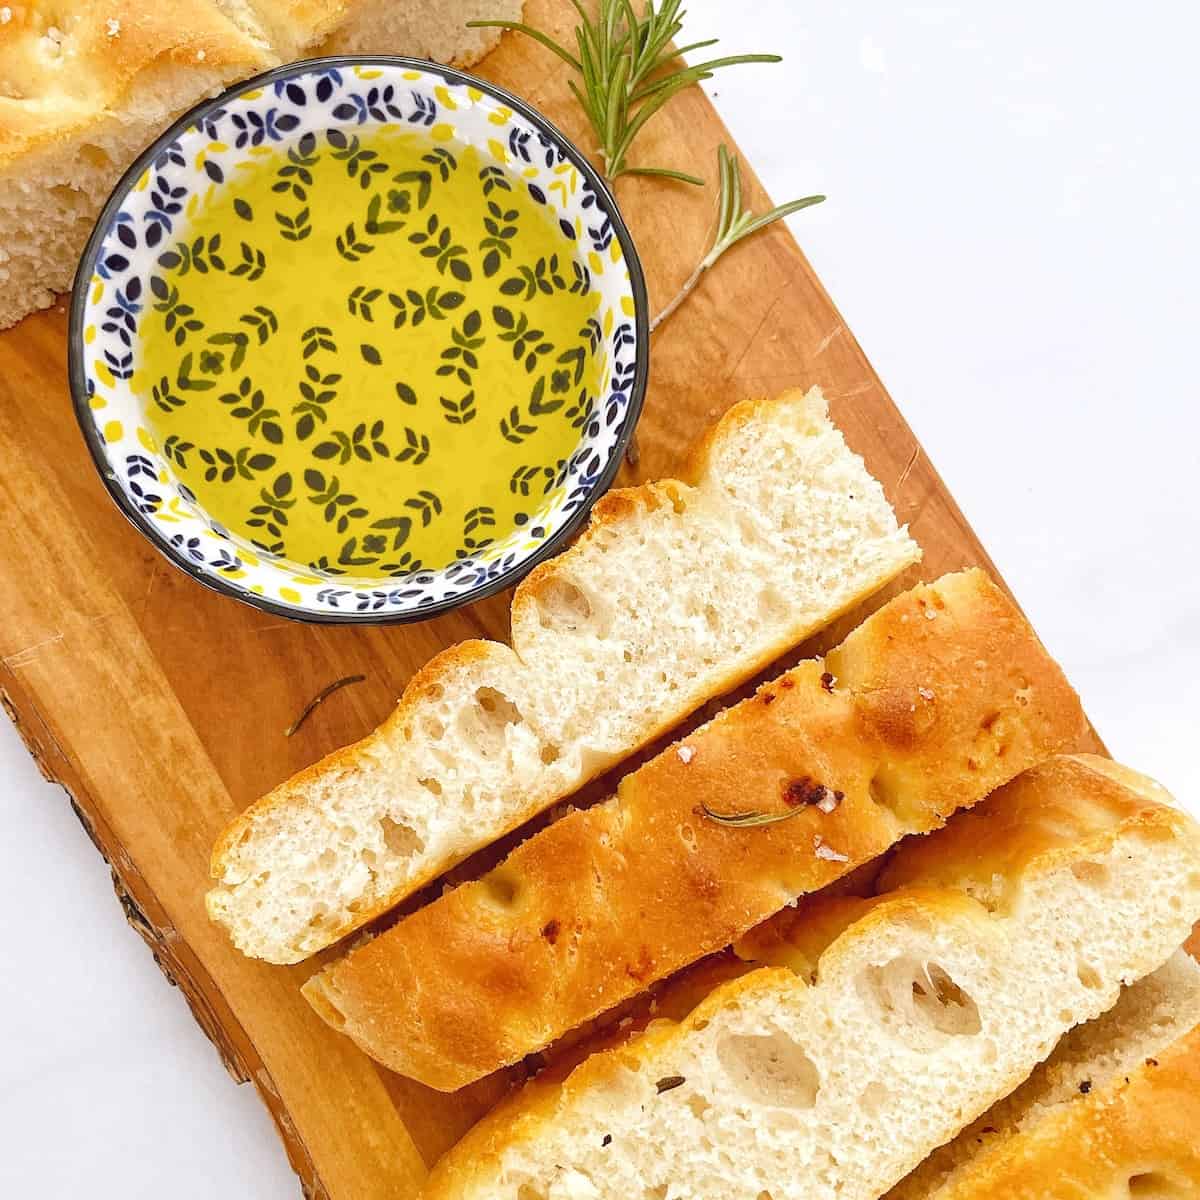
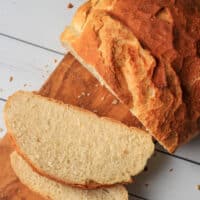
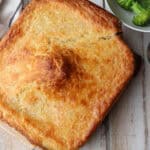
This easy Thermomix Bread recipe will have you dishing up freshly baked bread in no time. Crusty on the outside, soft in the middle - it's the perfect everyday loaf.
Having fresh bread in the house is such a treat and it is made so easy with the Thermomix. This is my go-to recipe for an everyday white bread loaf.
While it does take time to wait for the dough to proof, actual hands-on time is really minimal, making this an easy option for homemade bread.
You can start this bread off in the morning and have some freshly baked bread ready for lunchtime.
Now i am not a bread making expert by any stretch of the imagination and have never mastered the sourdough starter (yet!) but I find this recipe easy and pretty foolproof. And the kids love this bread!

Jump to:
Why you'll love this recipe
- This bread recipe is easy and relatively foolproof.
- It is deliciously crusty on the outside, soft in the middle.
- Hands-on time is minimal, with the Thermomix doing all the hard work.
- It uses just five store cupboard ingredients, plus water.
Watch me make it!
Ingredients
This bread uses the following store cupboard ingredients. Exact quantities can be found in the recipe card at the bottom of this post.
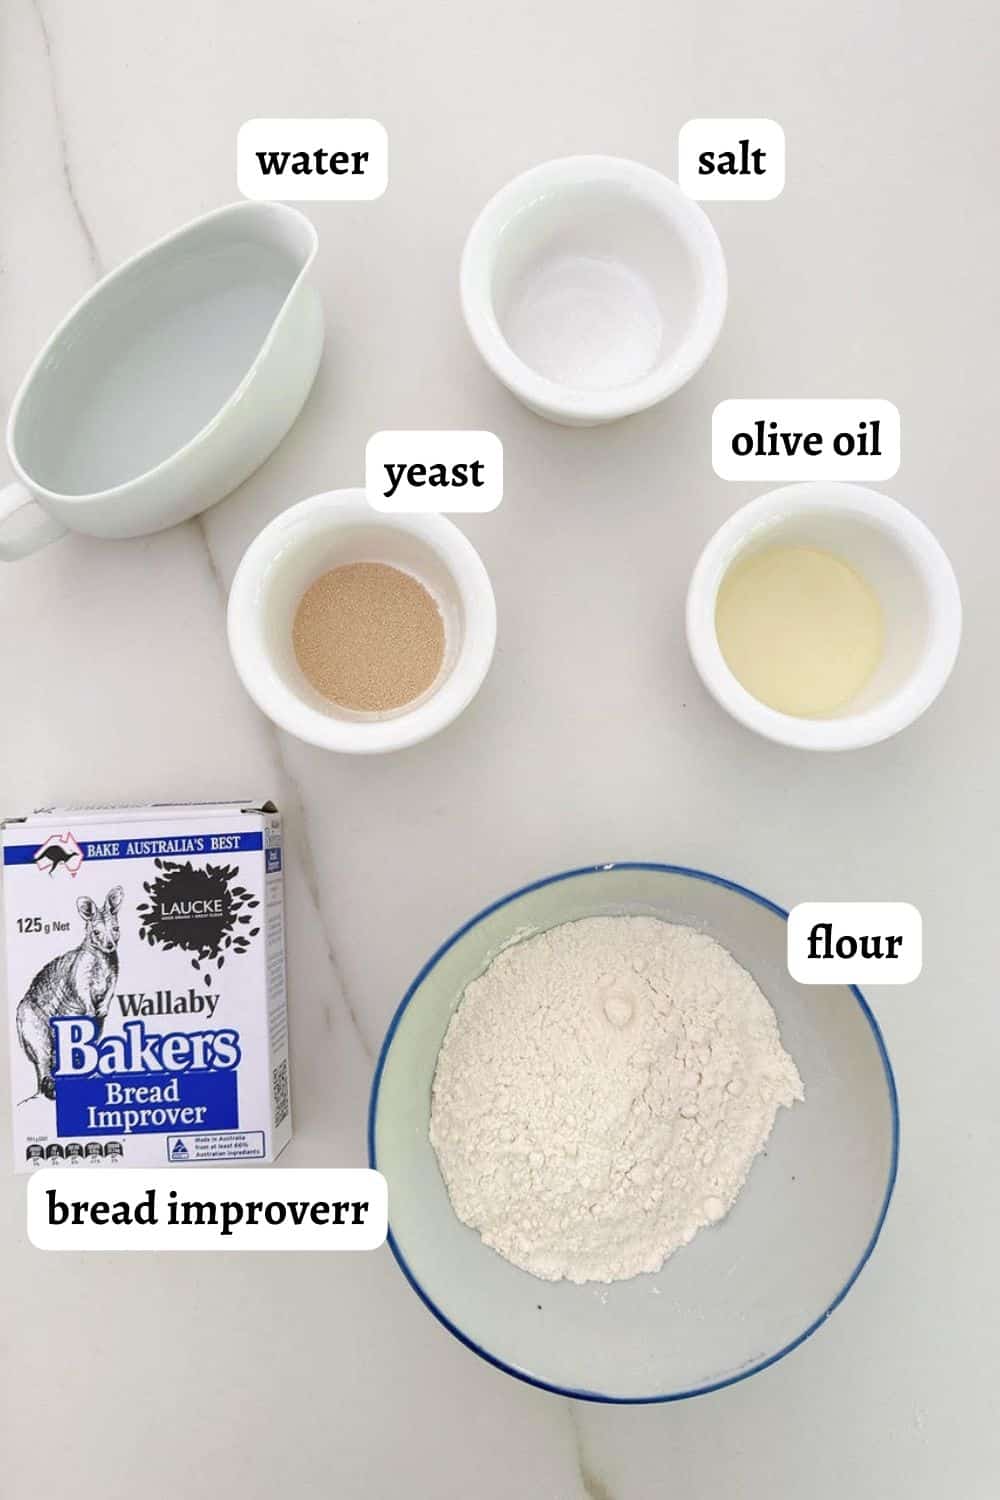
- Yeast - this recipe uses instant yeast. It does not require sugar to activate it. If you have a different type of yeast, such as fresh yeast, then read this article to learn how to substitute it. I use two teaspoons of yeast - if you have sachets, then one sachet will be fine.
- Flour - bread flour is generally considered the best flour for baking bread due to its higher protein content. The higher protein content helps create gluten, which helps create chewiness in bread. However, I regularly use good quality plain flour (all purpose flour) in this recipe (as that's what I always have in my pantry) and it turns out fine too.
- Bread improver - adding bread improver is optional but it will help create a lighter loaf and improve the texture and flavour - I particularly recommend using it if you are using plain flour in place of bread flour. Additionally it will help your loaf last longer, as homemade bread doesn't last too long thanks to a lack of preservatives. You can also substitute this with two teaspoons of apple cider vinegar.
- Salt - this not only gives flavour to your dough, but it also strengthens it.
- Olive Oil - helps to tenderise the dough and give it some extra stretchiness.
You will need
You will need the following equipment to make your Thermomix bread.
- Thermomix (obviously!)
- Large bowl - for proofing the dough.
- Clean tea towel or plastic wrap - for covering the dough as it proves.
- Cast iron pot - for baking the bread. I have a 26 cm / 5.3L Le Creuset casserole pot. I have also tried making it in a 20cm cast iron pot but the results weren't as good, so go bigger if you can.
- Baking paper/ parchment paper - for lining the cast iron pot and making it easy to transfer the bread dough.
- Wire rack - for cooling the bread once it is baked.
How to make Thermomix Bread
This easy bread recipe uses the Thermomix to make the dough and a cast iron dutch oven to bake the bread.
Full step by step instructions are available in the printable recipe card at the bottom of the post.
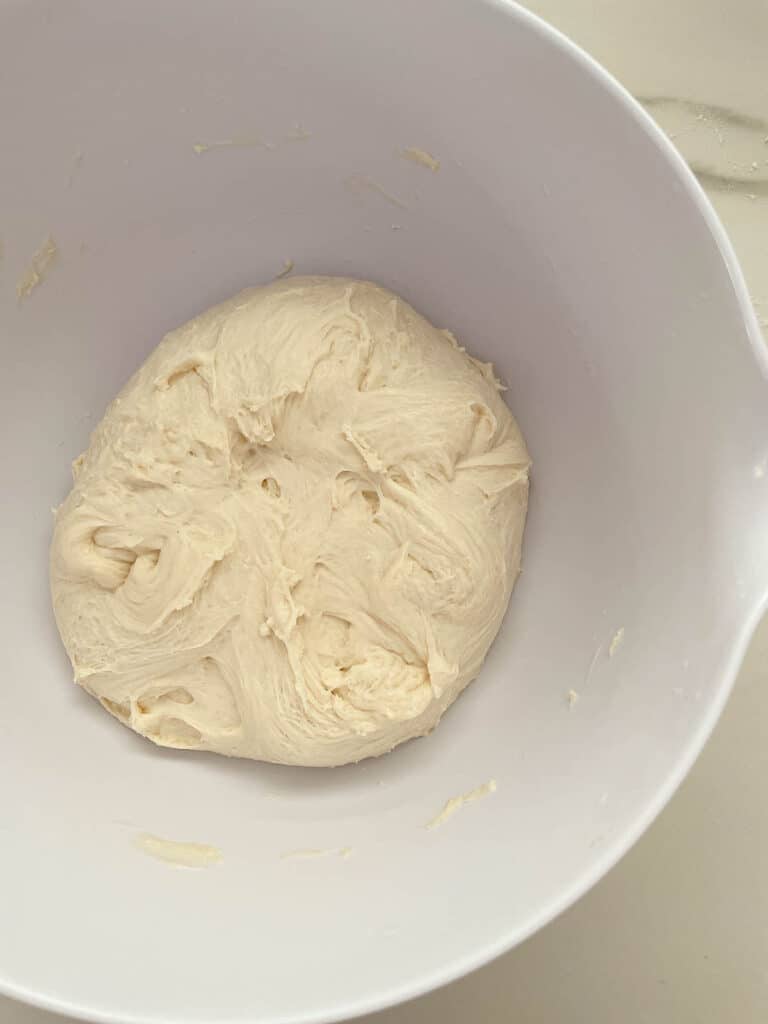
Step One: Make the Dough
Making dough in the Thermomix is super simple and one of the real beauties of the Thermomix - it does all the hard work of kneading for you.
To make the dough, place water and yeast in the Thermomix bowl and warm it slightly. Then just add the remaining ingredients and let the Thermomix dough/knead function work its magic.
It is quite a sticky dough but should come away from the edge of the mixing bowl easily. If you think it is too sticky, add a tablespoon of flour and knead for a further 20 seconds.
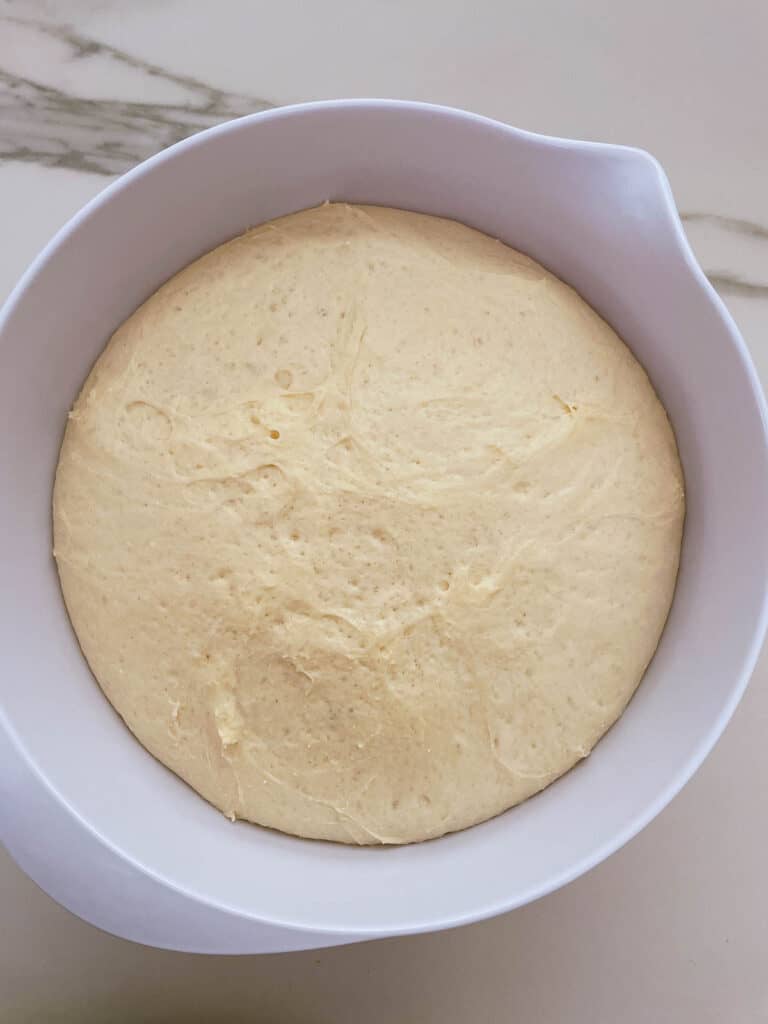
Step Two: Proofing the Dough
Remove the bread dough from the Thermomix and transfer to a lightly oiled bowl. Cover with a damp tea towel (or cling film) and leave in a warm place for around 2 hours, until doubled in size.
Tip: the time it takes to double in size will depend on how warm your house is.
Now use your hands to scrape the dough from the sides of the bowl and fold it in towards the centre. It should deflate pretty quickly.
Keep turning the bowl and pulling the dough from the edge to the center until it is all done.
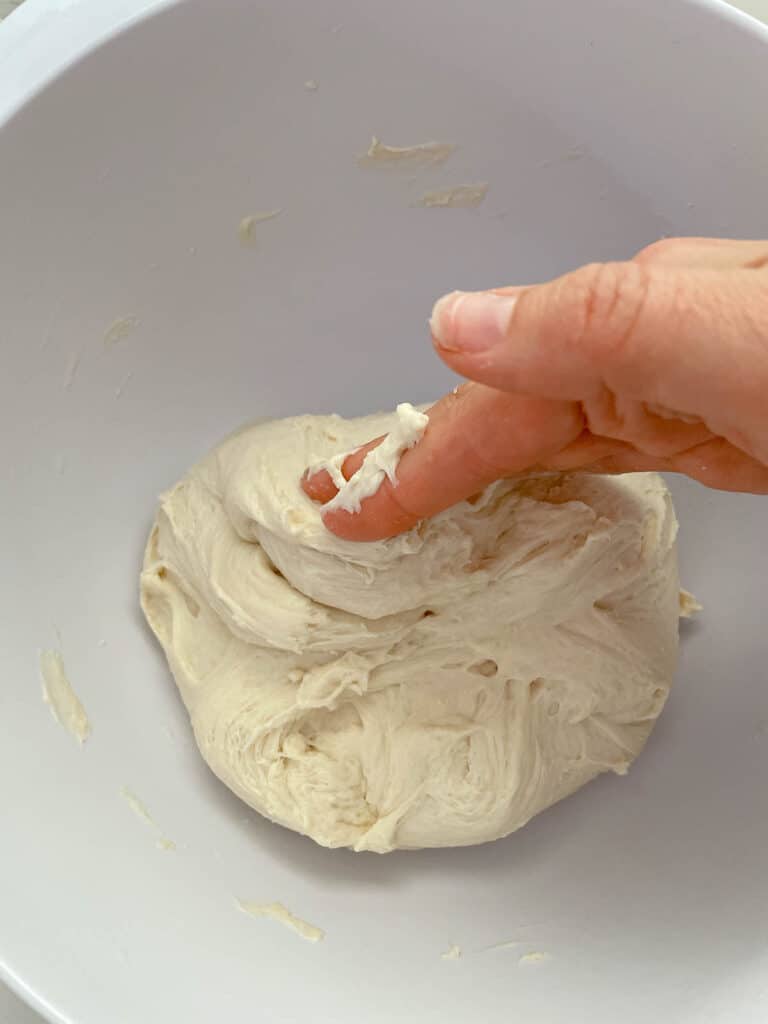
Cover again with the damp tea towel and leave it to prove for another 1-2 hours until it has doubled in size again.
Step three: shaping the dough and preparing for baking
Now you pre-heat the oven and place your cast iron pot inside with the lid on. Pre-heating the pot is going to create the perfect environment for baking the bread.
Meanwhile, turn the bread out onto a floured surface. Use floured hands and the inside edges of your hands to tuck the edges of the dough under itself on all sides to form a dough.
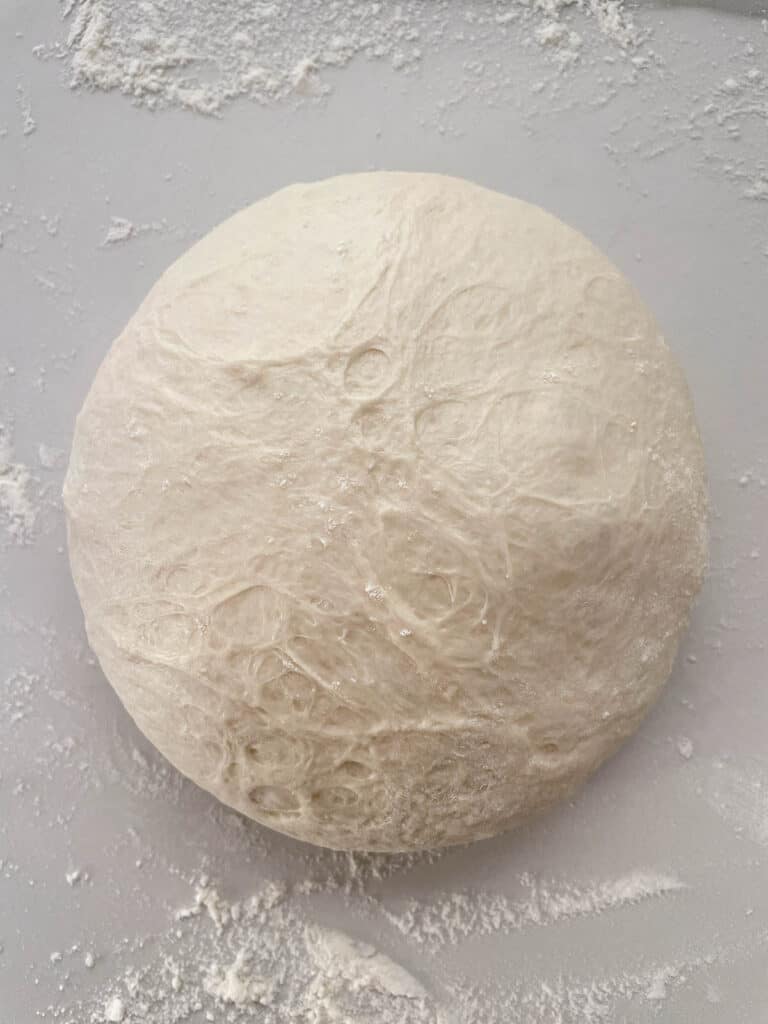
You can rotate the dough as you do this to get a nice even round ball.
Now line your bowl with baking paper - ensure there is enough paper to overlap the sides to make it easy to lift the dough out.

Place the dough seam side down onto the paper in the bowl. Cover it again with the damp towel until your cast iron pot has heated.
Step four: baking the bread
You are now ready to bake the bread! CAREFULLY remove the cast iron from the oven. It will be VERY HOT!
Now use the baking paper to lift the dough out of the bowl and transfer it into the cast iron pot.
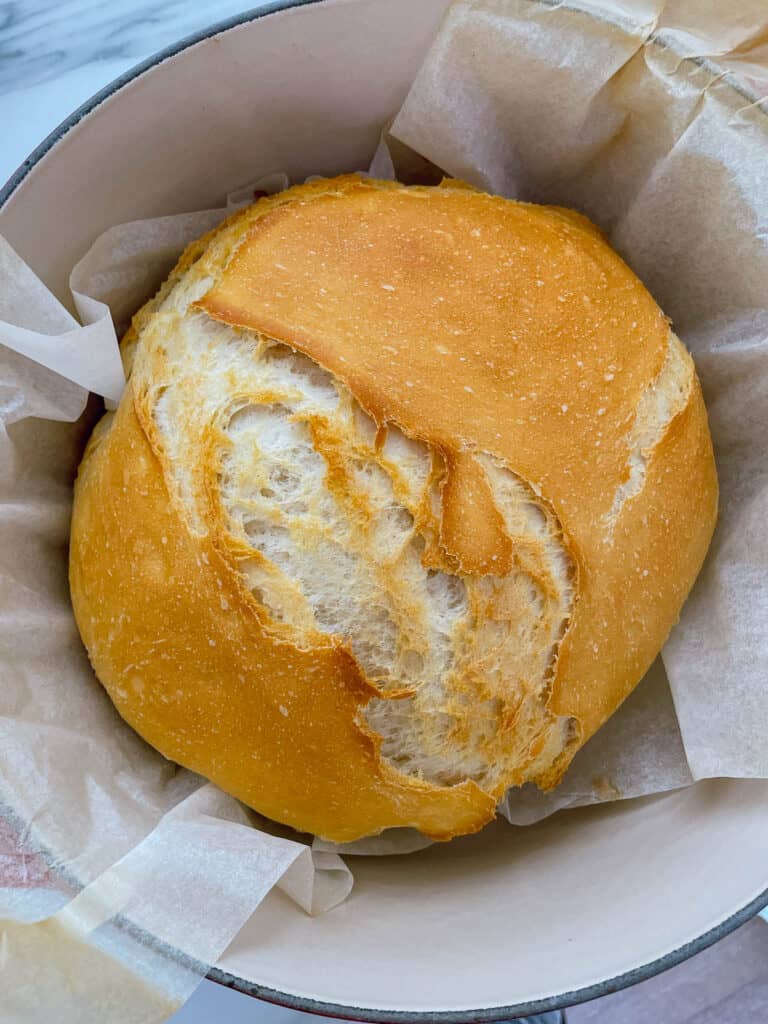
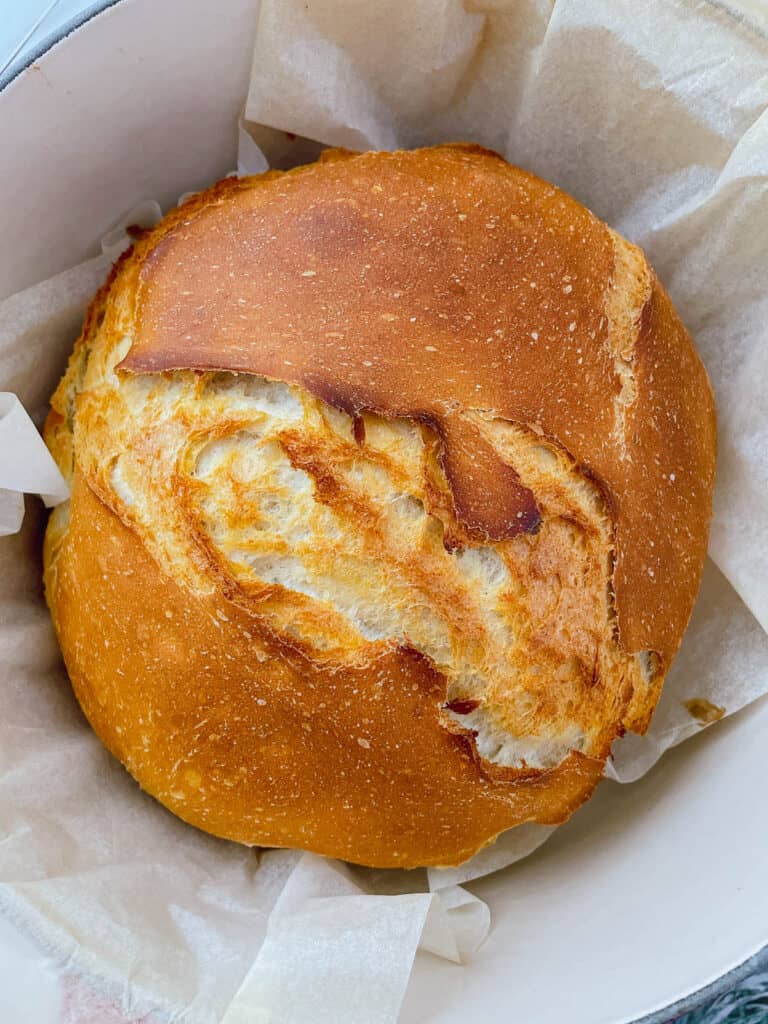
Put the lid on and place it back in the hot oven for 30 minutes. Then remove the lid and continue to bake for a further 10-15 minutes until the crust is nicely browned.
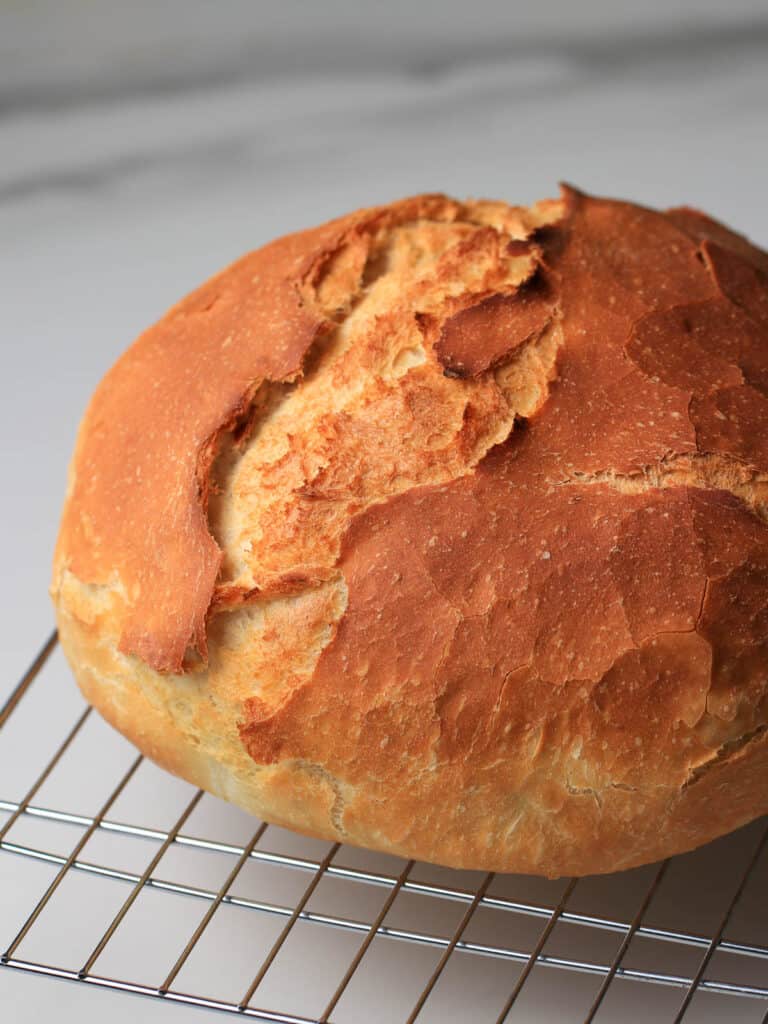
Transfer to a wire rack to cool.
FAQs and Top Tips
Dutch ovens distribute the heat evenly ensuring your bread cooks throughout. Also with the pot pre-heated and the lid on, it creates steam inside the pot while the bread is baking, mimicking a baker's oven and helping to create that all-important crunchy crust.
Bread improver is a blend of ingredients designed to activate the gluten and feed the yeast to help the dough rise and give you a lighter, tastier loaf.
You don't need bread improver but it will help create a lighter loaf and improve the texture and flavour. It will also help improve the shelf life of your bread.
You can substitute bread improver for 2 teaspoons of apple cider vinegar.
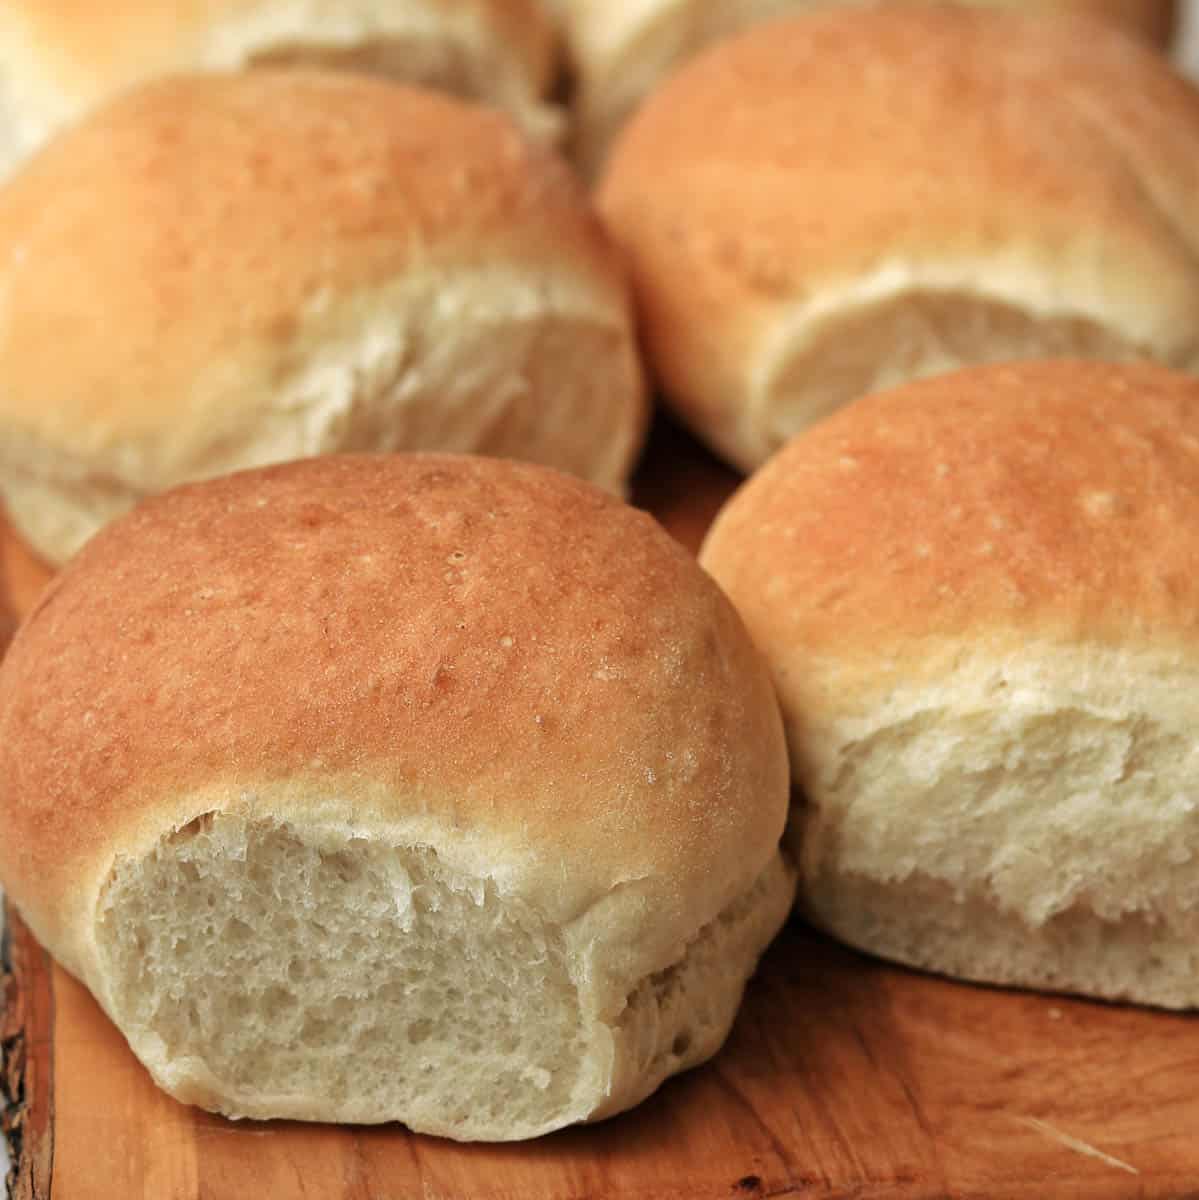
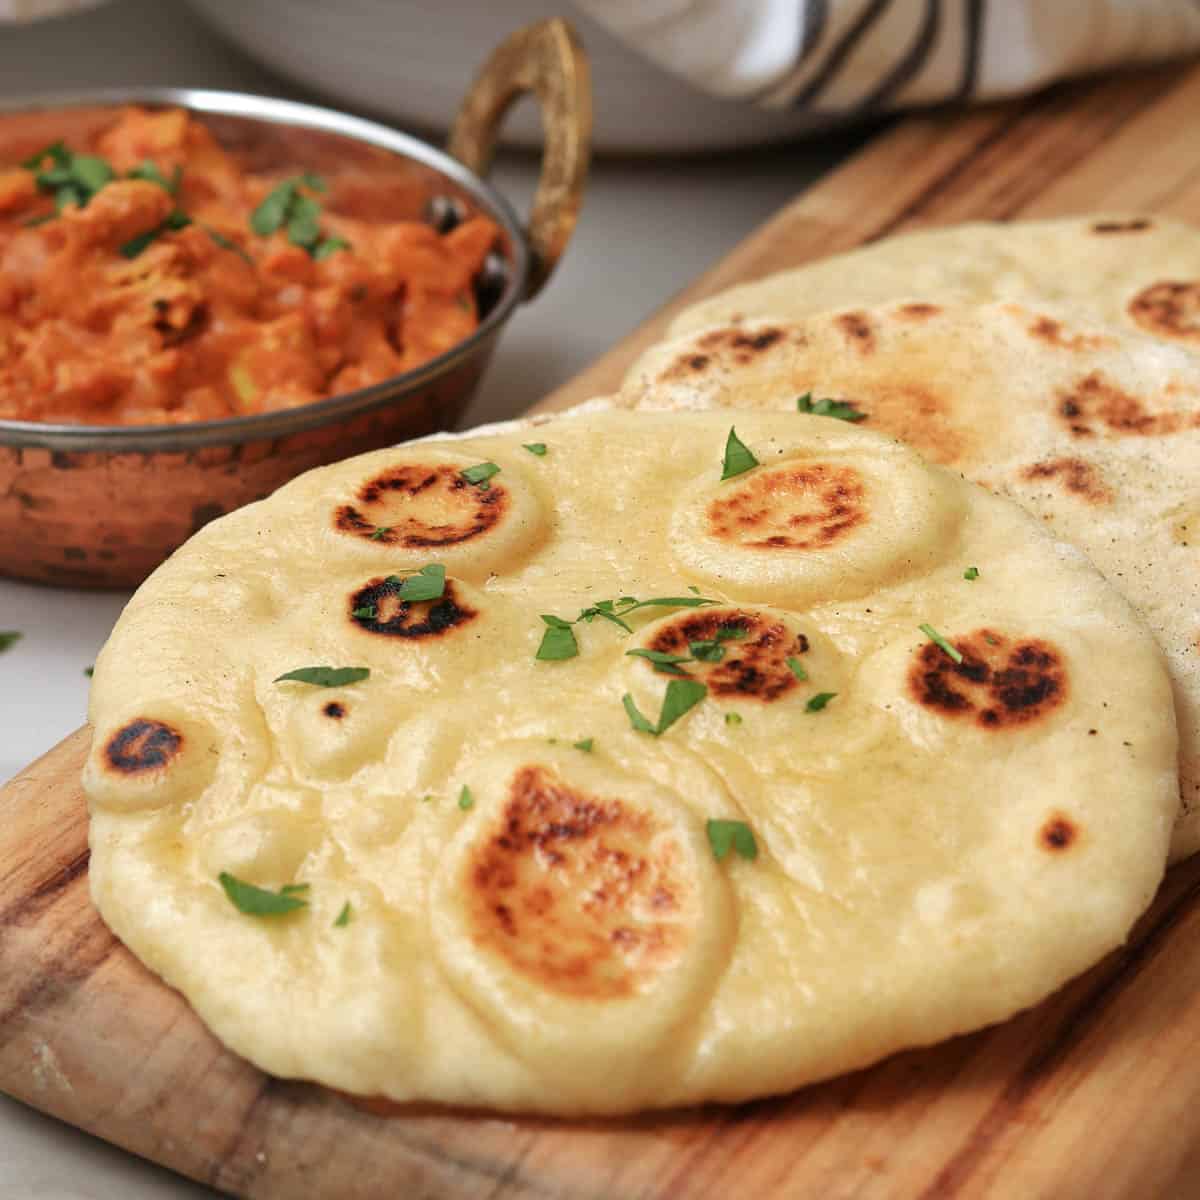
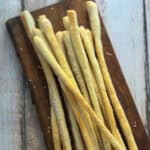
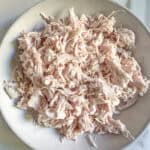
Love bread baking? You may also like these recipes:

Did you try this recipe? Please leave me a ⭐ review below!
Don’t forget to tag me on Instagram @mamalovestocookblog and follow along on Pinterest and Facebook! Enjoy!!!
Mama Loves to Cook is a participant in the Amazon Services LLC Associates Program, an affiliate advertising program designed to provide a means for sites to earn advertising fees by advertising and linking to Amazon.com
Easy Thermomix Bread
Ingredients
- 2 teaspoon instant yeast
- 330 g water
- 500 g flour
- 1.5 teaspoon salt
- 2 teaspoon bread improver optional, see notes
- 10 g olive oil
Instructions
- Place the yeast and water in the Thermomix bowl. Warm through for 1 minute / 37 degrees / speed 1.
- Add the flour, salt, bread improver and olive oil and knead for 2 minutes / DOUGH function. The dough should be sticky but should come away from the edge of the mixing bowl easily. (see note 2)
- Transfer dough to a large, lightly oiled bowl and cover with a damp tea towel (or cling film). Leave in a warm place to proof for around 2 hours or until doubled in size.
- Use hands to scrape the dough from the sides of the bowl and fold the edges in towards the centre. Keep turning the bowl and pulling the dough with your fingertips from the edges to the centre until it is all done.
- Now cover it again with the tea towel and lave to proof for another 1-2 hours, until doubled in size again.
- Pre-heat the oven to 230C/450F. Place your cast iron pot with lid on inside the oven to heat up for 45 minutes.
- Meanwhile, turn the dough onto a floured surface. Flour your hands and use the inside edges of your hands to tuck the edges of the dough under itself to form a ball. You can turn the dough as you do this to create a nice even ball.
- Line your bowl with baking paper. Ensure there is enough overlap to be able to lift the dough easily out of the bowl.
- Place the bread dough seam side down on the paper in the bowl. Cover again with the towel while you wait for the cast iron pot to heat up.
- Once the cast iron pot has been heating for 45 minutes, CAREFULLY remove it from the oven. It will be VERY HOT!
- Remove the lid from the pot and use the baking paper to lift the dough out of the bowl and place it in the cast iron pot.
- Put the lid on the pot and bake in the oven for 30 minutes.
- Remove the lid from the pot and continue to bake for a further 10 to 15 minutes, until the crust is a golden brown.
- Transfer to a wire cooling rack to cool.


This is very good bread - best recipe I have used.
Is it possible to prove upto second stage & put in the fridge overnight for baking the next day ??
Many thanks for your recipe
Hi Jo - thanks so much for your positive feedback 🙂 I haven't tried doing this but I think it should be fine. I often do this with pizza dough and it actually makes it better the next day. I have heard people say the same for bread. Let me know how you go!
I wanted to try an easy bread recipe and this doesn't disappoint! When I say the outside is crunchy and the inside is soft and fluffy, I'm not exaggerating. Instead of keeping it for the week, my friends and I ate the whole thing straight away! It's delicious ☺️