These Thermomix Cheese and Vegemite scrolls are an Aussie classic and are always a hit with the kids. My recipe uses a milk bread to make the scrolls extra soft and fluffy. Perfect for lunch boxes!

My kids love these Vegemite and Cheese Scrolls. And I love how easy they are to make thanks to the Thermomix dough function!
They are perfect for lunch boxes, after-school snacks, picnics or even as an on-the-go breakfast.
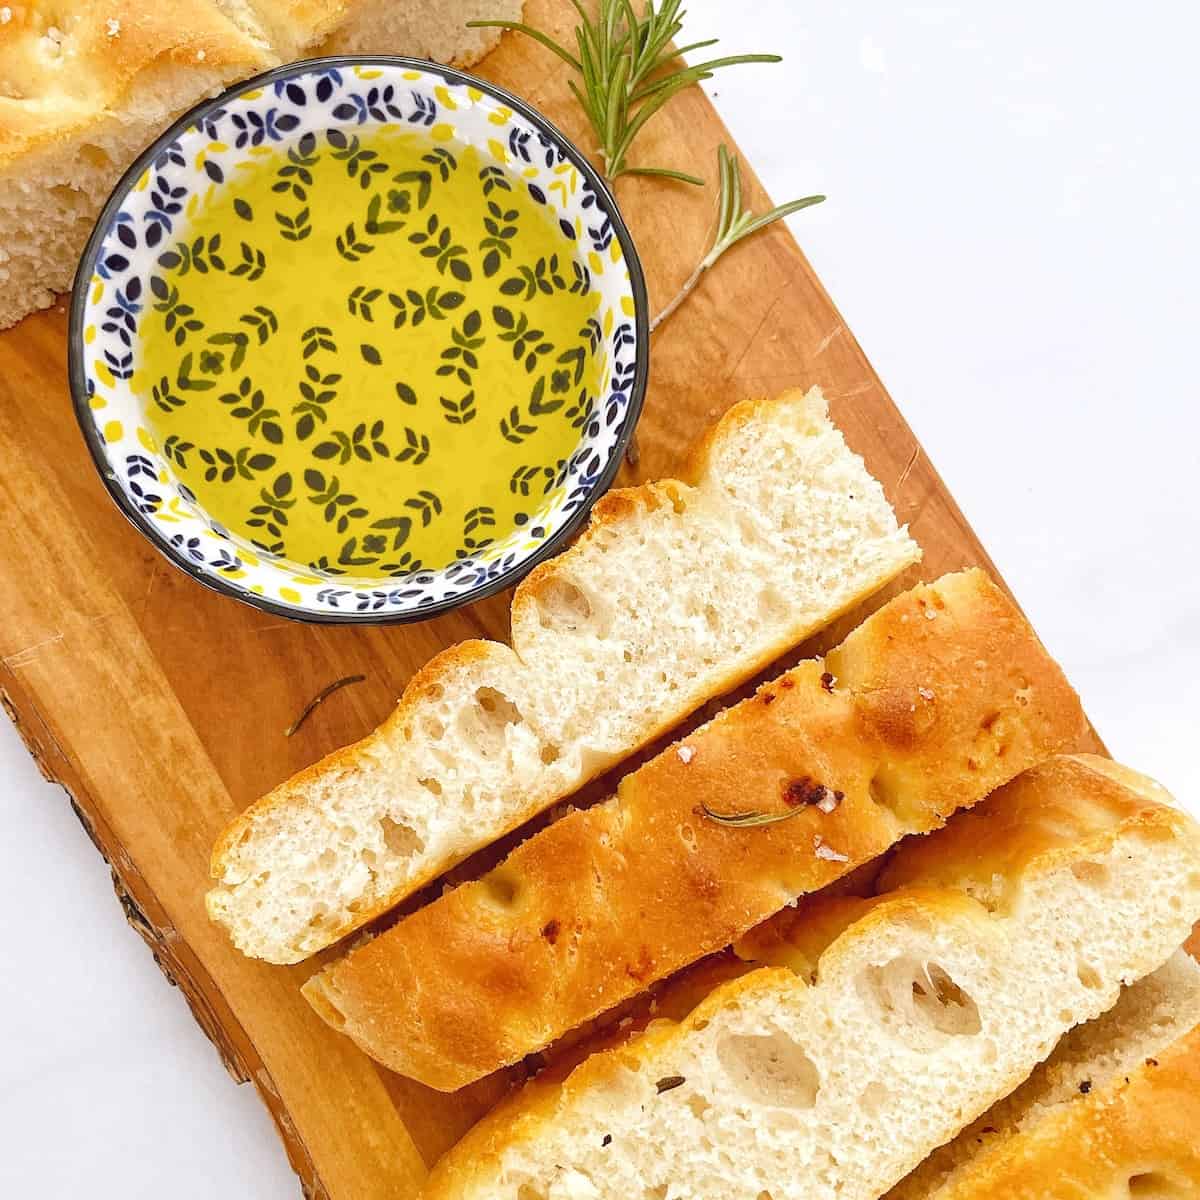
I like to use a milk bread to make these scrolls - it makes the scrolls really light and fluffy. I also use this milk bread to make my Thermomix Garlic Bread and Thermomix Cheese and Bacon Rolls.
These scrolls also freeze really well, making them perfect for batch cooking. Then you can just grab one out of the freezer to pop in lunch boxes when you need.
Why you'll love this recipe
- The scrolls are light and fluffy and delicious.
- The Thermomix does all the hard work of kneading the dough for you.
- They are perfect for lunch boxes and after-school snacks.
- They freeze well and so are perfect for batch cooking.
Ingredients

This recipe uses the following ingredients. Exact quantities can be found in the recipe card at the bottom of the post.
- Milk - the milk helps make the bread really soft and fluffy. You can substitute with water but the bread won't be as soft.
- Instant yeast - this recipe uses instant yeast, which doesn't require sugar to activate it. If you are using a different type of yeast, such as fresh yeast, then read this article to learn how to substitute it. This recipe calls for two teaspoons of yeast - if you have sachets, then one 7g sachet is fine.
- Sugar
- Flour - bread flour is generally considered the best flour for baking bread because of its higher protein content. This helps create gluten, which creates chewiness in bread. However, for this recipe I usually just use good quality plain flour (all purpose flour).
- Salt - this not only gives flavour to your dough, but it also strengthens it.
- Olive oil - helps to tenderise the dough and give it some extra stretchiness.
- Vegemite
- Cheese - I use cheddar, but you could substitute with hard mozzarella or other cheeses if you wish. A packet of shredded pizza cheese from the supermarket works fine too.
How to make Cheese & Vegemite Scrolls
There are a few steps to making these scrolls:
- Make the bread dough
- Proof the bread dough
- Assemble the scrolls
- Second proofing of the scrolls
- Bake the scrolls
Full instructions with exact steps can be found in the recipe card at the bottom of this post.
Step 1: Make the dough
The Thermomix makes light work of making bread dough, doing all the kneading for you.

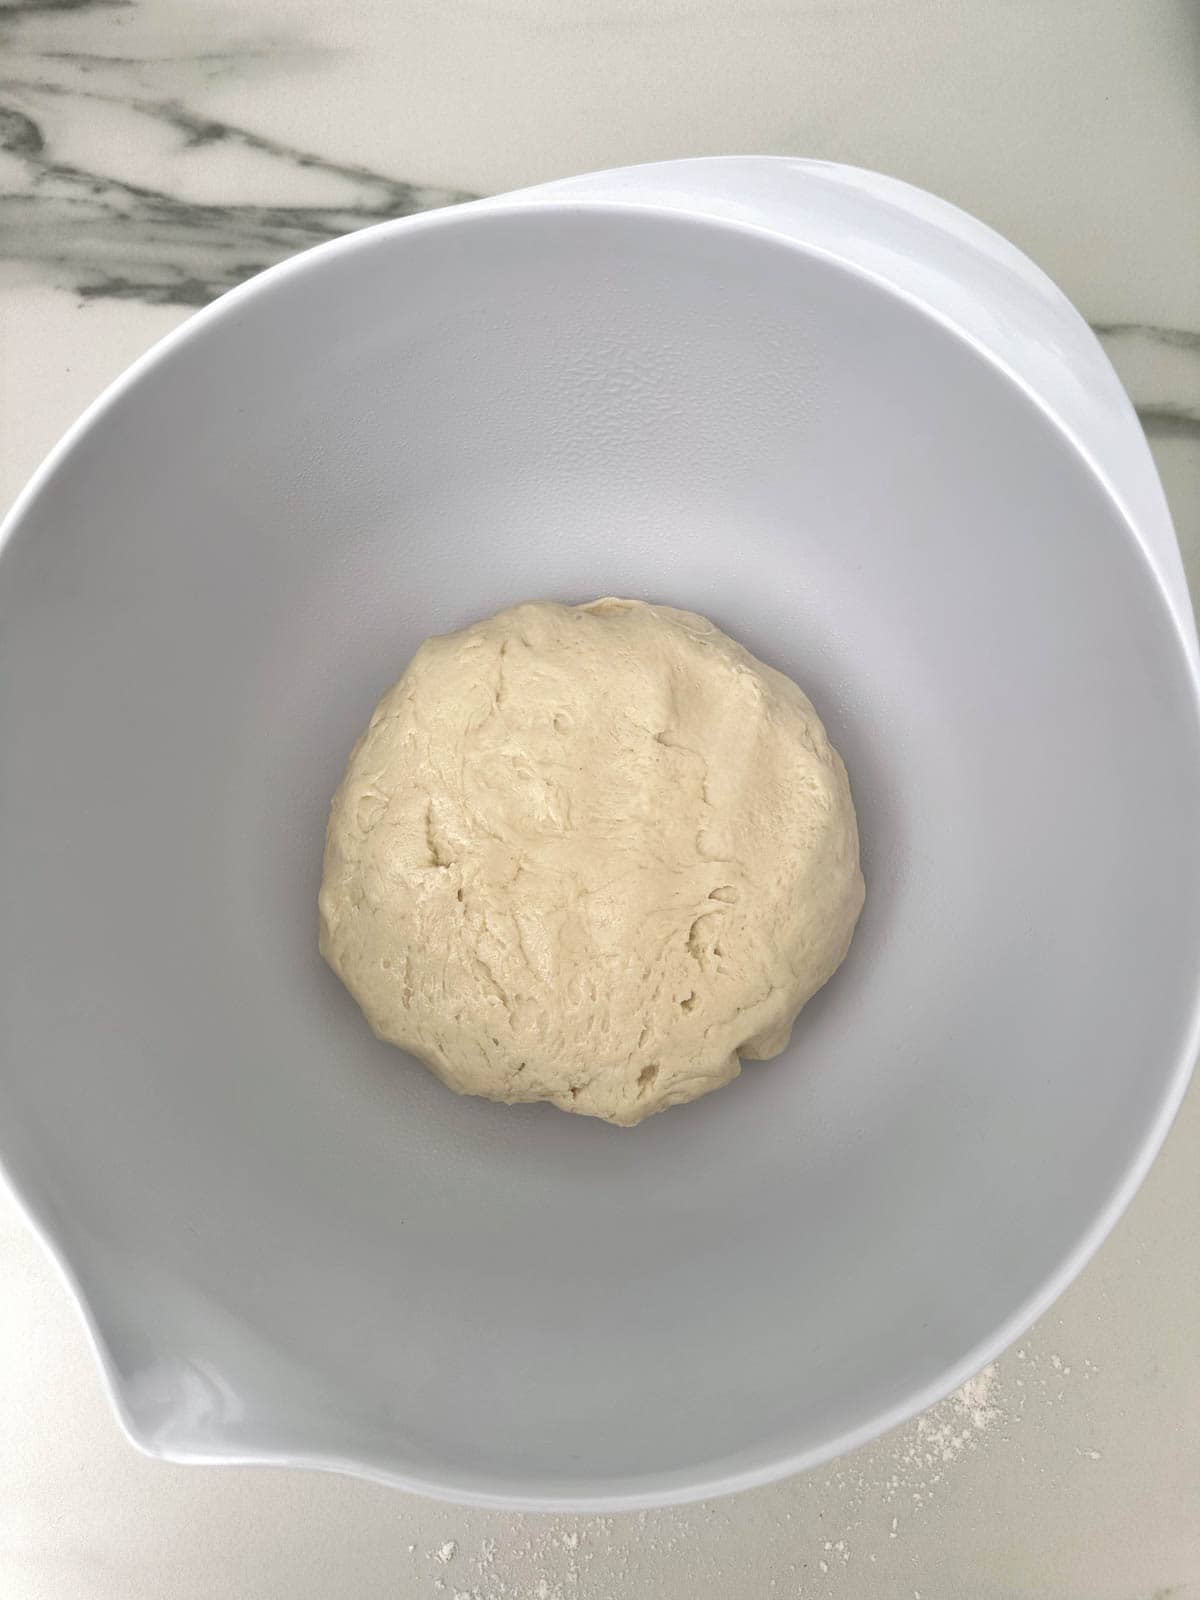
Start by adding the milk, yeast and sugar and mixing over a low heat. Then you just add the flour, salt and olive oil and let the Thermomix do all the hard work.
Note that the dough for this is quite sticky (see the photo above). Much more sticky than you would expect from pizza dough or normal Thermomix bread. Once it has proofed it will be less sticky.
Step 2: Proof the dough
Now it's time to proof the dough. To do this, place it in a large, lightly oiled bowl and cover it with a damp tea towel.
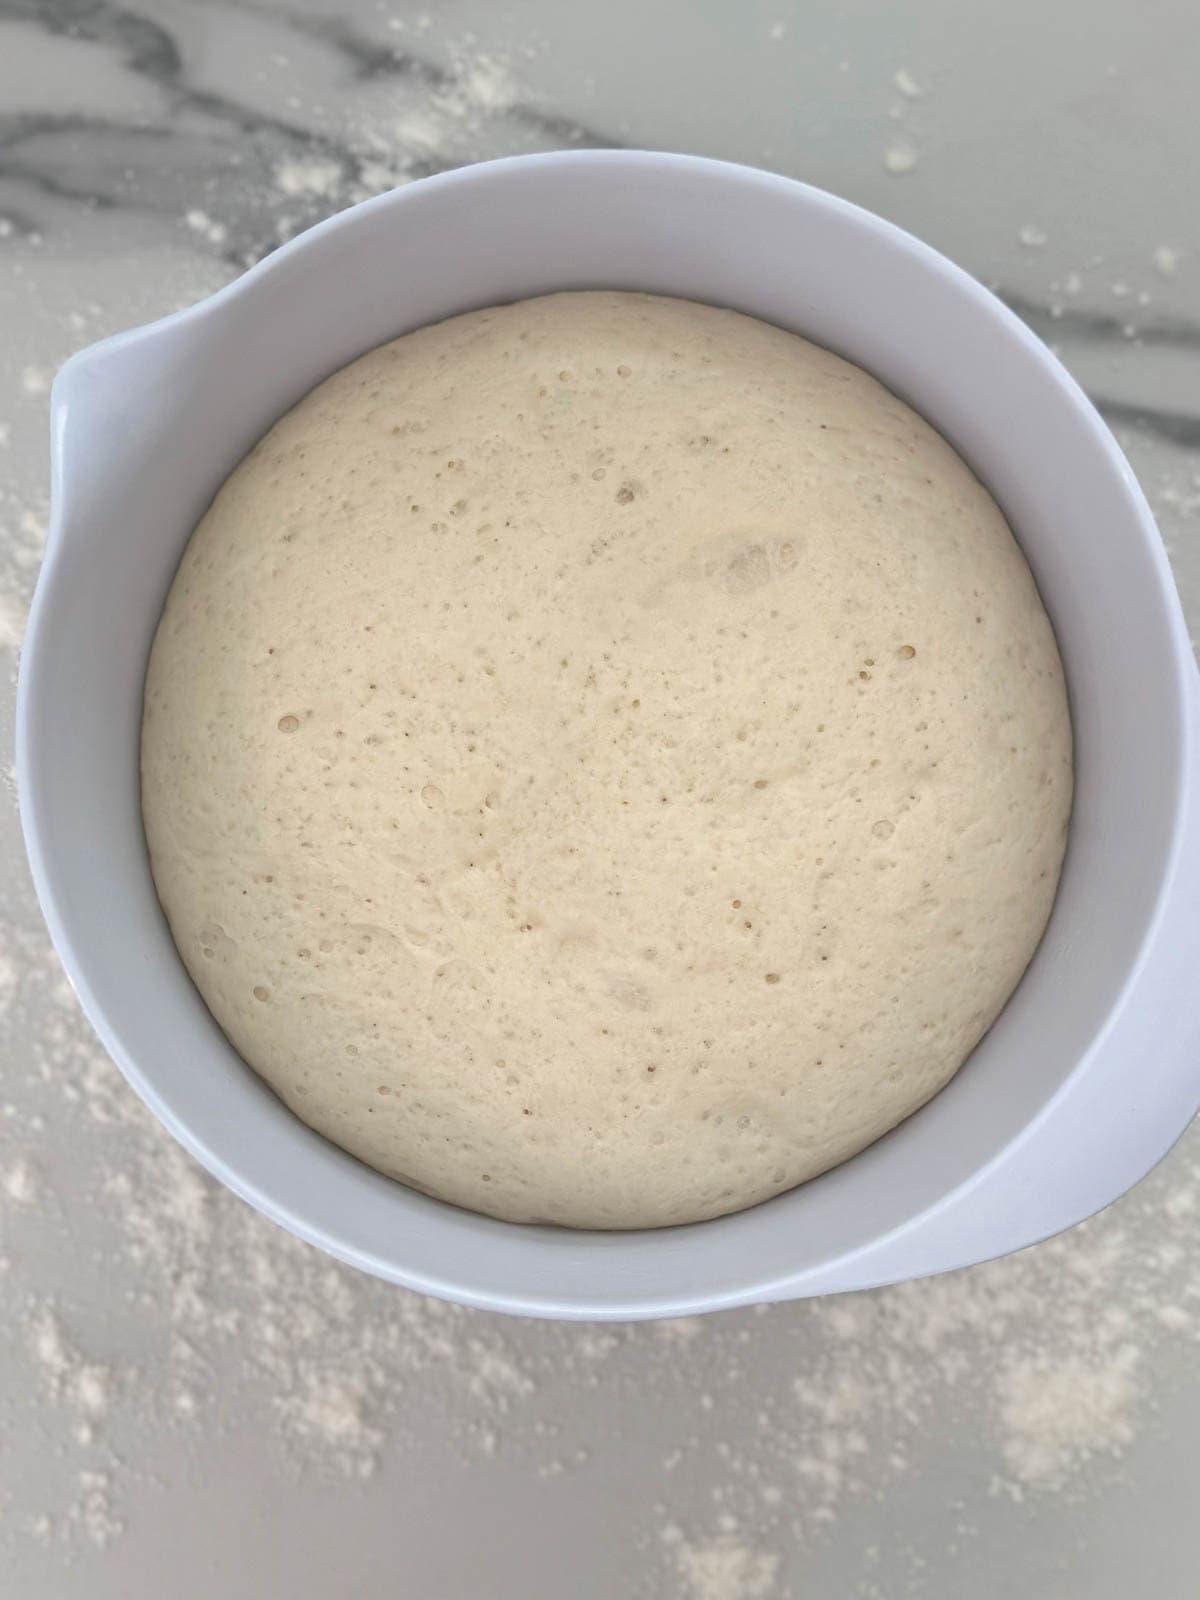
Now leave it somewhere warm to rise. You want it to double in size and be pillowy and soft.
The time this takes will depend on how warm your house is. It should be around 1 - 1.5 hours.
Step 3: Assemble the scrolls
Now comes the fun part!
Firstly, grate the cheese in the Thermomix and set aside.

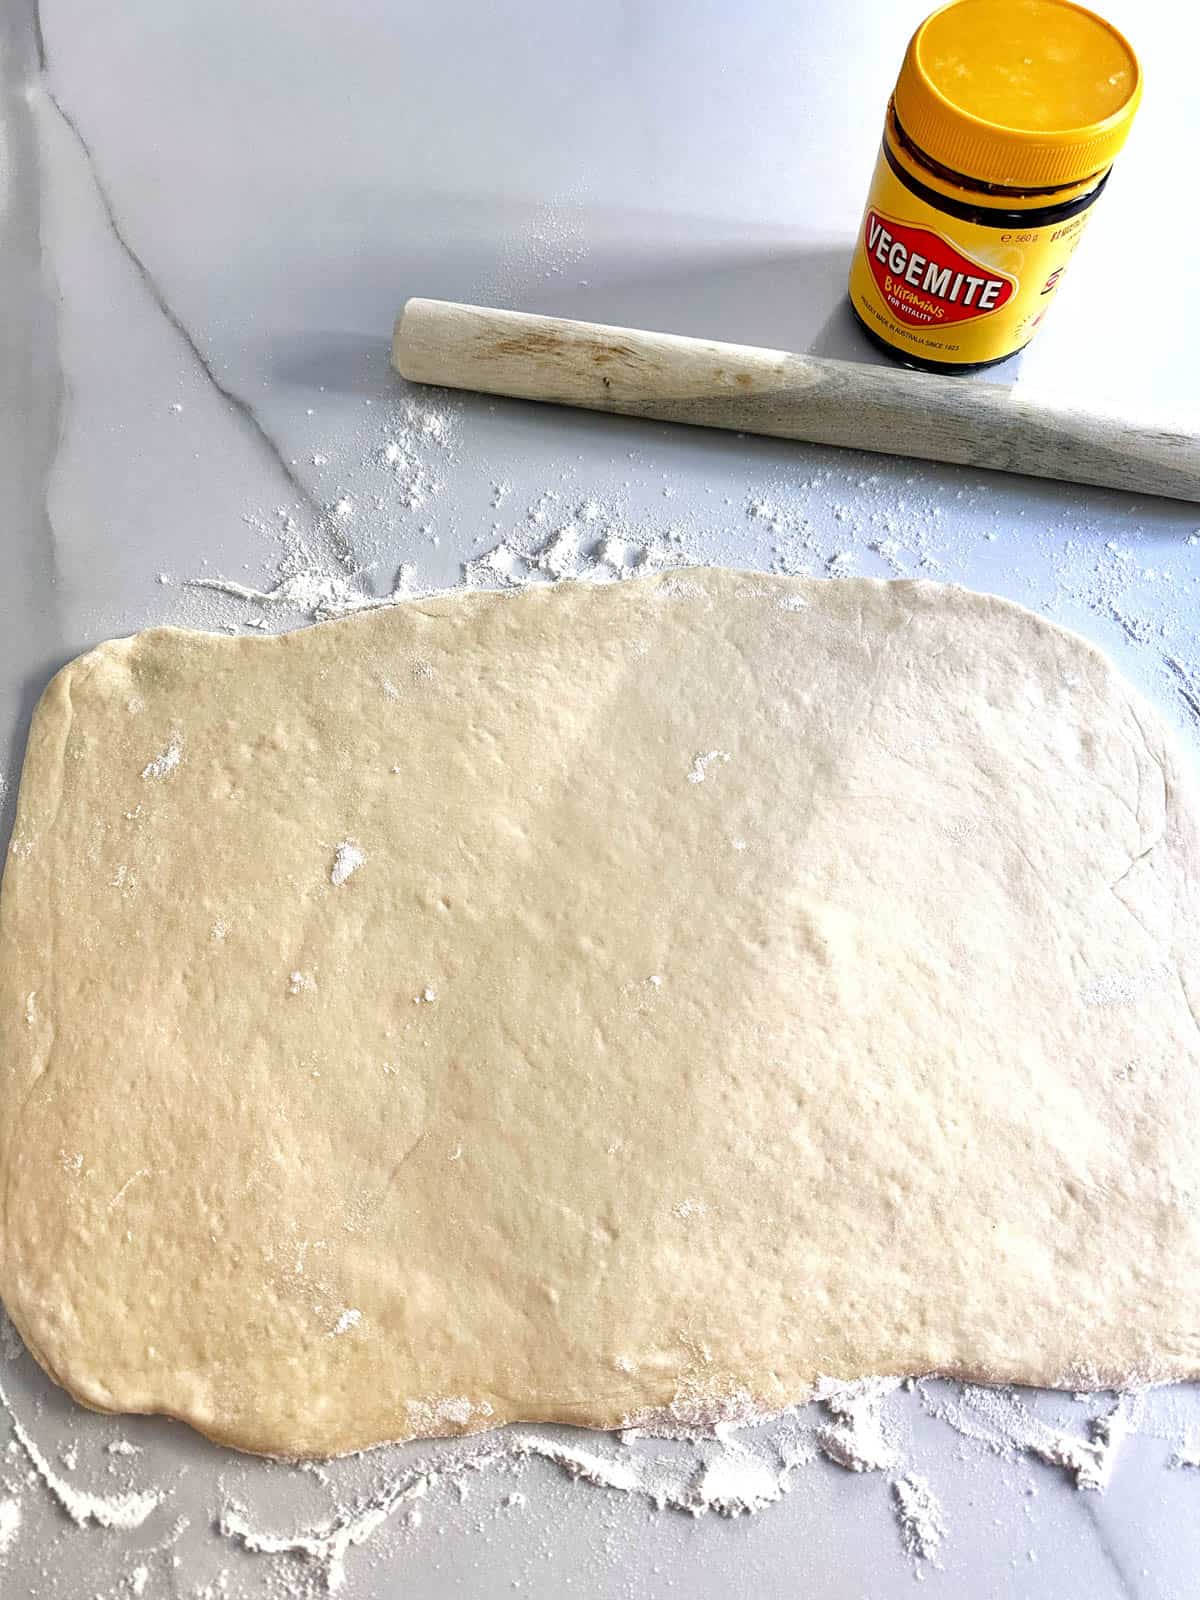
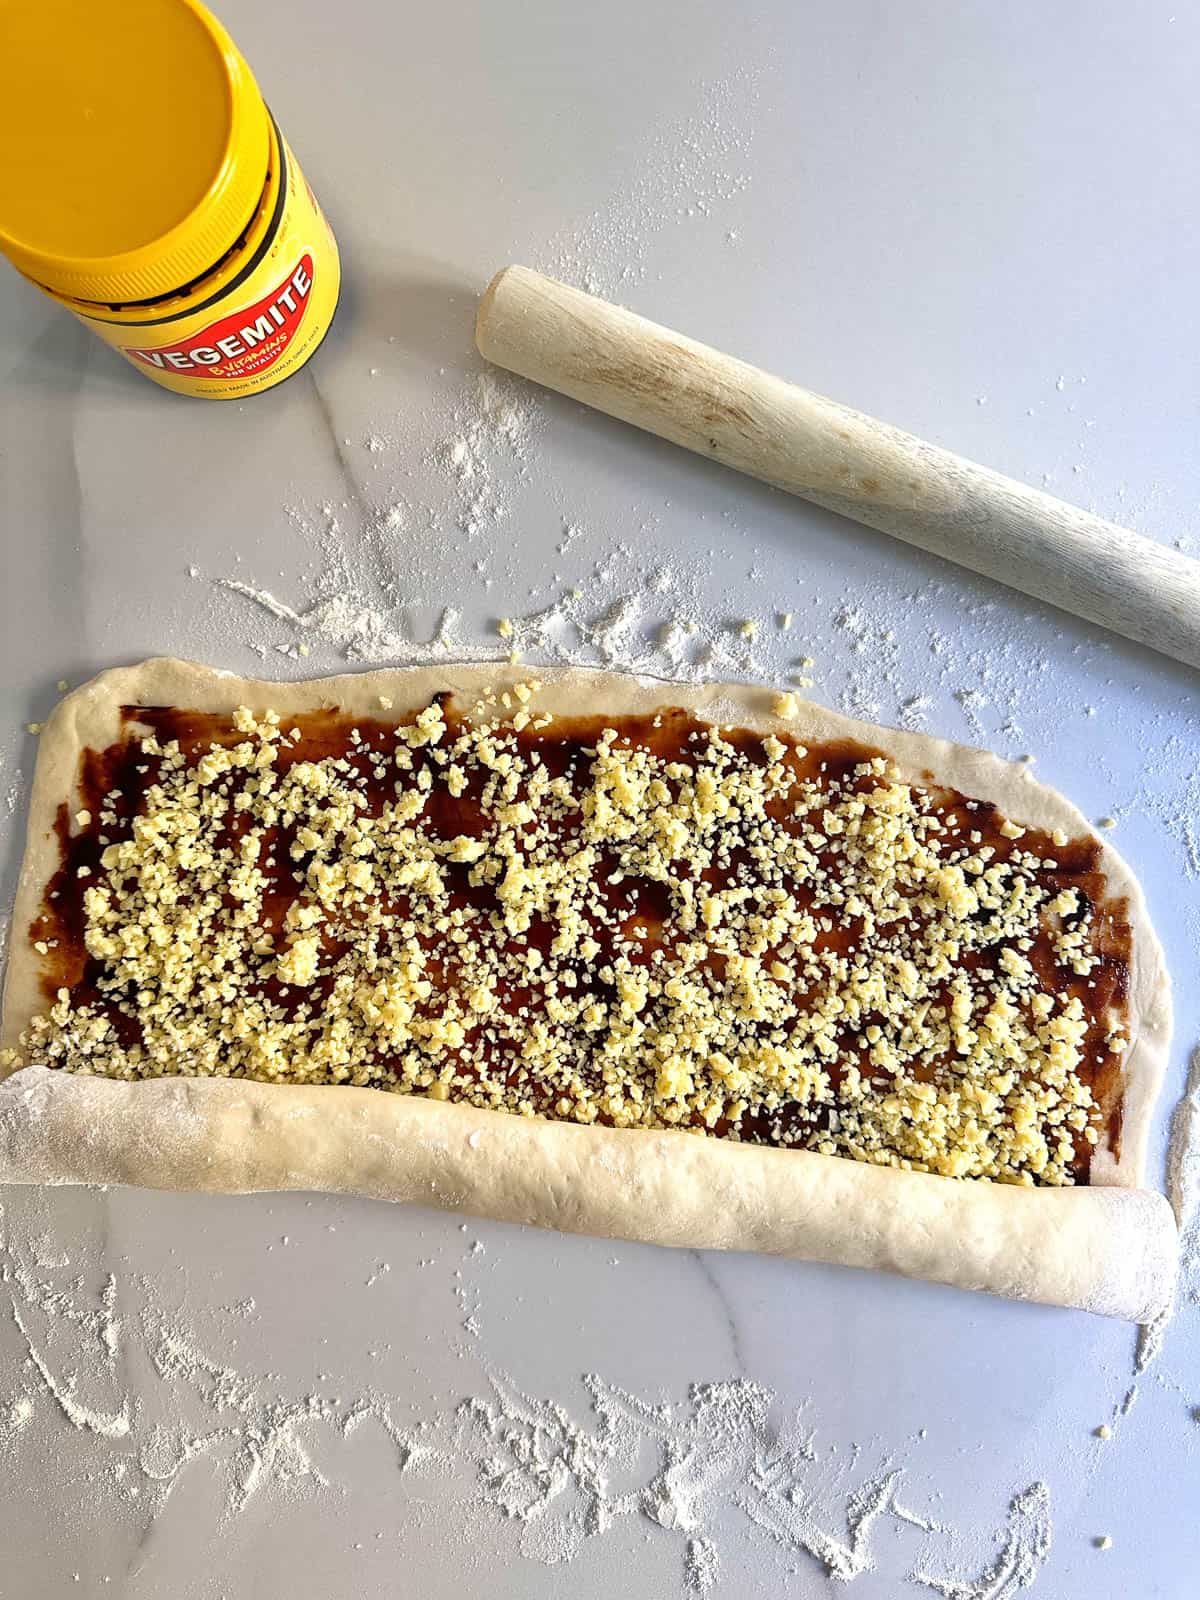
Turn the dough onto a floured surface and knock out the air. Shape it into a rectangle with your hands and then use a rolling pin to roll it out to a large rectangle approximately 45cm x 35cm (18" x 14").
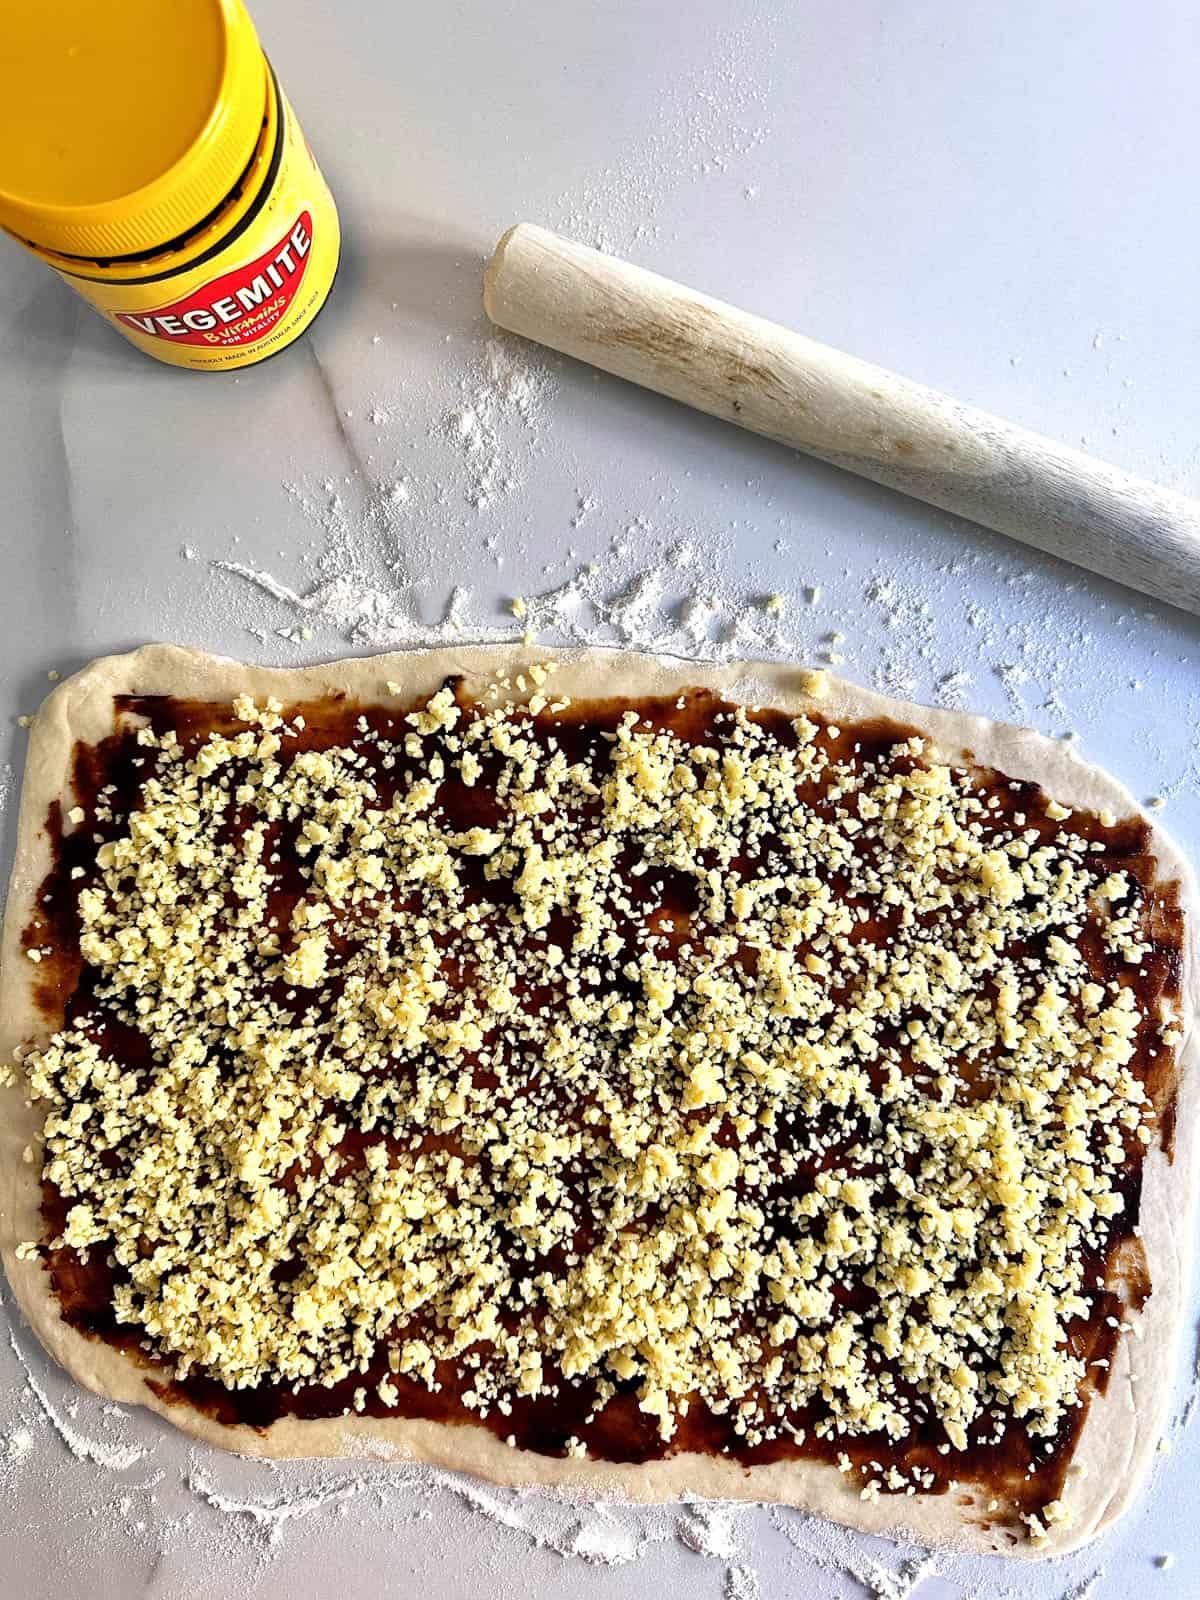
Use a knife to spread out the Vegemite all over the dough. You can use more or less Vegemite depending on how strong you like the Vegemite flavour to be.

Then sprinkle over the cheese.
Now, starting with the long side, slowly and carefully roll up the entire piece of dough like a Swiss Roll. Smooth it down and gently press it together to ensure it is even and isn't going to fall apart when you cut it.
Use a sharp knife to cut the dough into 12 equal slices.

Gently flatten each scroll and place onto a baking tray that has been lined with baking paper.
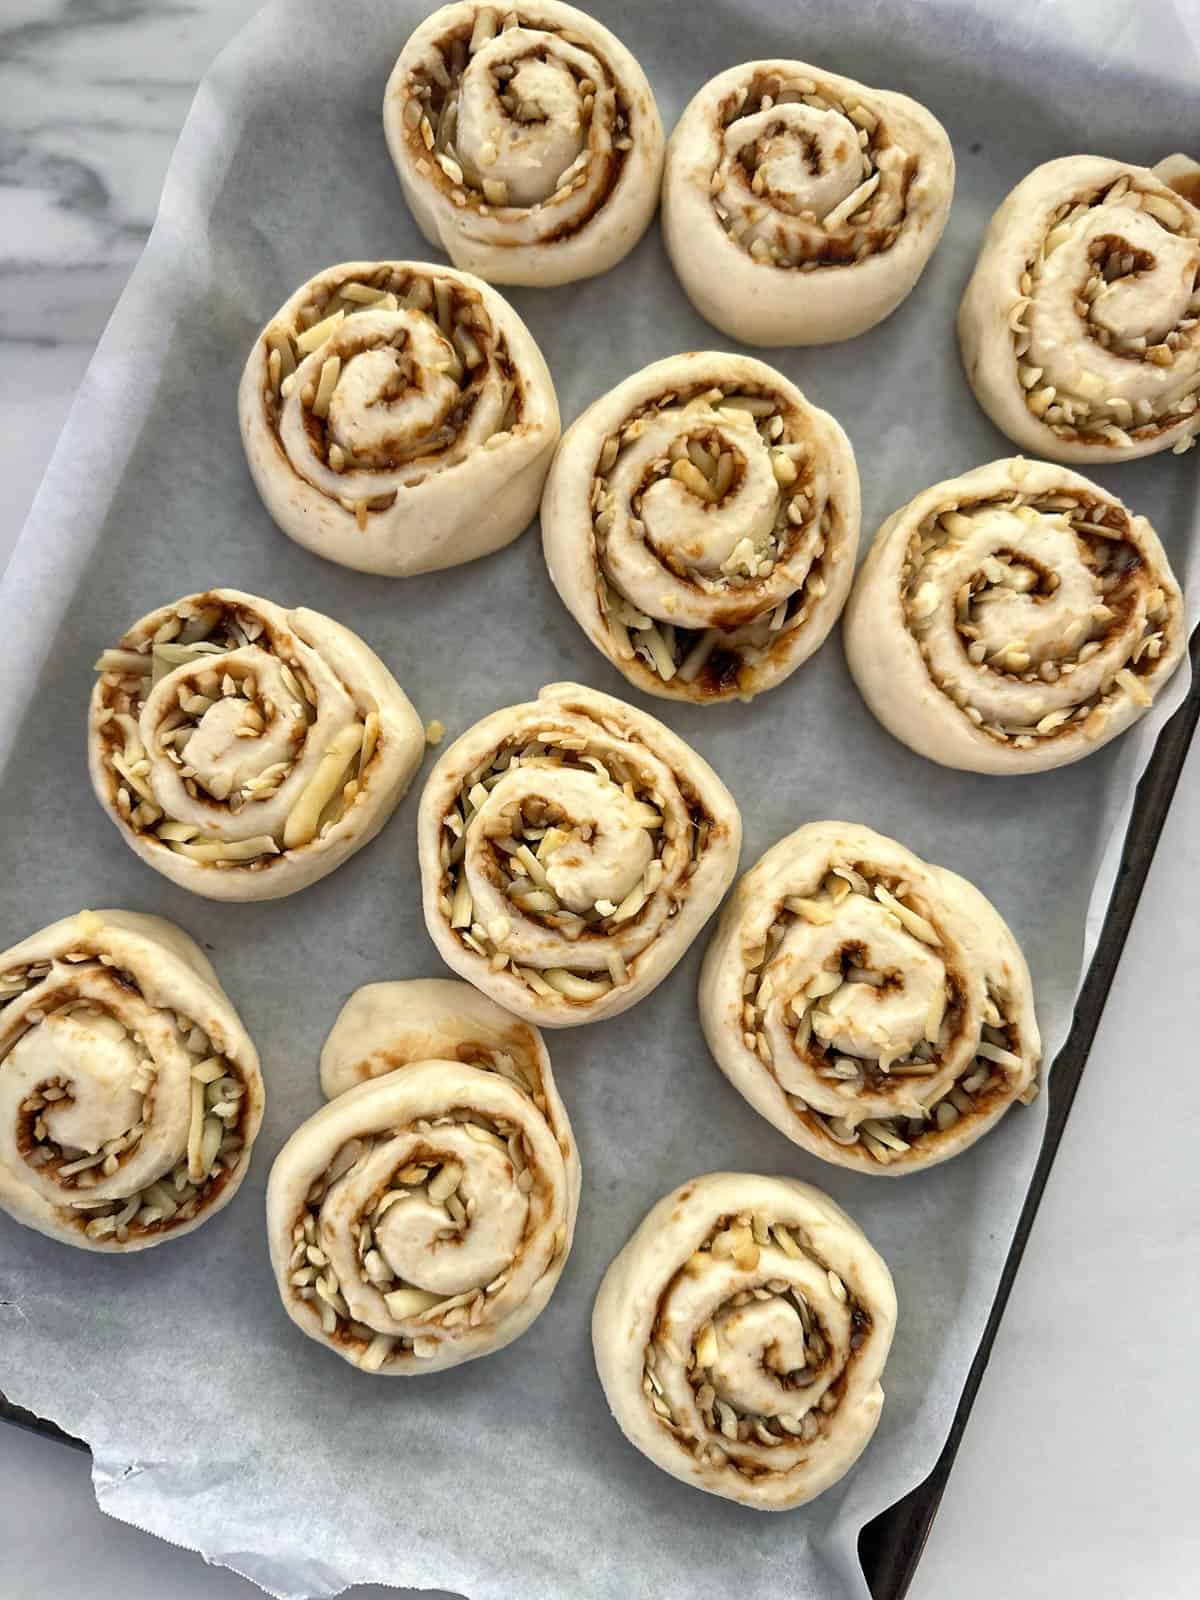
Cover them with a clean tea towel and leave for a second proof for around 30 minutes to rise slightly. (You can skip this step if you are pushed for time, but I think it helps them be even more soft and fluffy).
Step 4: Bake the Scrolls
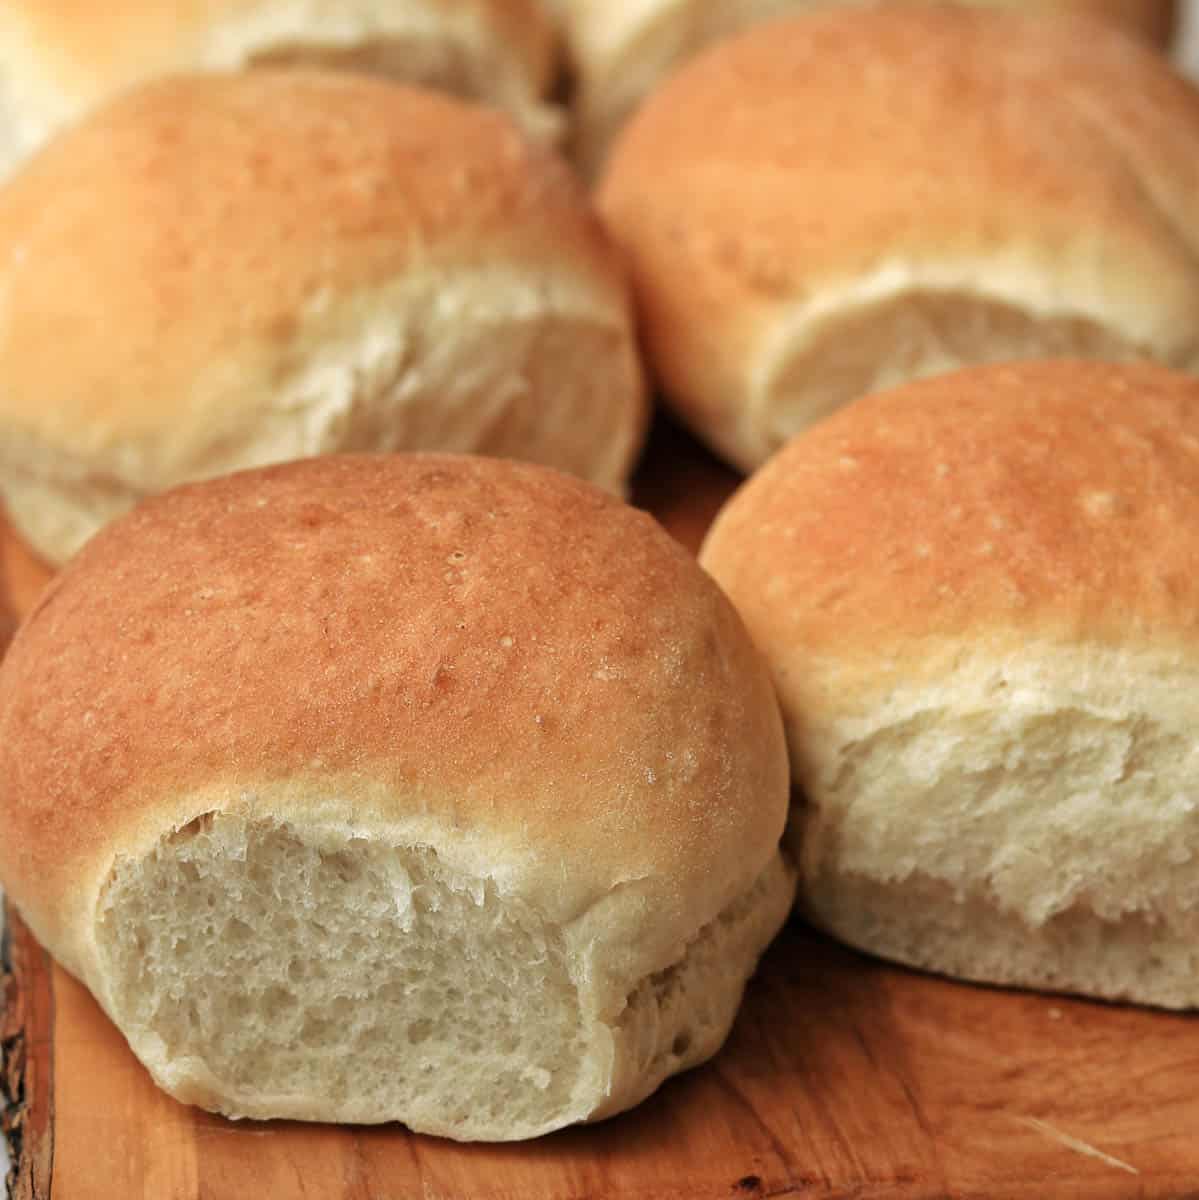
Now place them in a pre-heated oven and bake them for around 15 minutes until they are golden brown.

Transfer them to a cooling rack to cool or serve them warm.
Freezing Cheese & Vegemite Scrolls
These scrolls freeze well. Just freeze them on a tray in the freezer and then transfer to a ziploc bag once frozen. They will last in the freezer for up to 3 months.
Love Bread? You may also like these recipes:


Did you try this recipe? Please leave me a ⭐ review below!
Don’t forget to tag me on Instagram @mamalovestocookblog and follow along on Pinterest and Facebook! Enjoy!!!

Ingredients
- 330 g milk
- 2 teaspoon instant yeast or a 7g sachet
- 10 g sugar
- 450 g flour
- 1 teaspoon salt
- 20 g olive oil
- 2-3 tablespoon Vegemite
- 185 g cheese
Instructions
To make the dough
- Add the milk, yeast and sugar to the Thermomix bowl. Mix for 1 minute / 37 degrees / speed 1.
- Add the flour, salt and 20g of olive oil to the bowl. Mix for 20 seconds / speed 3. Then knead for 5 minutes / DOUGH function.
- Transfer to a large, lightly oiled bowl and cover with a damp tea towel. Leave in a warm place to proof until doubled in size. The time this takes depends on how warm your house is, but it should take around 1 - 1.5 hours.
To assemble the scrolls
- Line a baking tray with baking paper.
- Cut the cheese into pieces and add to the Thermomix bowl. Grate for 5 seconds / speed 8. Set aside.
- Knock the air out of the dough and then use a rolling pin to roll it out into a large rectangle, approx. 45cm x 35cm.
- Use a knife to spread Vegemite all over the dough.
- Sprinkle over the cheese.
- Starting with the long side, slowly and carefully roll up the entire piece of dough like a Swiss Roll. Smooth it down and gently press it together to ensure it is even and isn't going to fall apart when you cut it.
- Use a sharp knife to cut the dough into 12 equal slices.
- Gently flatten each scroll and place on the baking tray.
- Cover with a clean tea towel and leave for a second proof for around 30 minutes to rise slightly.
- Meanwhile pre-heat your oven to 180C / 350F.
- Bake the scrolls in the oven for around 15 minutes until golden brown.
- Allow to cool slightly on a cooling rack before serving.


Leave a Reply