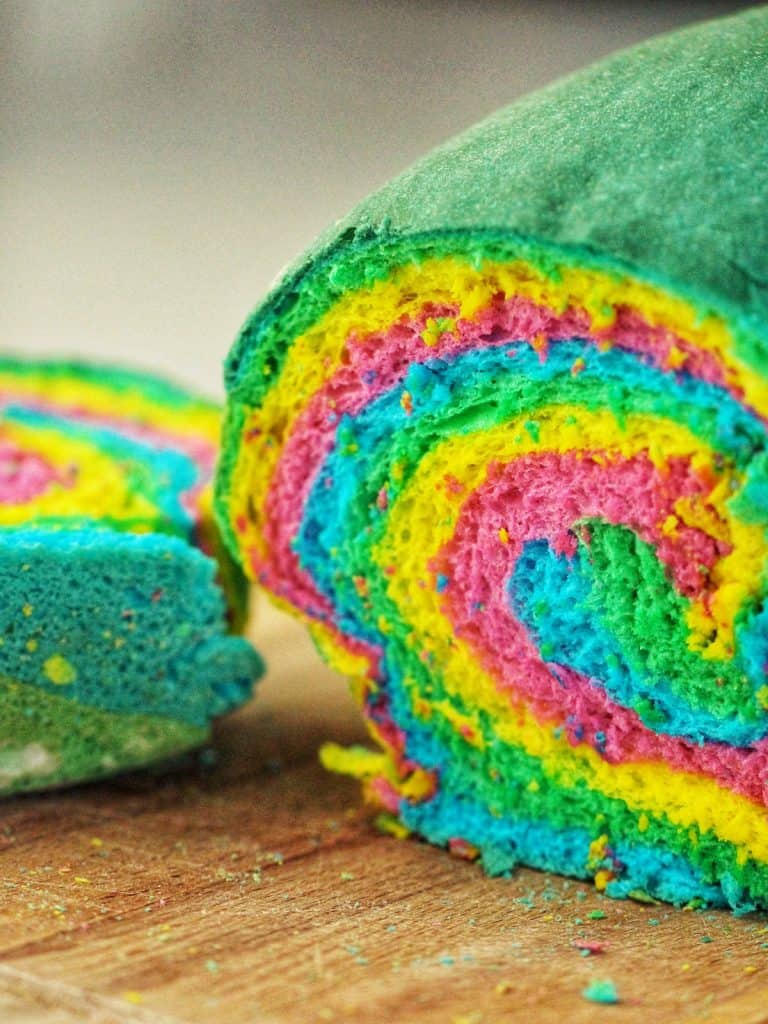
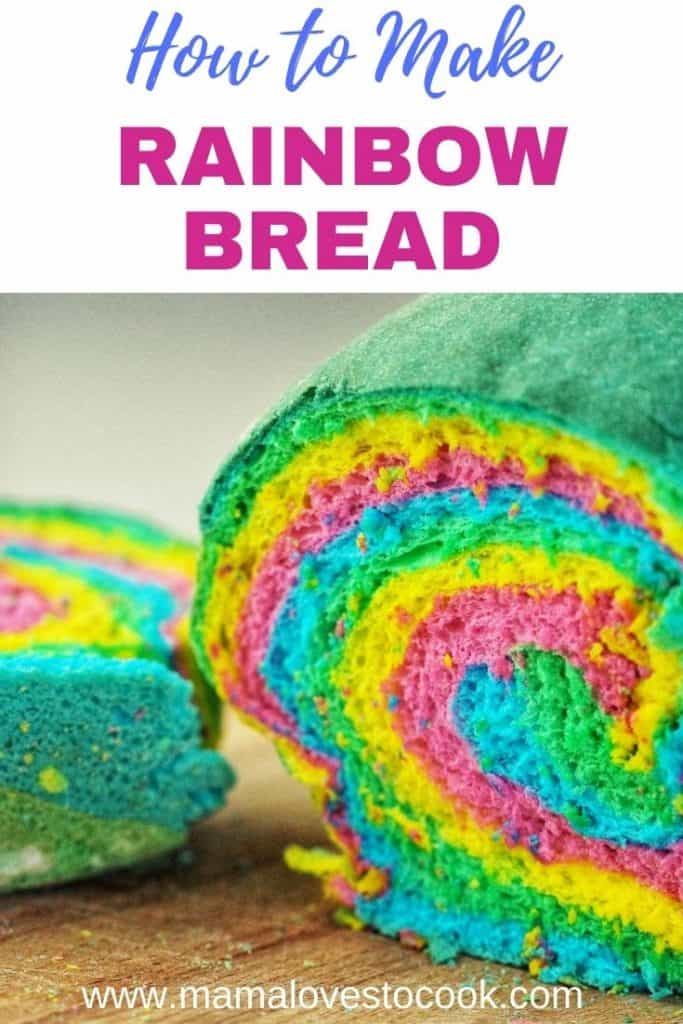
Here we share how to make Rainbow Bread, that fabulous multi-colored swirl bread that will have your kids jumping around with excitement!
This colored bread is a really fun thing to make with the kids - or why not surprise them with it? Imagine how excited they would be to open their lunch box to a rainbow sandwich!
I'll be honest - it takes a bit of time to make this, with all the kneading involved. But the rewards are worth it... seriously, my kids were jumping around the kitchen cheering when we cut into it!
You'll be the coolest mom in the school...
[optin-monster-shortcode id="l7c5raqwi7hccua5qbjj"]
Rainbow Bread Ingredients
The ingredients for this cool colored bread are really just standard bread ingredients, with added food coloring.
You don't need to use the recipe at the bottom of this Rainbow Bread tutorial - you can use any white bread recipe you like.
There are a few things to note about the ingredients:
- Bread flour - bread flour makes better bread, but if you don't have it, don't sweat it. Plain old all purpose flour will do just fine.
- Instant yeast - this recipe uses instant yeast. That means it doesn't need to be activated with water and sugar before using it. If you use a different type of yeast you will need to use it according to the packet instructions.
- Bread improver - I find bread improver really helps create a light airy loaf. If you don't have any, you can replace with apple cider vinegar... or just leave it out.
- Food coloring - use as many colors as you like and as much as you like to get the desired color. I prefer to work with gel food coloring.
How to make Rainbow Bread
Once you have your bread dough, divide it into equal portions, depending on how many food colors you have. In this instance we had four different colors to work with.
Place each piece of dough in a separate bowl and cover them either with plastic wrap or a damp tea towel while you work with the other pieces.
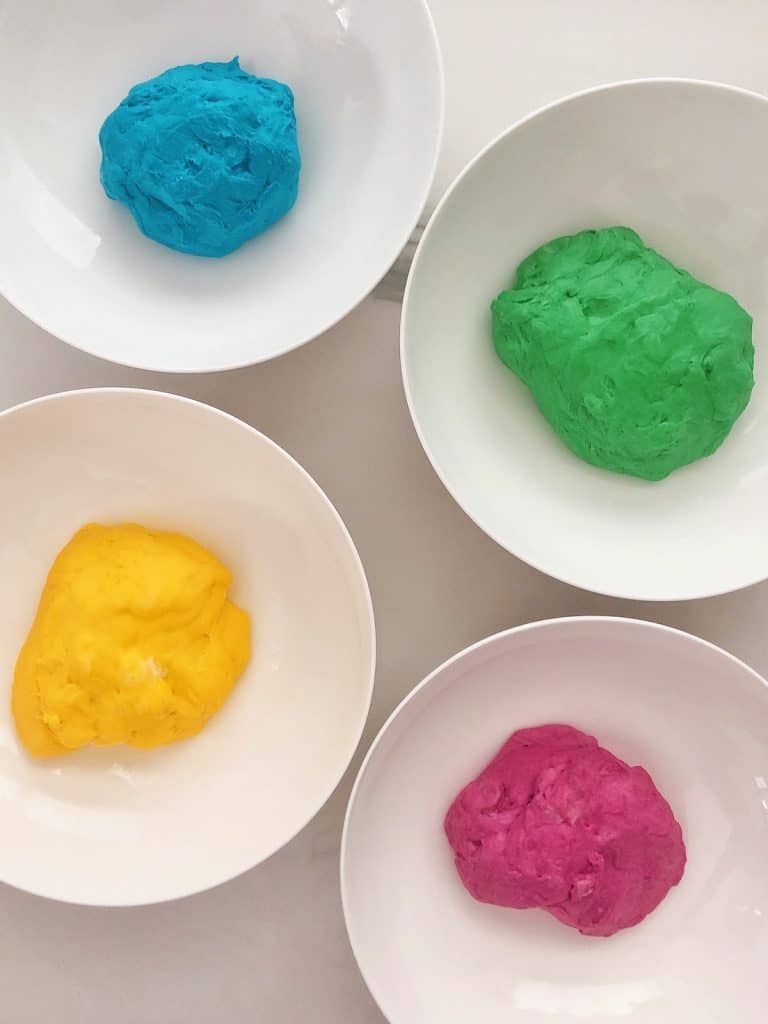
Take each piece of dough and add a few drops of food color and knead the color into the dough.
I would suggest wearing plastic gloves to protect your hands from the food coloring, if you don't want to have multicolored hands for a few days!
Knead the dough until the color is even throughout.
Place the dough back in its bowl and cover, and repeat with each piece of dough until they are all colored.
Now let the dough rest for around 15 minutes.
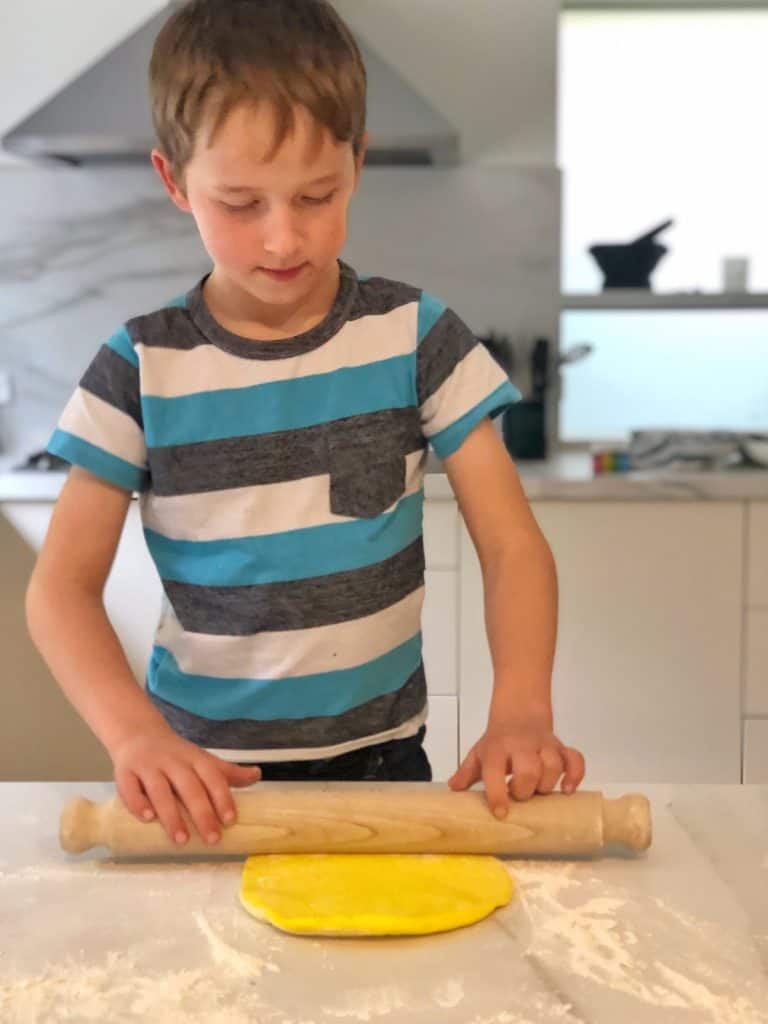
Once they are rested, take each piece of dough, and on a well floured surface, roll it out into rectangle as if you were making a rectangular pizza or pizza scrolls.
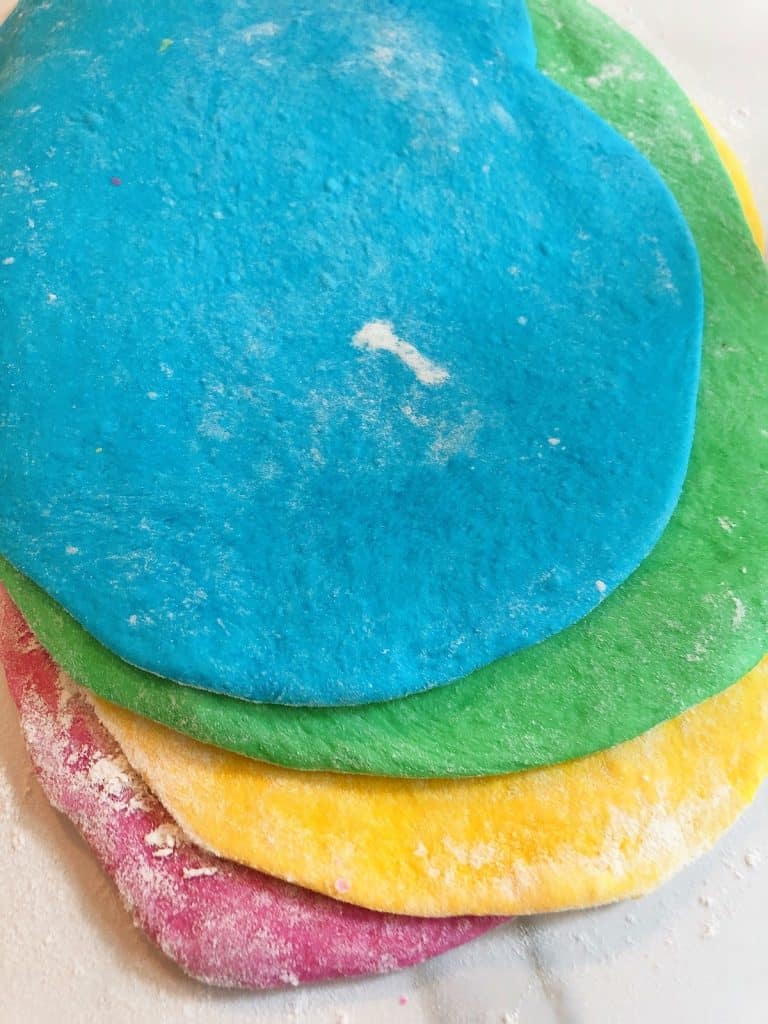
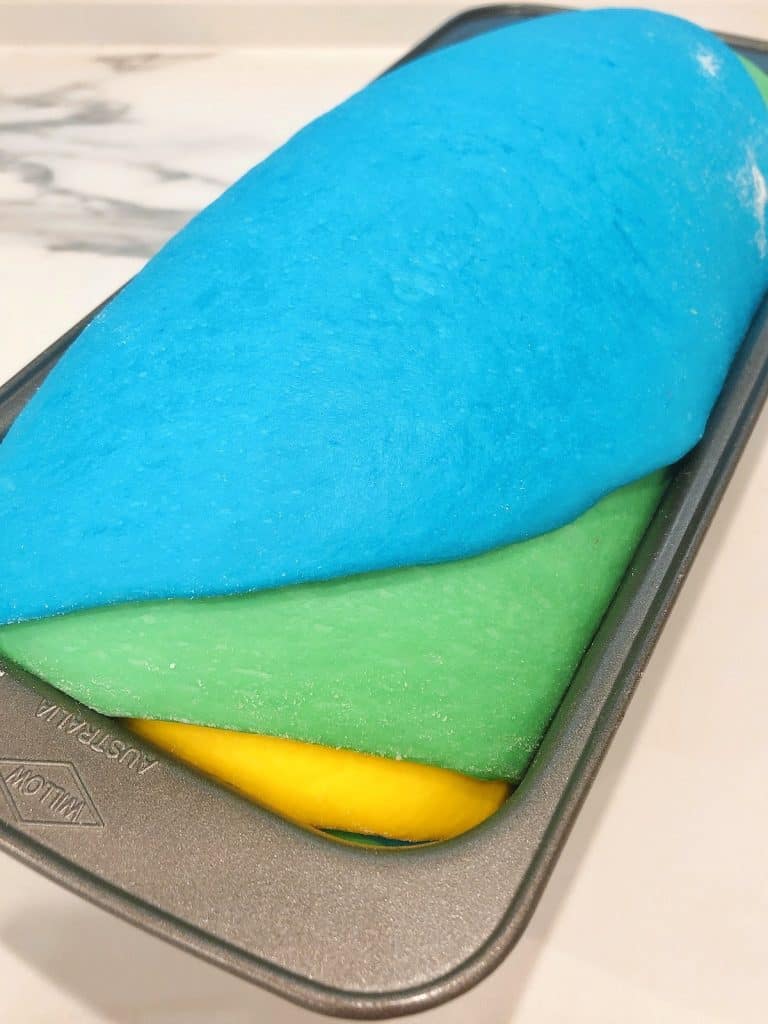
Pile all the rolled out pieces of dough on top of each other and then roll them up into a giant scroll.
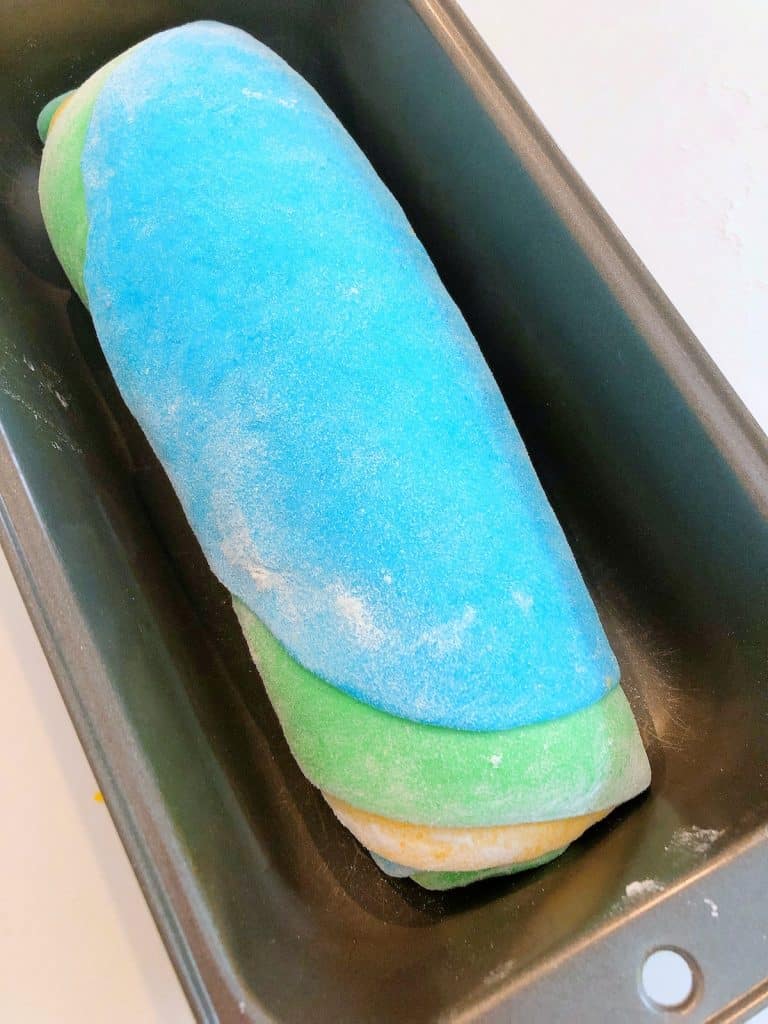
Place the dough into a lightly oiled bread tin and leave it in a warm place to prove until the bread has risen to the top of the tin.
If you are living in a warm climate, your kitchen may be warm enough for this.
If it is colder weather, I like to put it in the oven (switched off) with a bowl of boiling water on the bottom of the oven. This creates a nice warm, humid environment perfect for proving bread dough.
Now bake your bread according to the bread recipe instructions. For our bread here we bake it for 25 minutes at 360F / 180C.
Your bread should sound hollow when you tap it if it is properly cooked.

Remove your bread from its tin immediately and allow it to cool on the rack completely before cutting into it.
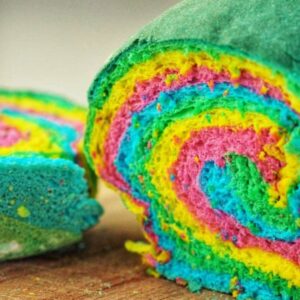
Then cut into it and be amazed and the cool swirly colors! This really is the coolest bread going - your kids are going to love it and they are going to love you!
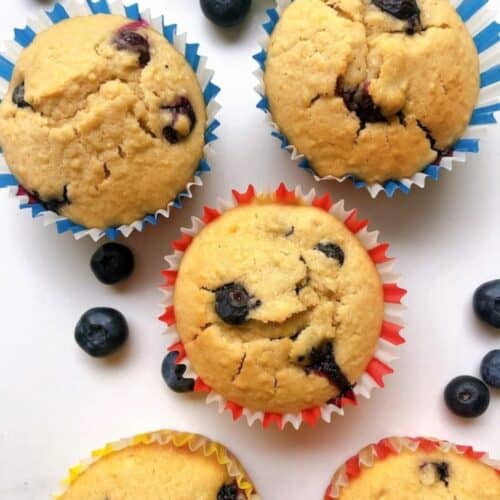
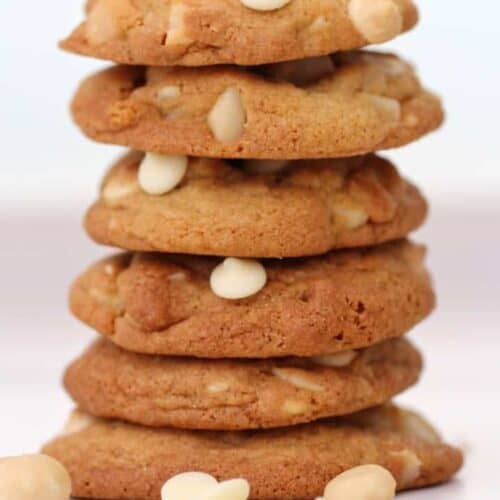
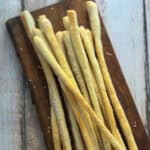
Love Baking? You may also like these recipe:

Did you try this recipe? Please leave me a ⭐ review below!
Don’t forget to tag me on Instagram @mamalovestocookblog and follow along on Pinterest and Facebook! Enjoy!!!
Pin it for Later!
Mama Loves to Cook is a participant in the Amazon Services LLC Associates Program, an affiliate advertising program designed to provide a means for sites to earn advertising fees by advertising and linking to Amazon.com
Rainbow Bread
Equipment
- Rolling Pin
Ingredients
- 4 cups bread flour (500g)
- 2 teaspoon salt
- 2 teaspoon instant yeast
- 2 teaspoon bread improver
- 1 ¼ cups water (300ml)
- 2 tablespoon olive oil
- Food coloring- 4 to 6 colors
Instructions
- Mix flour, salt, yeast and bread improver into a large bowl.
- Make a well in the centre of the flour mixture and pour in the water and olive oil and mix well.
- Tip the dough mixture out onto a well-floured surface and knead for around 10 minutes until soft and smooth.
- Divide dough into equal portions according to how many colors you have.
- Place each piece of dough into a separate bowl and cover with plastic wrap or a damp tea towel.
- Take one piece of dough and add a few drops of food coloring to it. Wearing plastic gloves, start working the color through the dough, continuing until it is evenly colored throughout. Place it back in its bowl and cover.
- Repeat the process with the remaining pieces of dough.
- Now let the dough rest for around 15 minutes.
- Once the dough is rested, take each piece one at a time and roll it out on a well floured surface into a large rectangle.
- Stack each rectangular piece of dough on top of one another and roll it all up into a large scroll.
- Place the dough into a lightly oiled bread tin and leave to prove in a warm place (see notes) until it has risen to the top of your loaf tin.
- Pre-heat the oven to 360F / 180C.
- Bake the bread in the oven for 25 minutes. It should sound hollow when you tap it.
- Remove the bread from the tin immediately and allow to cool on a rack.
- Allow to cool completely before slicing.

Leave a Reply