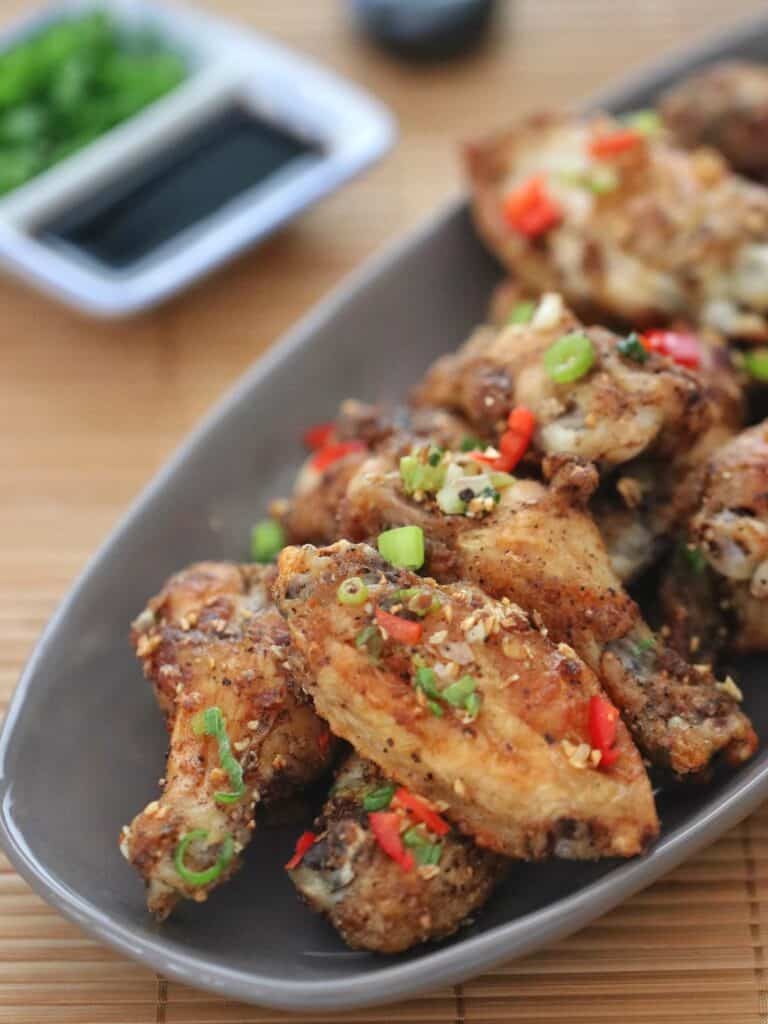
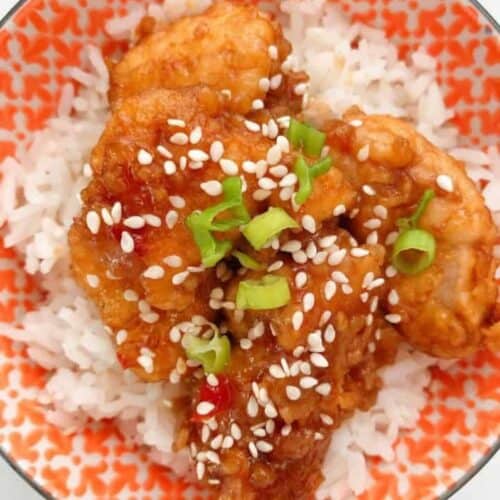
Crispy, crunchy wings with an explosion of flavour, these Chinese style salt and pepper chicken wings are even better than takeout!
I don't know about you but whenever I order a Chinese takeout, no matter what I order, I just can't resist getting a side of chicken wings.
They're completely addictive.
Well now you don't even need to order takeout to enjoy these gorgeous crunchy spicy chicken wings at home - you can make them yourself.
And you know what? They're even better than you can order in.
Mama Loves to Cook is a participant in the Amazon Services LLC Associates Program, an affiliate advertising program designed to provide a means for sites to earn advertising fees by advertising and linking to Amazon.com
Ingredients
You will need the following ingredients for these amazing wings.
- Whole chicken wings - including the drumette and wingette/flat. You will need to cut them into pieces, or buy them pre-cut.
- Salt & Pepper - this is the whole point of the dish, don't scrimp on the seasoning.
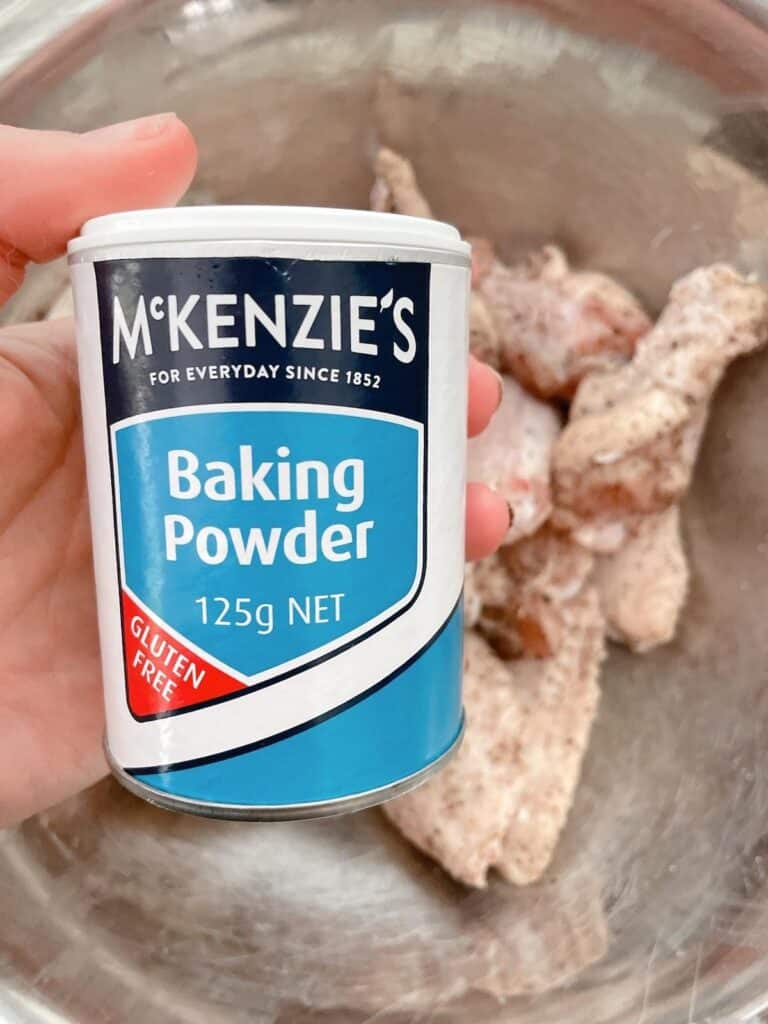
- Baking powder - this is going to help draw out the moisture and make the wings extra crisp. Make sure you use baking powder, not baking soda / bicarbonate of soda.
- Oil - use something flavourless that can be heated to a high heat, like vegetable oil, canola oil or peanut oil.
- Garlic
- Sesame oil
- Spring onions - also known as green onions or shallots
- Red Chilli Pepper - if you can handle the heat, you could also use a birdseye chilli.
Preparing the chicken wings
First things first, you need to get the chicken wings ready for roasting.
Start by cutting them up. You want to divide the whole wing into three pieces: the drumette, the wingette/flat and the wing tip as you can see in the picture below.
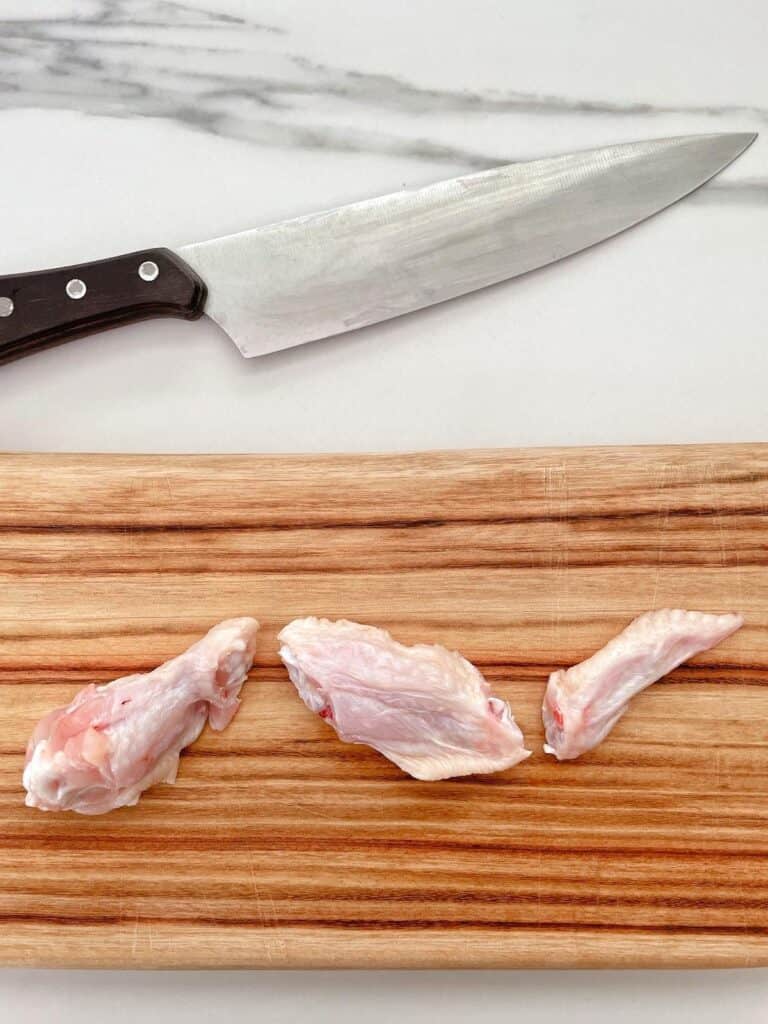
To do this easily you need a good sharp knife. Use your fingers to feel for the knuckle - it is much easier to cut along the joint than through the bone. If you have a sharp knife and cut at the knuckle, it should be relatively easy to cut.
Now discard the wing tip and you will be left with 10 x drumettes and 10 x flats.
Lay them out on some paper towels and dry them thoroughly and then transfer wings to a large bowl.

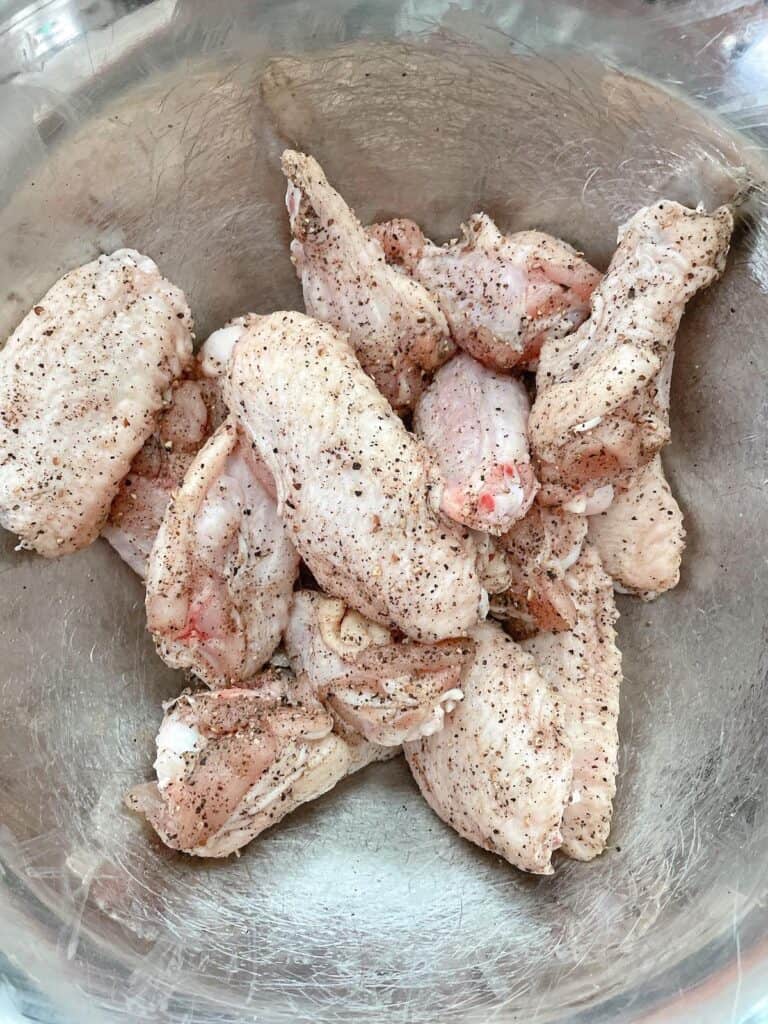
Season generously with the salt & pepper and mix to cover them well. Next sprinkle over the baking powder and mix to coat well.

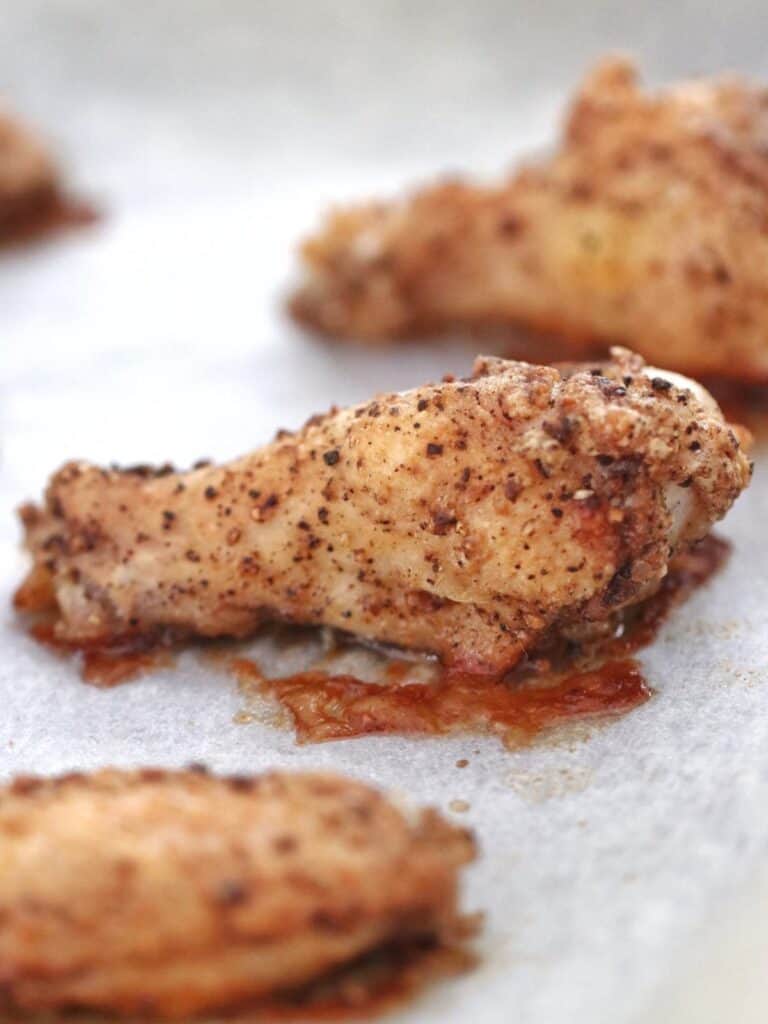
And finally lay them on a baking tray lined with aluminium foil or baking paper. Give them plenty of room - use two baking sheets if possible.
Cooking the chicken wings
First you are going to roast the chicken wings to get them nice and crispy and golden brown. This takes around 30-40 minutes in a hot oven. Turn them after 20 minutes.
(I know a lot of Chinese restaurants probably use a deep fryer for this, but trust me these are going to be just as good).
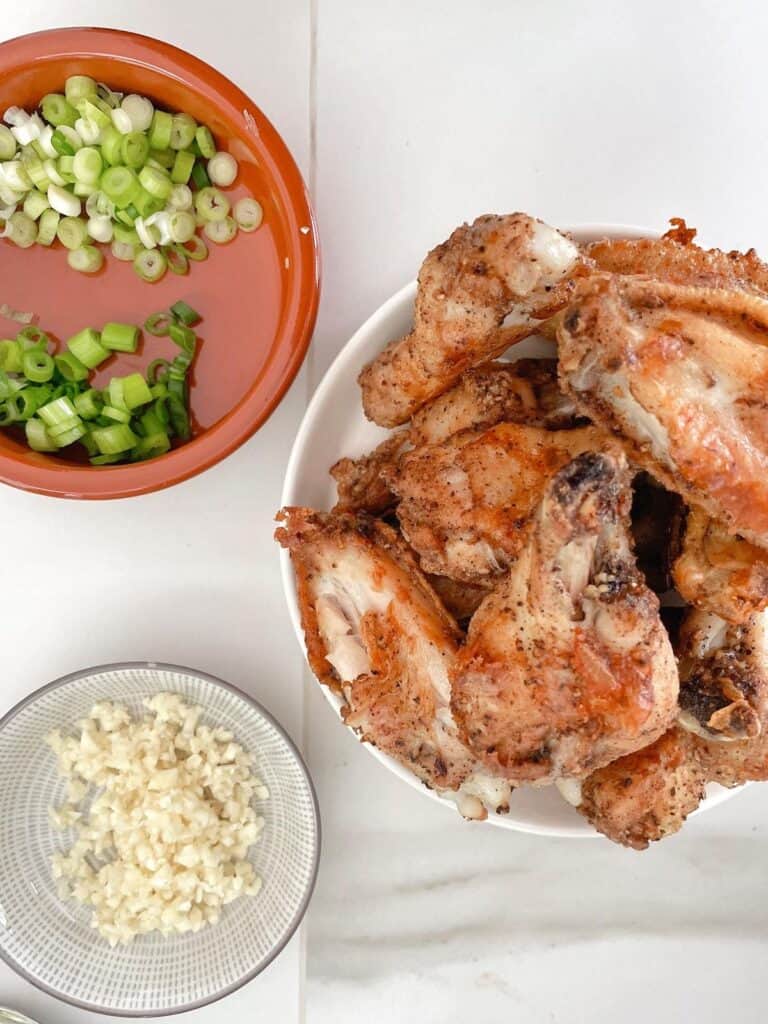
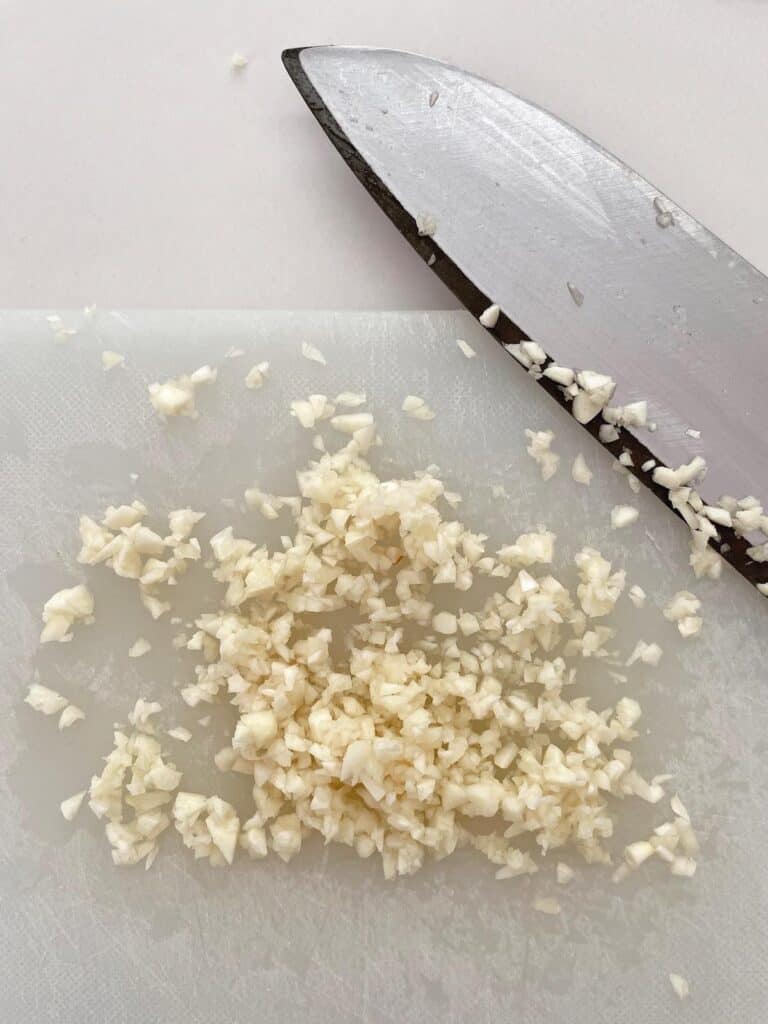
While they are cooking you can get the rest of the seasoning ready by finely chopping the garlic, spring onions and fresh chilli.
TIP: This dish works best with CHOPPED garlic. Don't be tempted to use a garlic crusher.
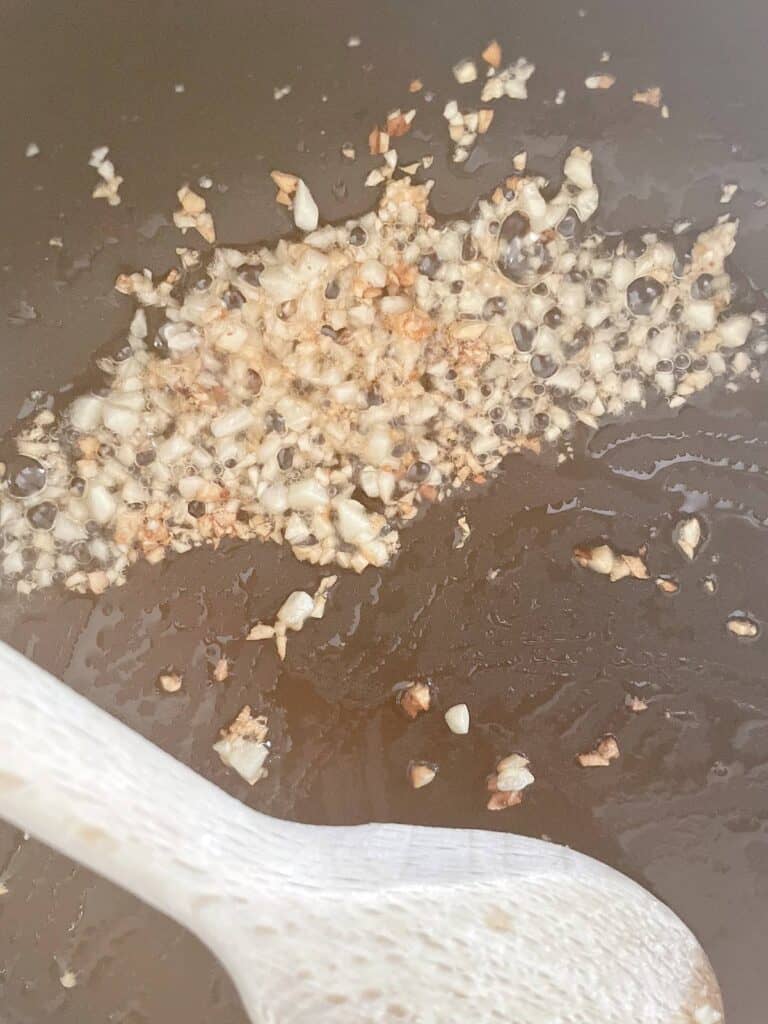
Once the wings come out of the oven, heat up the oil in a wok and toss in the garlic. Cook it over a high heat until the garlic starts to brown.
Then stir in the sesame oil, followed by half the spring onion and half the chilli. And finally throw in the crispy chicken wings and stir to coat in the garlic mixture.
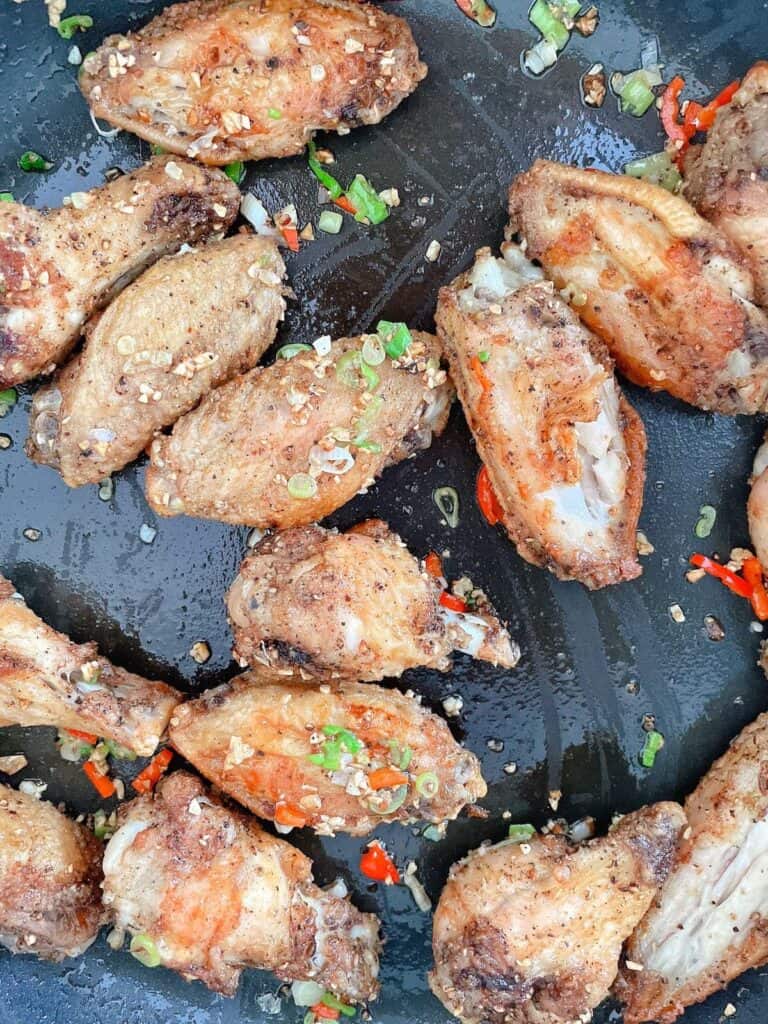
This last stage all happens pretty quickly. You don't really want the spring onions and chilli to cook too much - just mix them into the oil then toss in the chicken wings and stir.
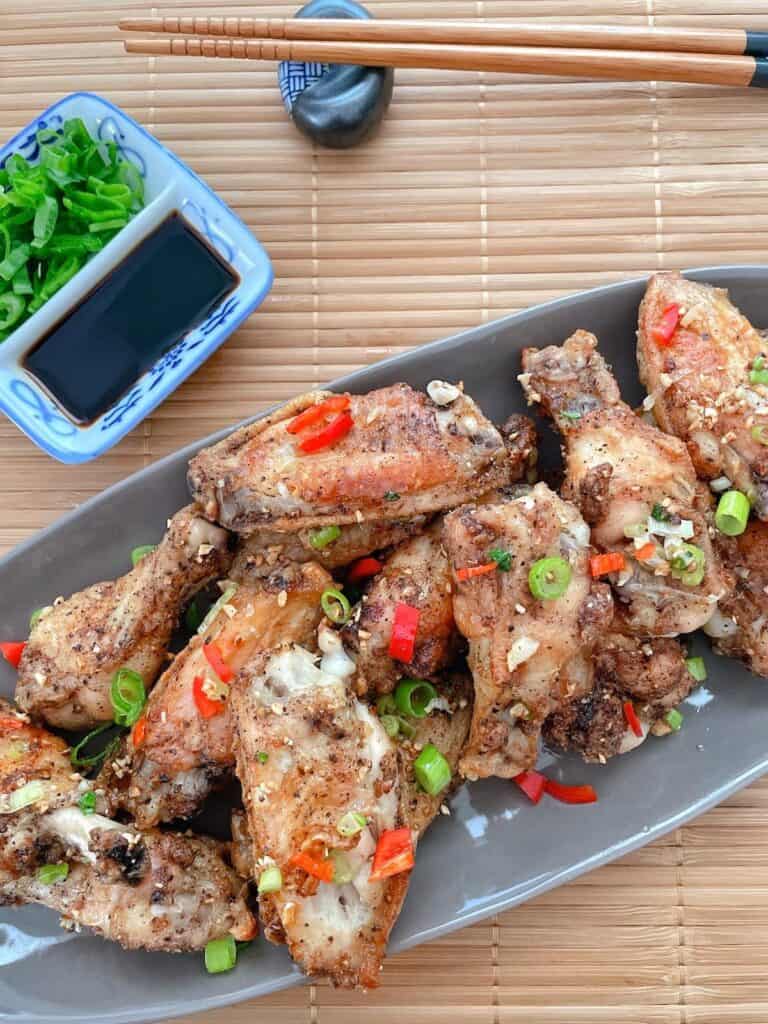
Transfer them to a serving dish and garnish with the remaining spring onion and chilli.
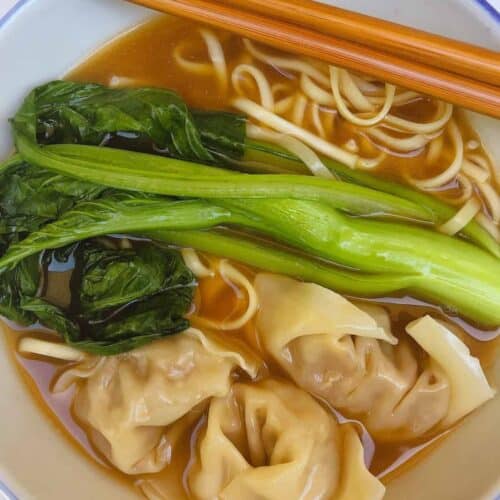
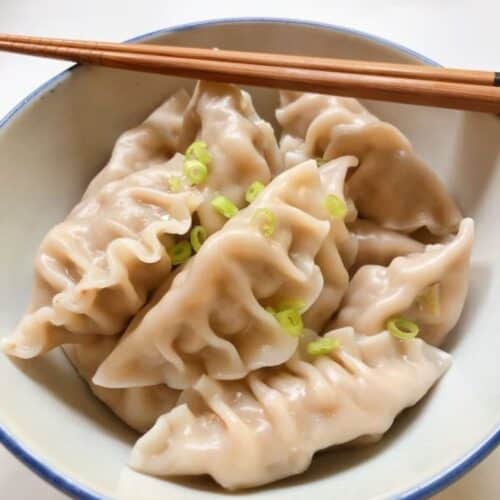
Love Chinese food? You may also like these recipes:
Did you try this recipe? Please leave me a ⭐ review below!
Don’t forget to tag me on Instagram @mamalovestocookblog and follow along on Pinterest and Facebook! Enjoy!!!
Pin it for Later!


Salt and Pepper Chicken Wings
Equipment
- Baking Pan
Ingredients
- 10 whole chicken wings see note
- 1.5 teaspoon salt
- 2 teaspoon crushed black pepper
- 2 teaspoon baking powder
- 3 cloves garlic finely chopped
- 2 teaspoon sesame oil
- 3 spring onions green onions/shallots, finely sliced
- 1 red chilli finely sliced
Instructions
- Pre-heat oven to 230C / 450F. Line two baking sheets with baking paper or foil.
- Cut the chicken wings into three pieces - the drumette, wingette/flat and wing tip (see article above for tips on how to do this). Discard the wing tip, you should now have 10 x drumettes and 10 x flats.
- Dry the wings thoroughly with a paper towel and place in a large bowl.
- Season with salt and pepper and toss to coat evenly.
- Sprinkle over baking powder and toss to coat evenly.
- Place on the baking trays making sure they have plenty of space between them and roast in the oven for around 35-40 minutes, turning after 20 minutes. They should be golden brown and crispy.
- Heat the oil in a wok or frying pan over a high heat. Toss in the garlic and stir until it starts to brown. Now add the sesame oil, followed by half the spring onion and half the chilli. Stir to combine.
- Throw in the chicken wings and stir to coat in the garlic mixture. Note that these last two steps should happen fairly quickly - you don't want the spring onion and chilli to cook too much.
- Transfer to a serving dish and garnish with the remaining spring onion and chilli.


Leave a Reply