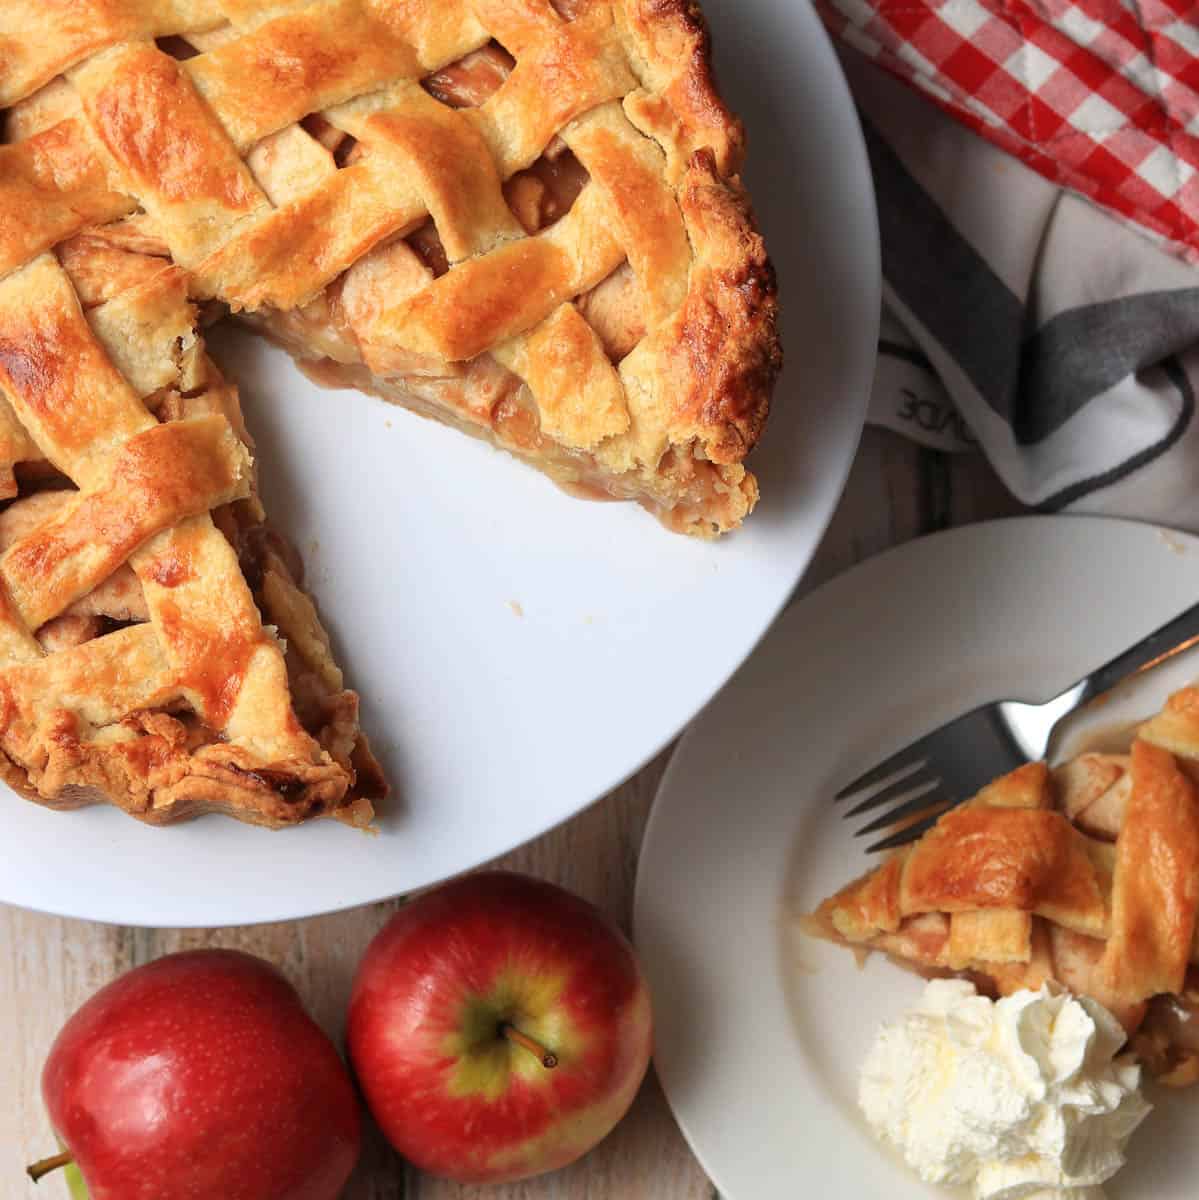
This Thermomix Apple Pie recipe gives you a classic apple pie with a flaky buttery crust and a delicious homemade apple pie filling.
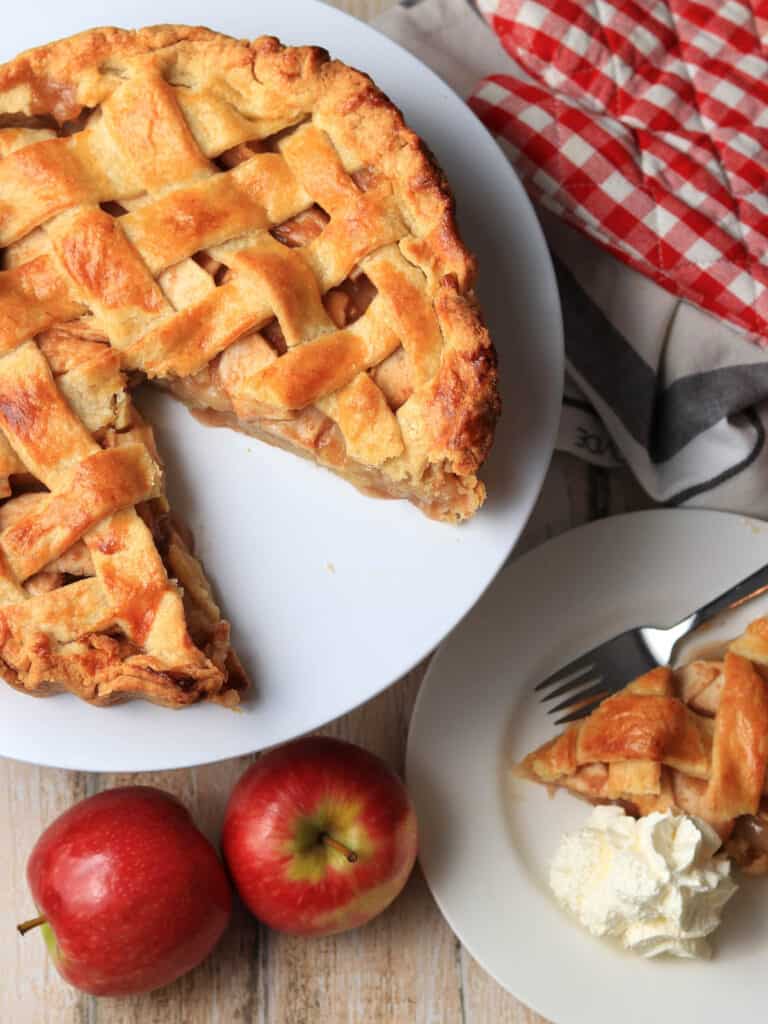
This apple pie is the ultimate comfort food. Rich flaky pastry and a delicious lightly spiced apple filling. Life doesn't get much better than this.
I love that this recipe doesn't require you to pre-cook the apples or spend ages making a sauce. You simply peel and slice them and toss them with flour, sugar and cinnamon before adding them to the pie dish. So easy!
I think this apple pie is best served at room temperature with a large scoop of vanilla ice cream or a big dollop of homemade whipped cream.

Mama Loves to Cook is a participant in the Amazon Services LLC Associates Program, an affiliate advertising program designed to provide a means for sites to earn advertising fees by advertising and linking to Amazon.com
Ingredients
This easy recipe uses the following ingredients. Hopefully you will have most of them in your store cupboard and you just need to add apples!
- Plain flour
- Caster sugar
- Salt
- Butter
- Apples - see below for the best apples to use for apple pie.
- Lemon juice
- Cinnamon
- Egg
The Best Apples for Apple Pie
For this recipe I usually like to use a combination of apples to create a better depth of flavour and to get the best characteristics of both types of apple.
My favourite is a combination of Granny Smith and Pink Lady (2 x Granny Smith and 5 x Pink Lady).
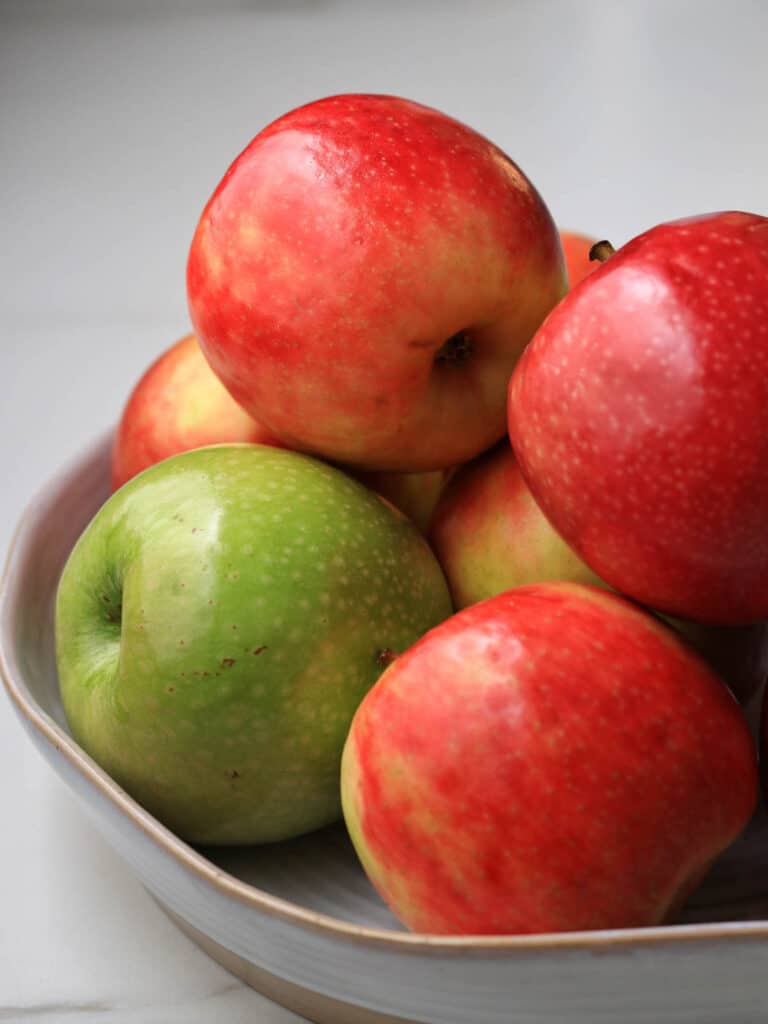
Both these apples hold their shape well when cooked. The Granny Smiths add a wonderful tartness while the Pink Lady apples have a lovely natural sweetness.
Remember that the sweeter the apple the less sugar you will need to add. And I think we'd all rather get our sugar from a natural fruit source.
Other good apples for apple pie include:
- Granny Smith
- Pink Lady
- Jazz
- Royal Gala
- Golden delicious
- Braeburn
- Fuji
How to Cut an Apple for Apple Pie
For the best results it helps to have all the apple slices evenly cut.
Start by peeling the apples (use a vegetable peeler or paring knife), and then cutting out the core.
To core the apples, I usually cut them into quarters and then use a sharp knife to cut out the core. You can also use a special apple corer.
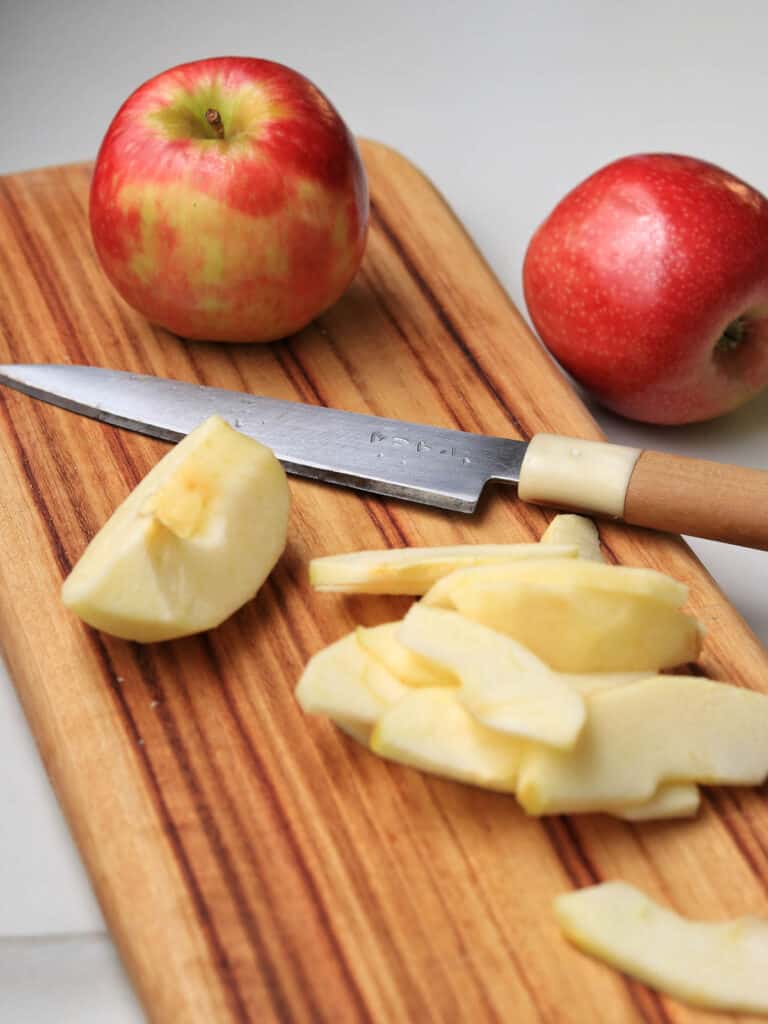
Once you have the peeled apple cut into quarters, take a quarter and slice it lengthways. You want the slices to be around ¼ inch thick and try to make them as evenly cut as possible.
How to Make Apple Pie
There are four steps to making this Thermomix dessert. Firstly to make the pie crust, next the filling, then assemble it all together and finally bake the pie.
Step 1: Make the pie crust
Making pie crust for apple pie in the Thermomix is super simple. You literally just add all the ingredients to the Thermomix and mix it together for 20 seconds.
For the best results, make sure that your butter is cold (straight from the fridge) and your water is chilled.
Next tip it out onto a floured surface. Then use your hands to bring it together. It will look quite crumbly when you first tip it out, but should come together easily.
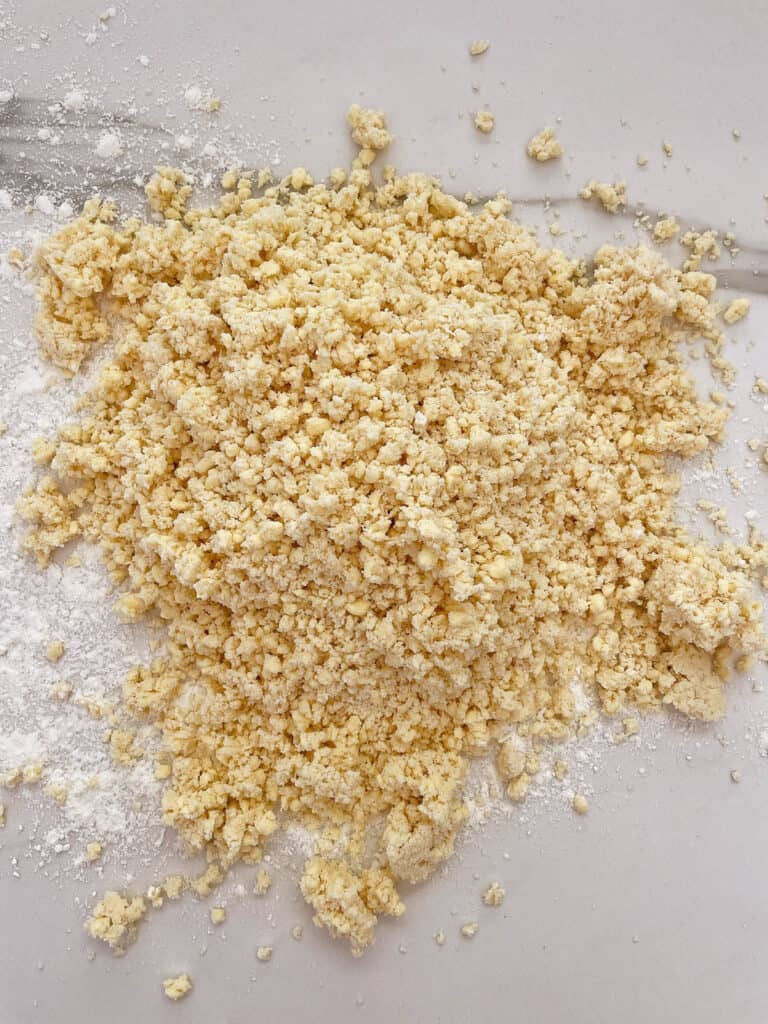
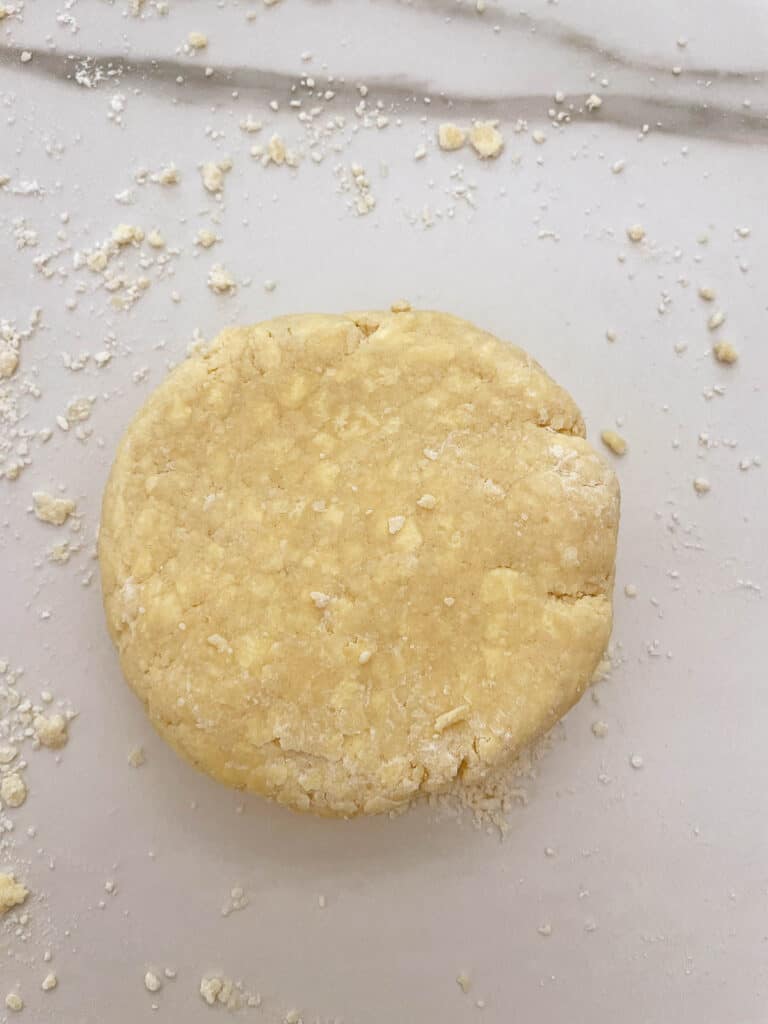
Divide in into two and form each half into a flat disc. Do all this quickly - the less you handle the pastry the better.
Now transfer each disc of pastry to a plastic bag and chill it in the fridge for 30-minutes to an hour, or until you are ready to use it.
Note: the pastry can be made ahead of time and will keep in the fridge for up to 2 days. Just let it sit at room temperature for 10-15 minutes before rolling.
Step 2: Make the apple pie filling
Making the apple pie filling is super simple.
Firstly peel and slice the apples, as shown above. As you slice them, put them in a large bowl and sprinkle them with a little lemon juice to stop them from going brown.
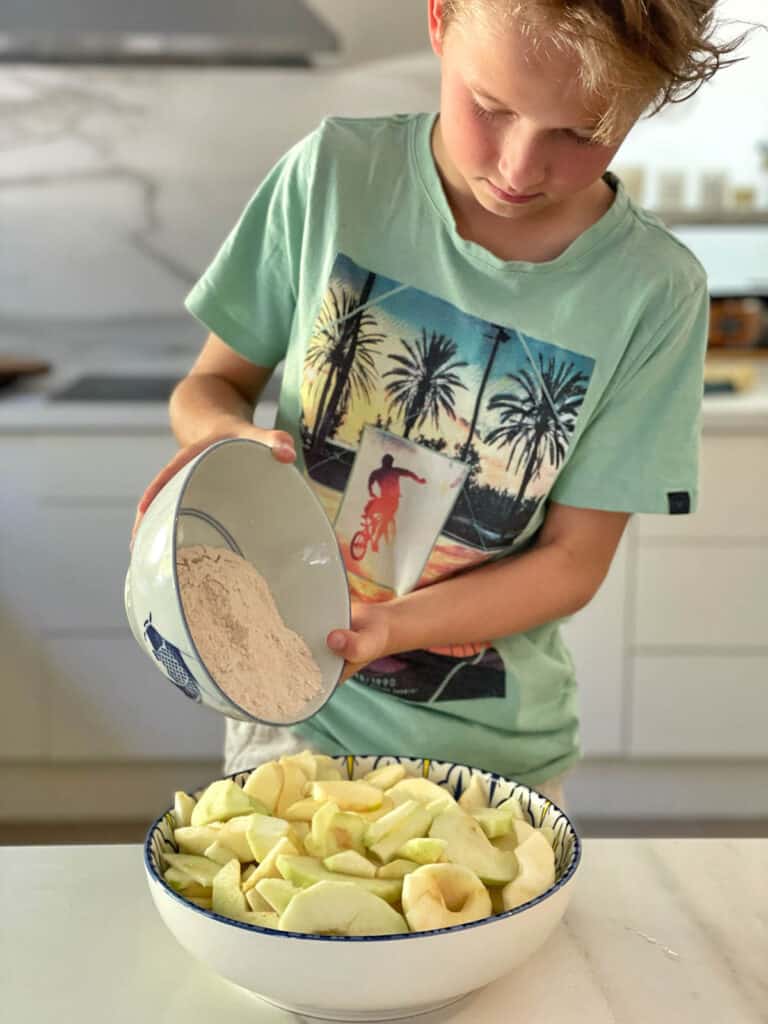
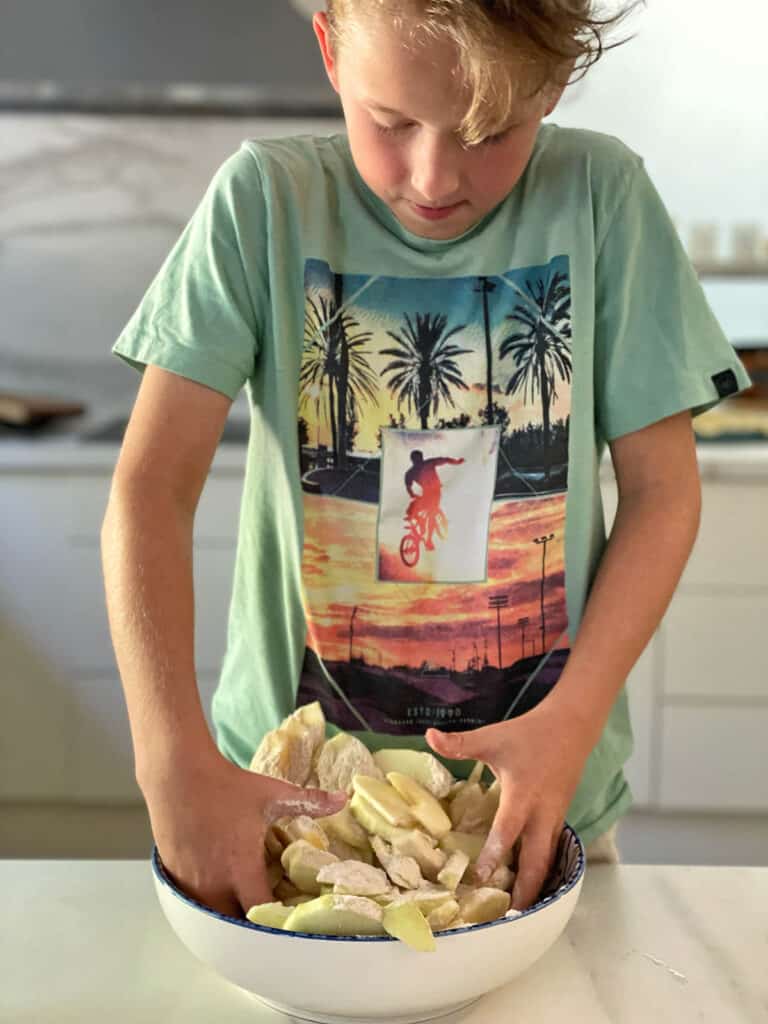
Next place the flour, sugar and cinnamon in the Thermomix and mix together for 10 seconds.
Then tip the flour mixture over the thin slices of apple and mix well with your hands until all the apple slices are well coated. Set aside until you are ready to the fill the pie.
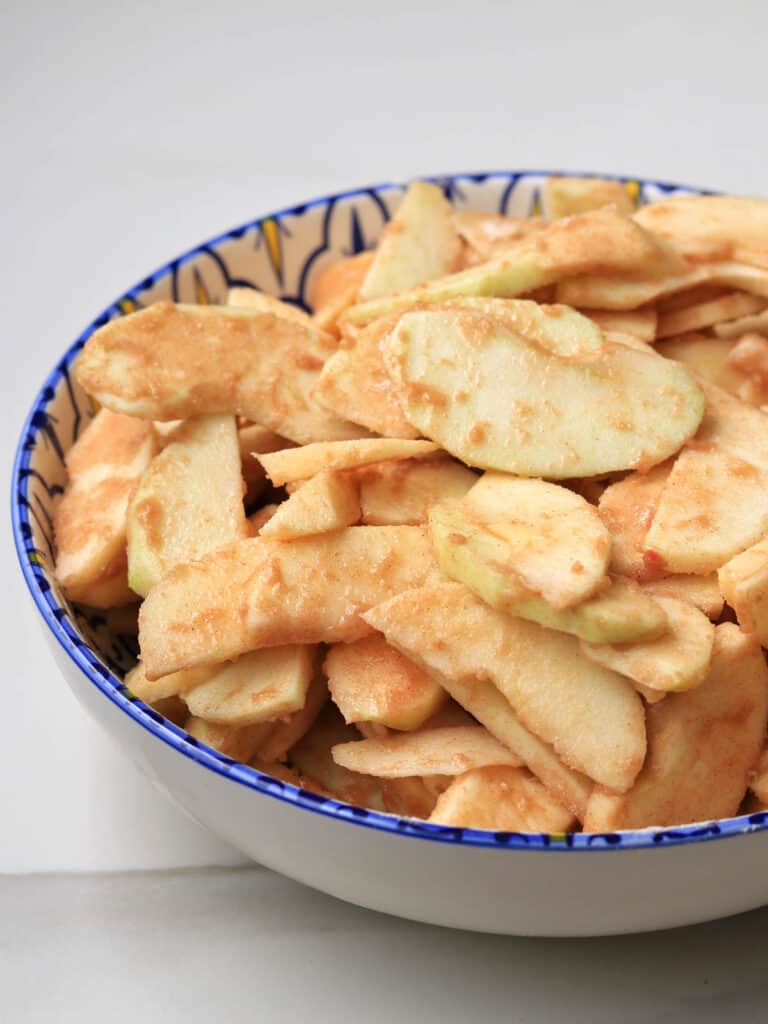
Step 3: Assemble the pie
Now it's time to make the pie. Take one pastry disc and place it on a floured surface.
Use a rolling pin to roll it out into a large circle approximately 11 inches in diameter (or around 2 inches wider than your pie tin).
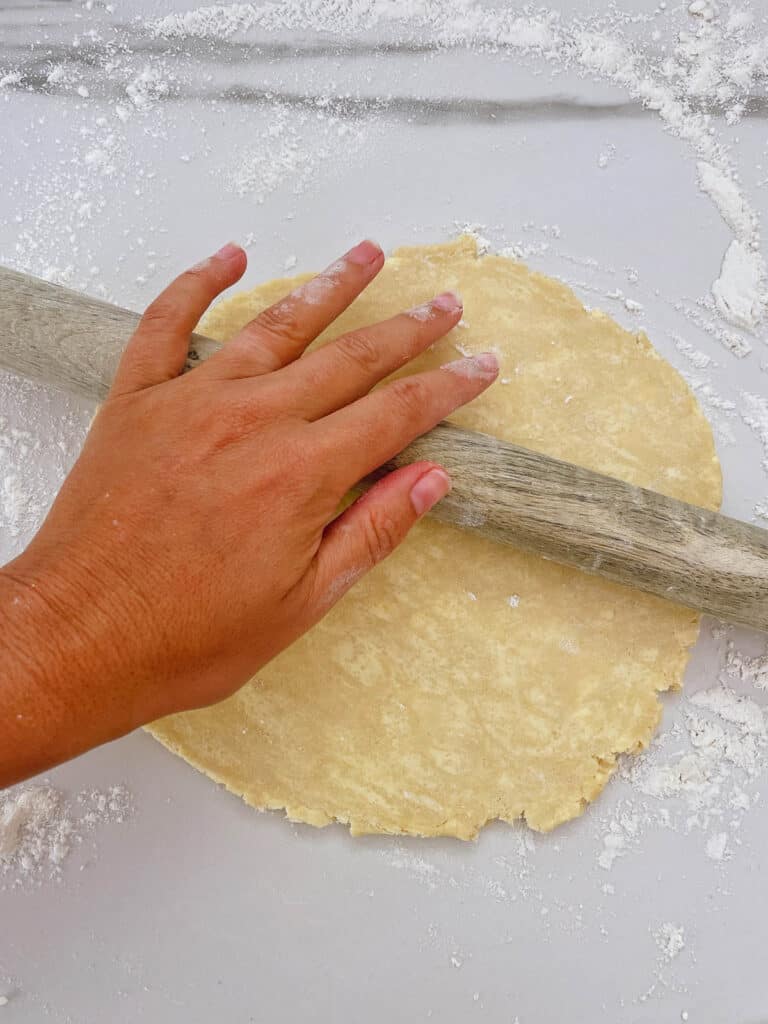
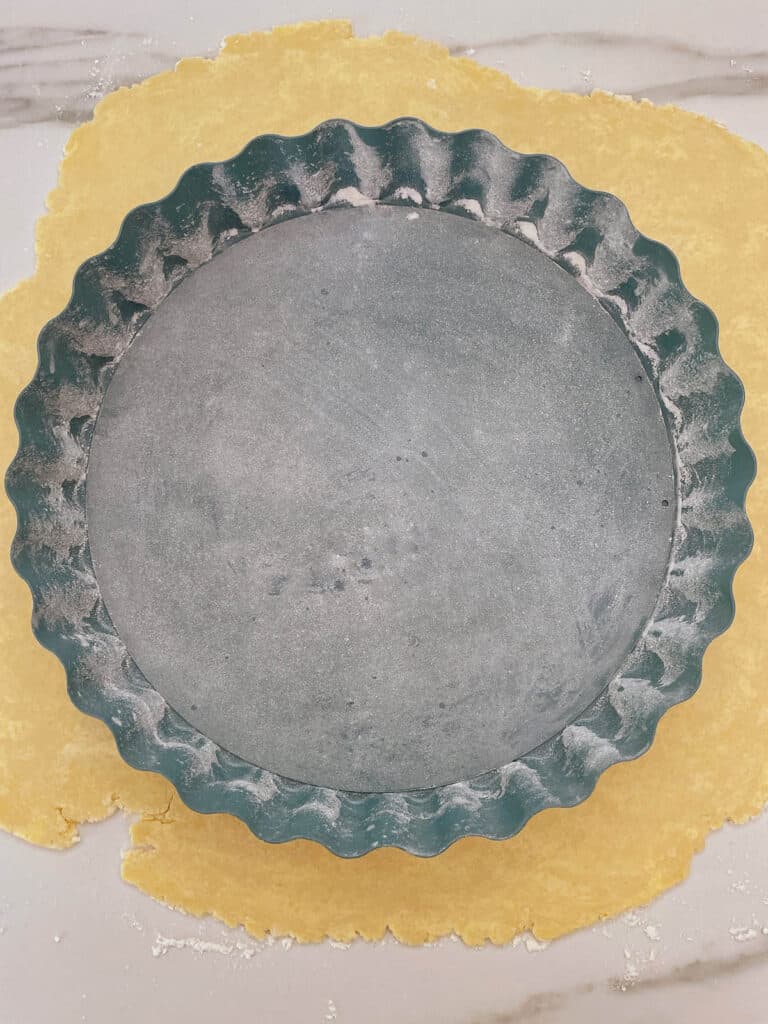
To maintain the circle shape in your pastry as you roll, rotate the pastry a quarter turn every couple of rolls. Continue doing this until you have the size you need. If it starts to stick, toss down some more flour.
Then carefully transfer the pastry to your pie pan. You can roll it over your rolling pin to make it easier to transfer.
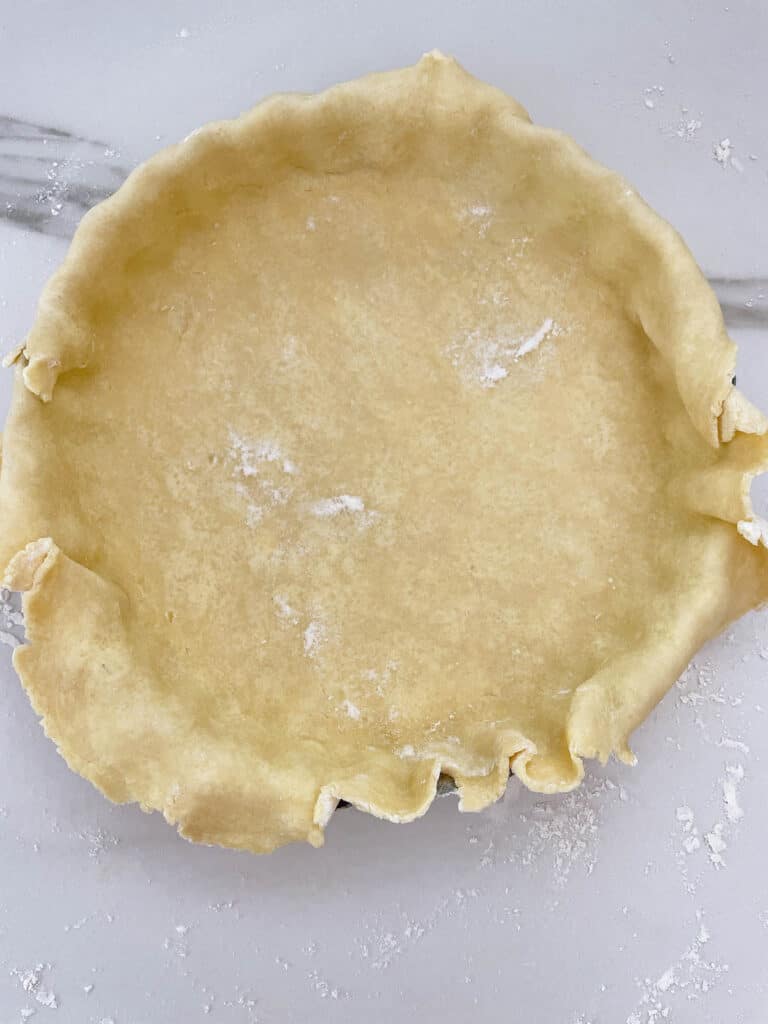
Press it into the tin on the bottom and sides. Leave any extra pastry hanging over the edge at this stage. It doesn't have to look neat!
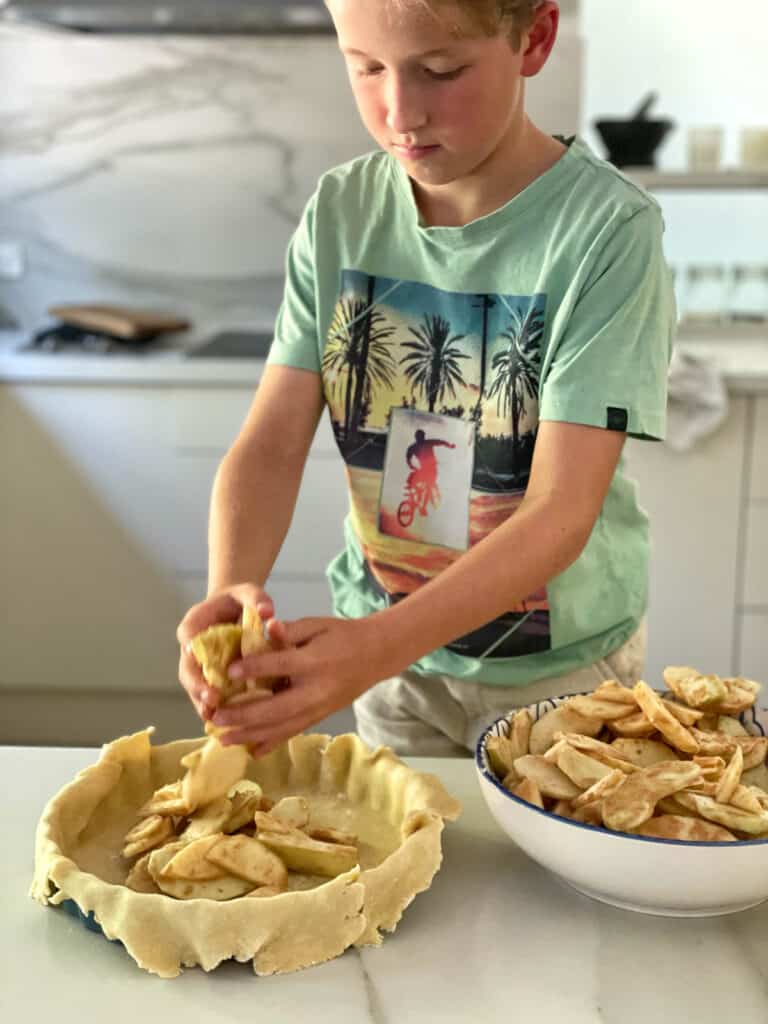
Now pile the apples into the pastry case. Pack it full and aim to have a mound in the centre. The apples will reduce when cooking.
To make the pastry lattice for the top, take the second disc of pastry and roll it out as before on a floured surface to around 10 inches in diameter.
Now take a pastry cutter or pizza cutter and cut the pastry into 10 equal strips. Take a long strip and lay it across the centre of the pie. Add four more strips in the same direction, with longer strips in the middle and shorter strips at the edges.
Now you should have five strips all going in the same direction. Fold back strips numbers 2 and 4 to half way. Take another long strip and lay it across the top of the strips on the pie and replace strips 2 and 4.
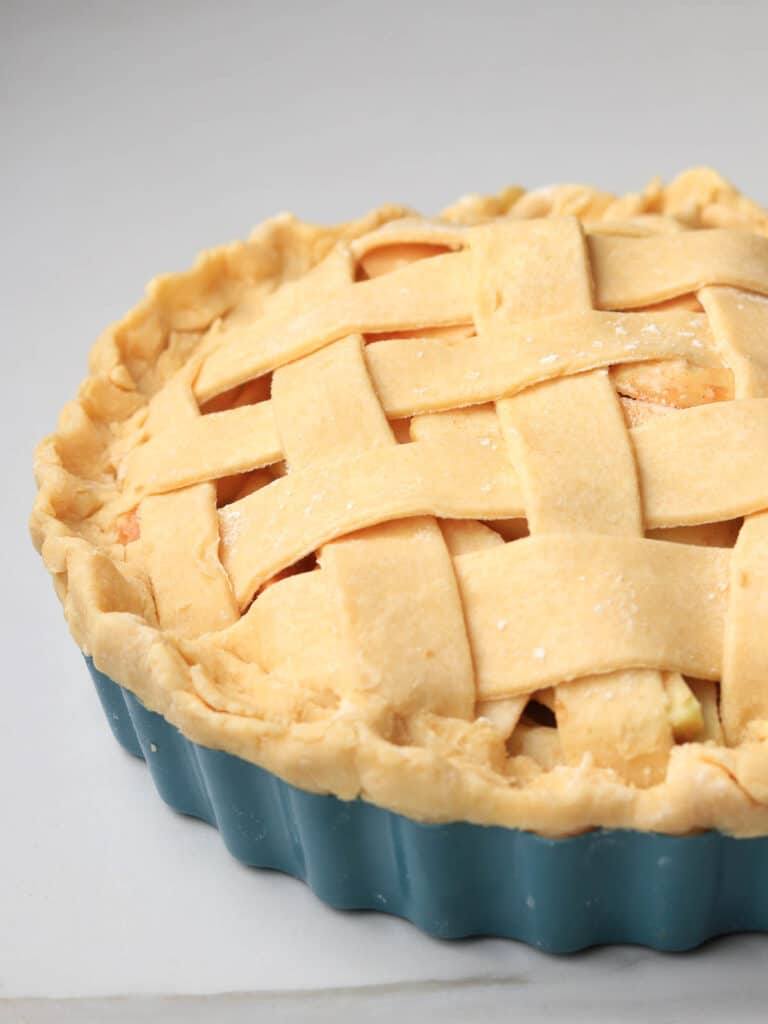
Now fold back strips 1, 3 and 5 and repeat with another new strip of pastry. Continue doing this on both sides of the pie alternating strips until you have completed the lattice.
Pinch together the pastry at the edges and tuck in any excess. Remember that apple pie is supposed to be rustic so don't worry if it looks a little messy!
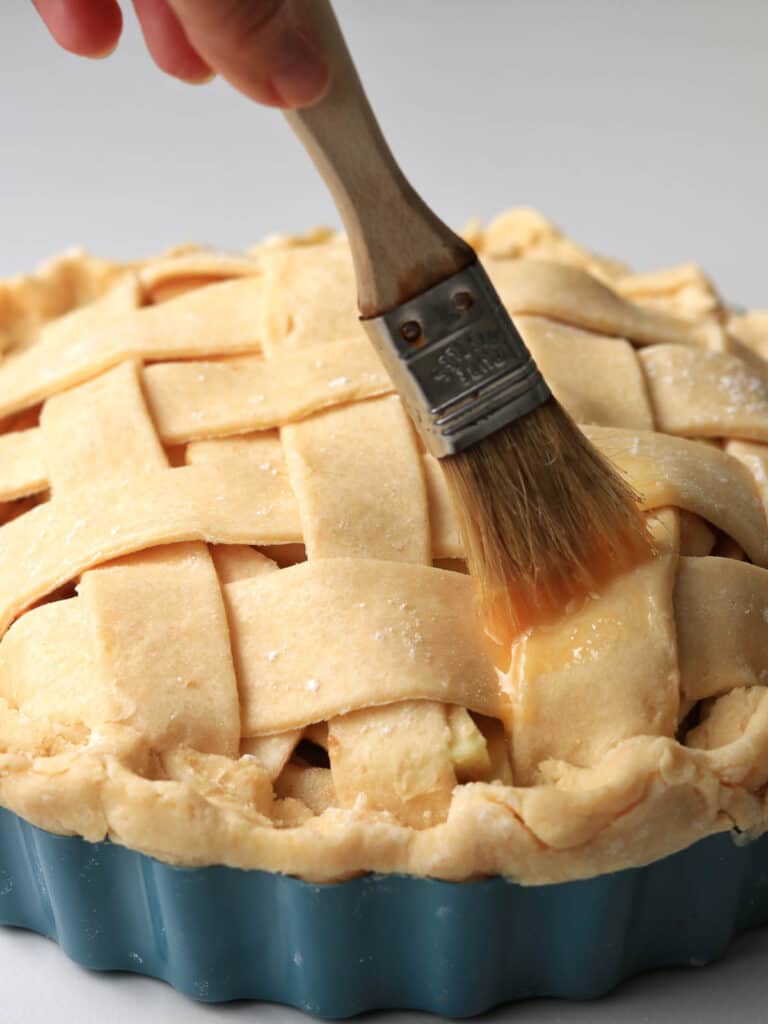
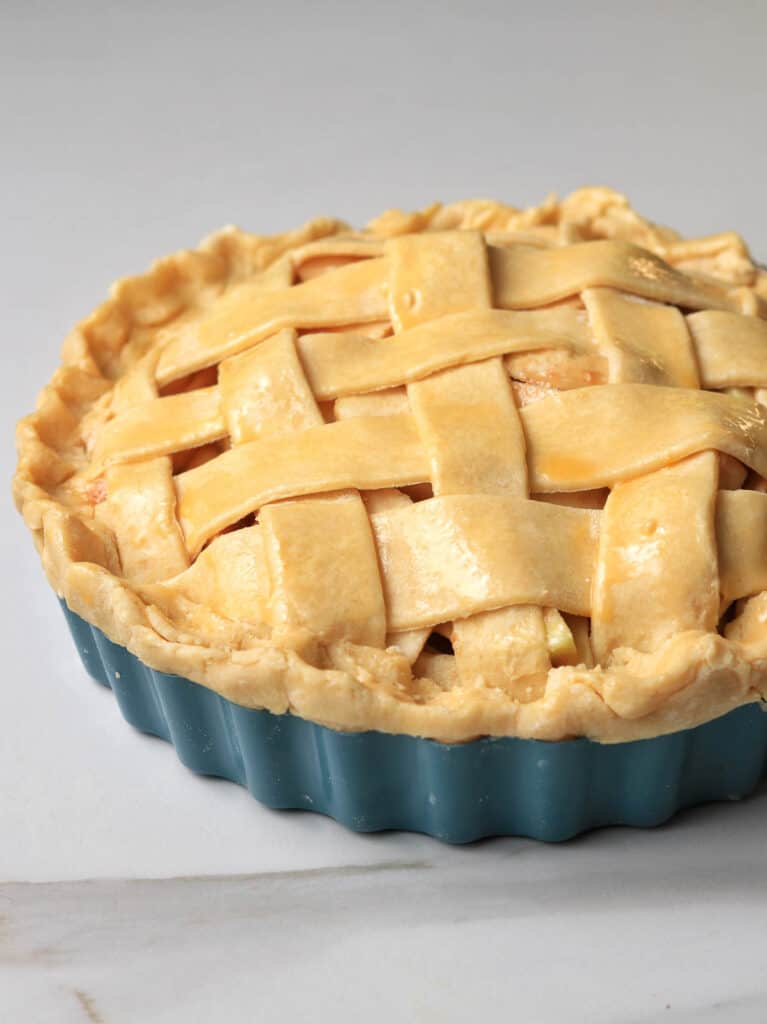
Finally make an egg wash by whisking together an egg with a teaspoon of sugar and use a pastry brush to gloss over the pastry lattice.
Step 4: Bake the pie
To bake the pie, place it in a pre-heated oven at 190C / 375 F for the first 20 minutes.
Then lower the heat and continue cooking for a further 45 minutes - an hour. You will know the apple pie is ready when the juices are bubbling through the lattice pie crust.
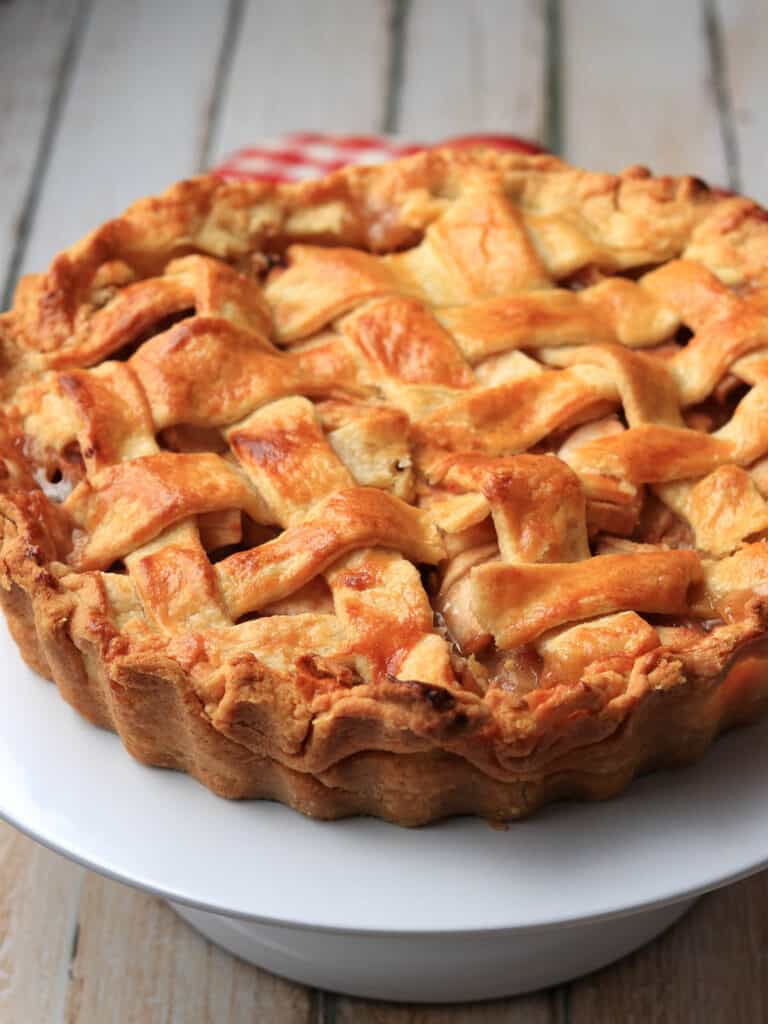
You will probably find that the pastry is golden brown after around 30 minutes of cooking time. To prevent it getting too dark, take a sheet of foil and fold it over an upturned bowl to create a dome. Place the dome of foil on top of the pie for the remainder of cooking time.
Once cooked, remove from the oven and leave it cool for at least an hour. This allows the filling to firm up. Serve at room temperature with a scoop of vanilla ice cream, Thermomix custard or some fresh pouring cream.
Love Desserts? You will also love these Thermomix Recipes.
Did you try this recipe? Please leave me a ⭐ review below!
Don’t forget to tag me on Instagram @mamalovestocookblog and follow along on Pinterest and Facebook! Enjoy!!!
Thermomix Apple Pie
Ingredients
For the pie crust
- 315 g plain all purpose flour
- 225 g cold unsalted butter
- 15 g sugar
- ½ teaspoon salt
- 100 g water chilled
- Egg wash 1 egg + 1 teaspoon sugar
For the apple pie filling
- 1.3 kg apples approx. 6-7 apples
- 1 tablespoon lemon juice
- 100 g caster sugar
- 50 g plain all purpose flour
- 1 teaspoon cinnamon
Instructions
For the pie crust
- Chop the butter into small pieces and add to the Thermomix bowl together with the flour, sugar salt and water.
- Mix for 10 seconds / speed 4. Scrape down the sides and repeat.
- Turn out onto a floured surface and quickly bring it together with your hands. It will look quite crumbly to being with but should come together easily. Divide into two and shape each half of the pastry into a flattened disc.
- Wrap each disc in plastic wrap or place in an airtight plastic bag and chill in the fridge for 30 minutes to an hour.
For the apple pie filling
- Peel and core the apples and slice into even sized slices around ¼ inch thick. Place apple slices into a bowl and sprinkle with lemon juice to prevent them going brown.
- Place the sugar, flour and cinnamon into the Thermomix bowl and mix for 10 seconds / speed 4.
- Sprinkle the flour mixture over the apple slices and mix well until all the apple slices are well covered.
Assembling the Pie
- First pre-heat the oven to 190 C / 375 F and prepare your pie dish by greasing and flouring it.
- Take one disc of pastry and use a rolling pin to roll it out on a floured surface, turning a quarter of a turn every couple of rolls to maintain the circular shape. You are aiming for it to be approximately 2 inches wider than your pie tin on all sides.
- Carefully transfer the pastry to the pie dish and press it into the bottom and sides.
- Next take the apples and pile them into the dish, creating a slight mound in the centre. It should be very full as the apples will reduce slightly as they cook.
- Now roll out the second disc of pastry. Use a pizza cutter or pastry cutter to cut the pastry into 10 strips.
- Take 5 of the strips and lay them evenly spaced across the top of the pie with the longer strips in the centre and the shorter once towards the edges. Now fold back strips 2 and 4 half way and lay a long strip of pastry across them in the centre of the pie. Keep folding back alternating strips on both sides and laying across the remaining strips of pastry until the lattice pattern is complete.
- Tuck in any excess pie dough around the edges and pinch together. You can create a crimped edge too if you like.
- Whisk together the egg and sugar and use a pastry brush to brush the egg wash over the pie crust.
- Bake in the oven for 20 minutes and then lower the temperature to 180 C / 355 F for a further 45 minutes to an hour. The pie filling should be bubbling through the gaps in the pastry. Note: Keep an eye on the pie crust as it cooks. Once it has turned brown, take a piece of foil, shape it into a dome over an upside down bowl and lay it over the pie for the remaining of the cooking time to prevent it from overcooking.
- Allow to cool for at least an hour before cutting and serving.





Leave a Reply