This Thermomix Scones recipe is quick and easy to make, and gives you delicious light fluffy scones on the table in less than 30 minutes. Perfect for last minute entertaining!

Afternoon tea with scones is one of life's real pleasures.
Scones taste their absolute best when they are fresh, and so nothing beats homemade scones made that day.
Scones are one of the first thing I learned to bake as a kid, and really baking them by hand is pretty easy. However, as with everything else, the Thermomix makes it even easier.
This Thermomix scone recipe is so quick and easy that you can go from zero to hero in less than 30 minutes.

Mama Loves to Cook is a participant in the Amazon Services LLC Associates Program, an affiliate advertising program designed to provide a means for sites to earn advertising fees by advertising and linking to Amazon.com
Ingredients in Scones
This afternoon tea treat needs just five ingredients, most (or all) of which you should have in your pantry and fridge.
- Self-raising flour - I find self raising to be the best flour for scones. Usually I prefer to use plain flour and add baking powder, but when testing this recipe, I found that the self-raising flour worked better.
- Caster sugar - you can substitute with granulated or raw sugar
- Butter
- Buttermilk - buttermilk is what helps make the scones rise and be light and fluffy as it helps activate the baking soda in the self-raising flour. If you don't have any buttermilk, you can add a tablespoon of freshly squeezed lemon juice or white vinegar to normal milk. You can also use normal milk but be prepared that they won't rise quite as well.
- Vanilla extract - this is entirely optional. A traditional scone recipe wouldn't use vanilla but I like to add it, as we all know vanilla makes everything taste better!

How to make scones
Making these buttermilk scones is very quick and easy. You can have them on the table in just 20 minutes.
First pop the flour, sugar and butter in the Thermomix bowl and mix for 5 seconds. Next add the buttermilk and vanilla, mix for 20 seconds and use the Dough function for 20 seconds. Job done.

Now turn out the dough from the mixing bowl onto a floured surface and bring it together with your hands. Shape it into a circle around 1 inch thick.
If you want very high scones you can make the dough thicker - up to 1.5 inches, but I have found that if you make them too thick to begin with they can rise so much that they start to collapse.
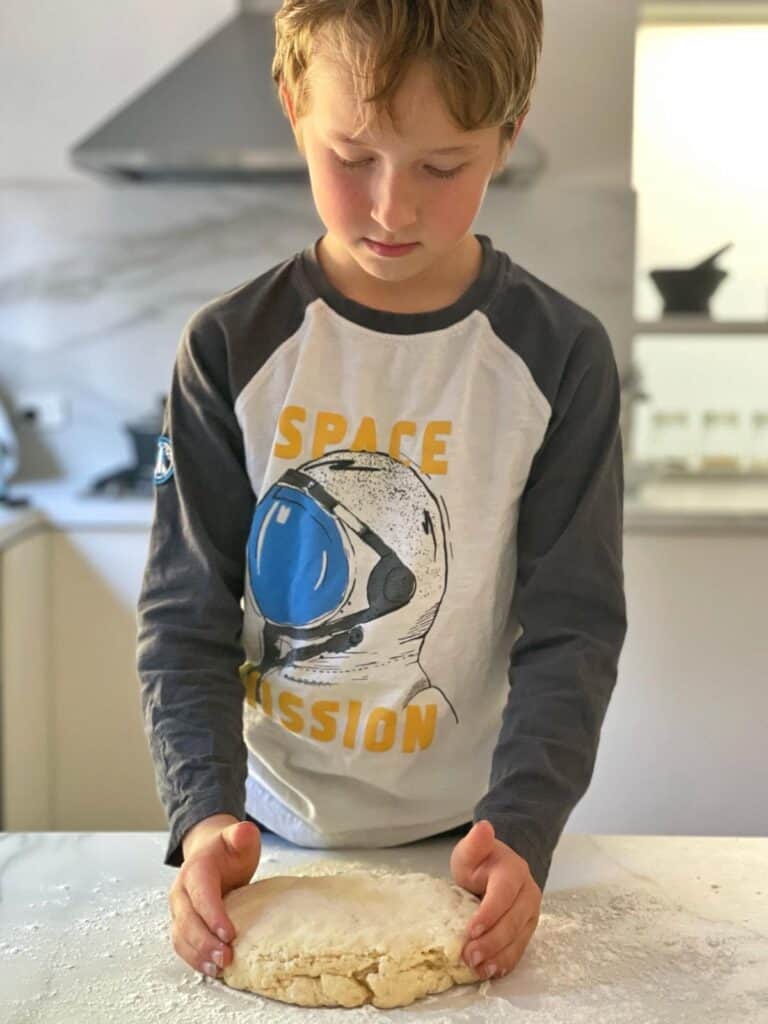
I usually just use my hands to flatten out the dough into a circle. If you are fussy about getting them completely even and smooth on top, you might prefer to use a rolling pin. But if you are happy with a slightly rustic look, then just use your hands.
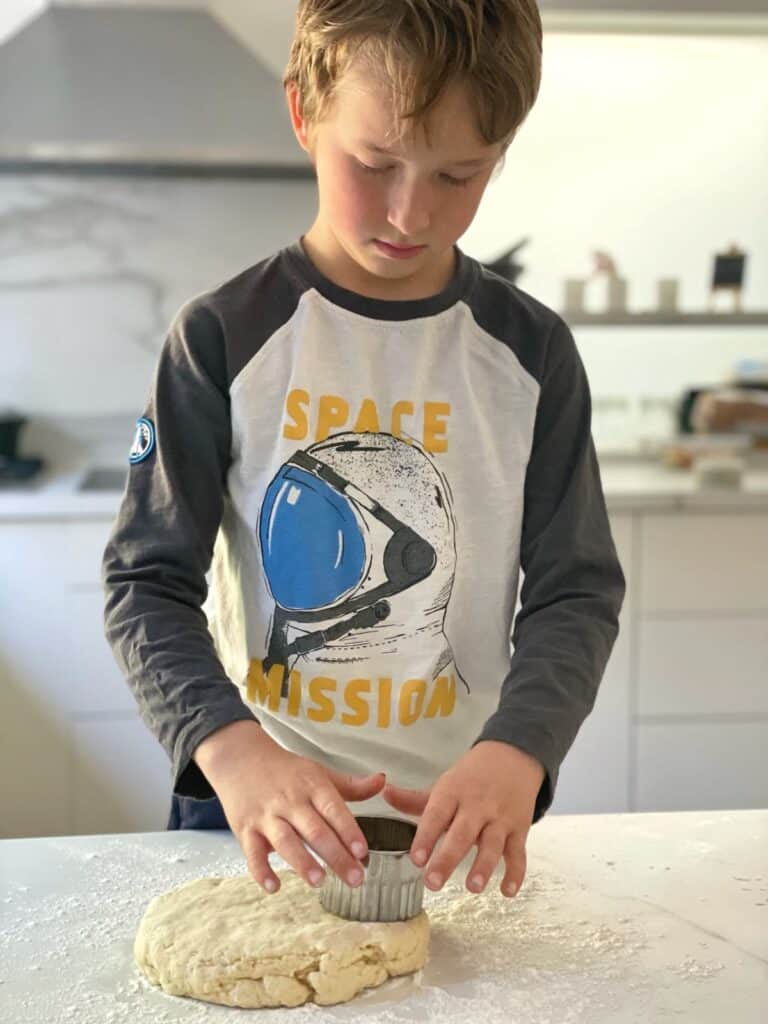
Use a 6-7cm cookie cutter to cut out shapes in the dough and place them on a baking tray lined with baking paper.
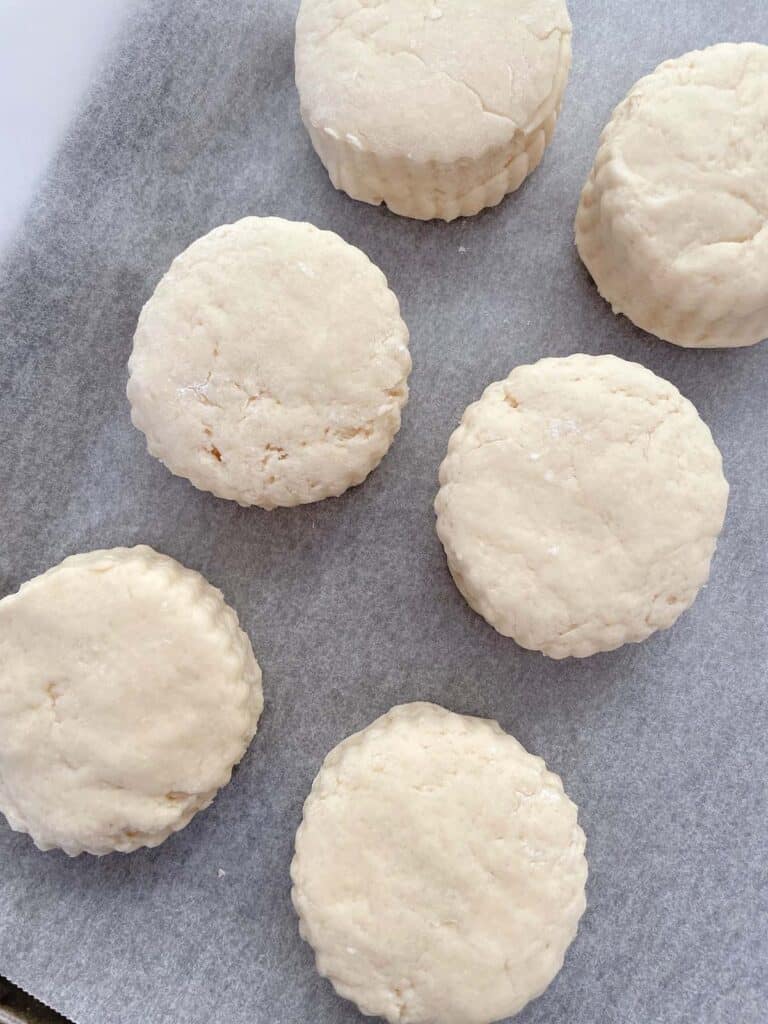
Then bring the remaining dough together again and re-shape and cut out more shapes. Repeat this until you have used up all the dough.
Now place scones in the hot oven for around 12 minutes, until they are golden brown. Allow to cool before serving, or even better, eat while still slightly warm.
How to serve scones
Traditionally you should serve scones with clotted cream and jam (that's jelly if you live in North America!). They should be washed down with copious amounts of tea (with milk in of course). Tea and scones... the perfect match!

It is not always that easy to get hold of clotted cream, particularly outside of the UK. If you can't get clotted cream, use the Thermomix to whip cream for a pretty good substitute.
If you don't have any cream, you could also use butter... but it doesn't really quite taste decadent enough.
Cream then Jam? or Jam then Cream?
Now here's a debate that's as old as scones and cream... which order do you put the toppings on scones?
Ask people from England which order you should put the jam and cream on top of the scones and you'll often get a different answer... and each person will insist that he/she is doing it the right way!
So what is the right way?

The answer depends where in England you come from. Traditionally scones are served as part of a cream tea in the Southwest of England, particularly in the counties of Devon and Cornwall.
In Devon, they serve scones with cream then jam, but in Cornwall, they do it the other way round - jam then cream.
I went to school in Somerset, where they do things the Devonshire way, which is why you will see it that way in my photos. But... it's obviously entirely up to you which way you do it - either way they are sure to be delicious!

FAQs and Top Tips
Yes you can freeze scones. Make sure they are completely cool before placing in an airtight bag or container in the freezer. To serve, defrost them for an hour at room temperature and then reheat in a medium oven (around 150-160C) for 5 minutes to freshen them.
Yes you can also freeze scones before baking. Place them in the freezer on a baking sheet lined with baking paper until frozen. Then transfer to an airtight bag or container. Bake direct from frozen, adding 2-3 minutes to the baking time.
Traditionally you eat scones with clotted cream. However this can be pretty hard to get hold of outside of the UK sometimes, so whipped double cream is a pretty good substitute.
You can use any flavour jam you like but I think strawberry jam or raspberry jam goes best.
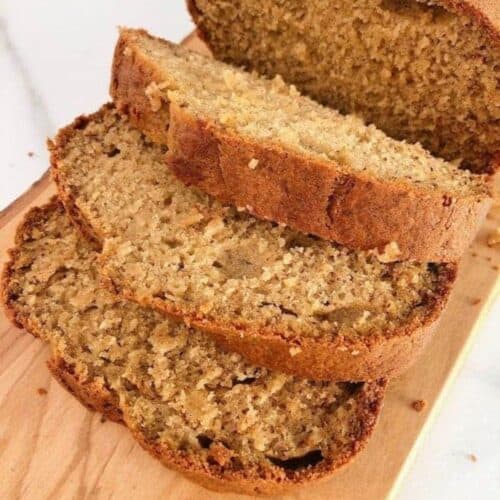
Love baking? You may also like these recipes:


Did you try this recipe? Please leave me a ⭐ review below!
Don’t forget to tag me on Instagram @mamalovestocookblog and follow along on Pinterest and Facebook! Enjoy!!!
Pin it for Later!


Thermomix Scones
Equipment
- Non-Stick Baking Pan
Ingredients
- 350 g self-raising flour
- 50 g caster sugar
- 85 g butter
- 180 g buttermilk
- 1 teaspoon vanilla extract
Instructions
- Pre-heat the oven to 200 C / 400 F. Line a baking sheet with baking paper.
- Add the flour, sugar and butter to the Thermomix bowl. Mix for 5 seconds / speed 8.
- Add the buttermilk and vanilla extract. Mix for 20 seconds / speed 5.
- Knead using the DOUGH function / 20 seconds.
- Turn onto a floured surface and use your hands to bring the dough together. Shape into a circle around 1 inch deep.
- Use a 6-7cm cookie cutter to cut out shapes in the dough and transfer to the baking tray. You should be able to get 4 or 5 scones from the first go.
- Bring the remaining dough together with your hands, lightly knead and reshape into a 1 inch thick circle. Cut out more shapes and transfer to the baking tray. Repeat until you have used all the dough. You should get 8 scones.
- Place in the pre-heated oven and bake for 12-15 minutes, until they are golden brown.
- Transfer to a wire rack and allow to cool before serving, or even better serve while still warm.


Can I add sultanas to the mix?
Absolutely!