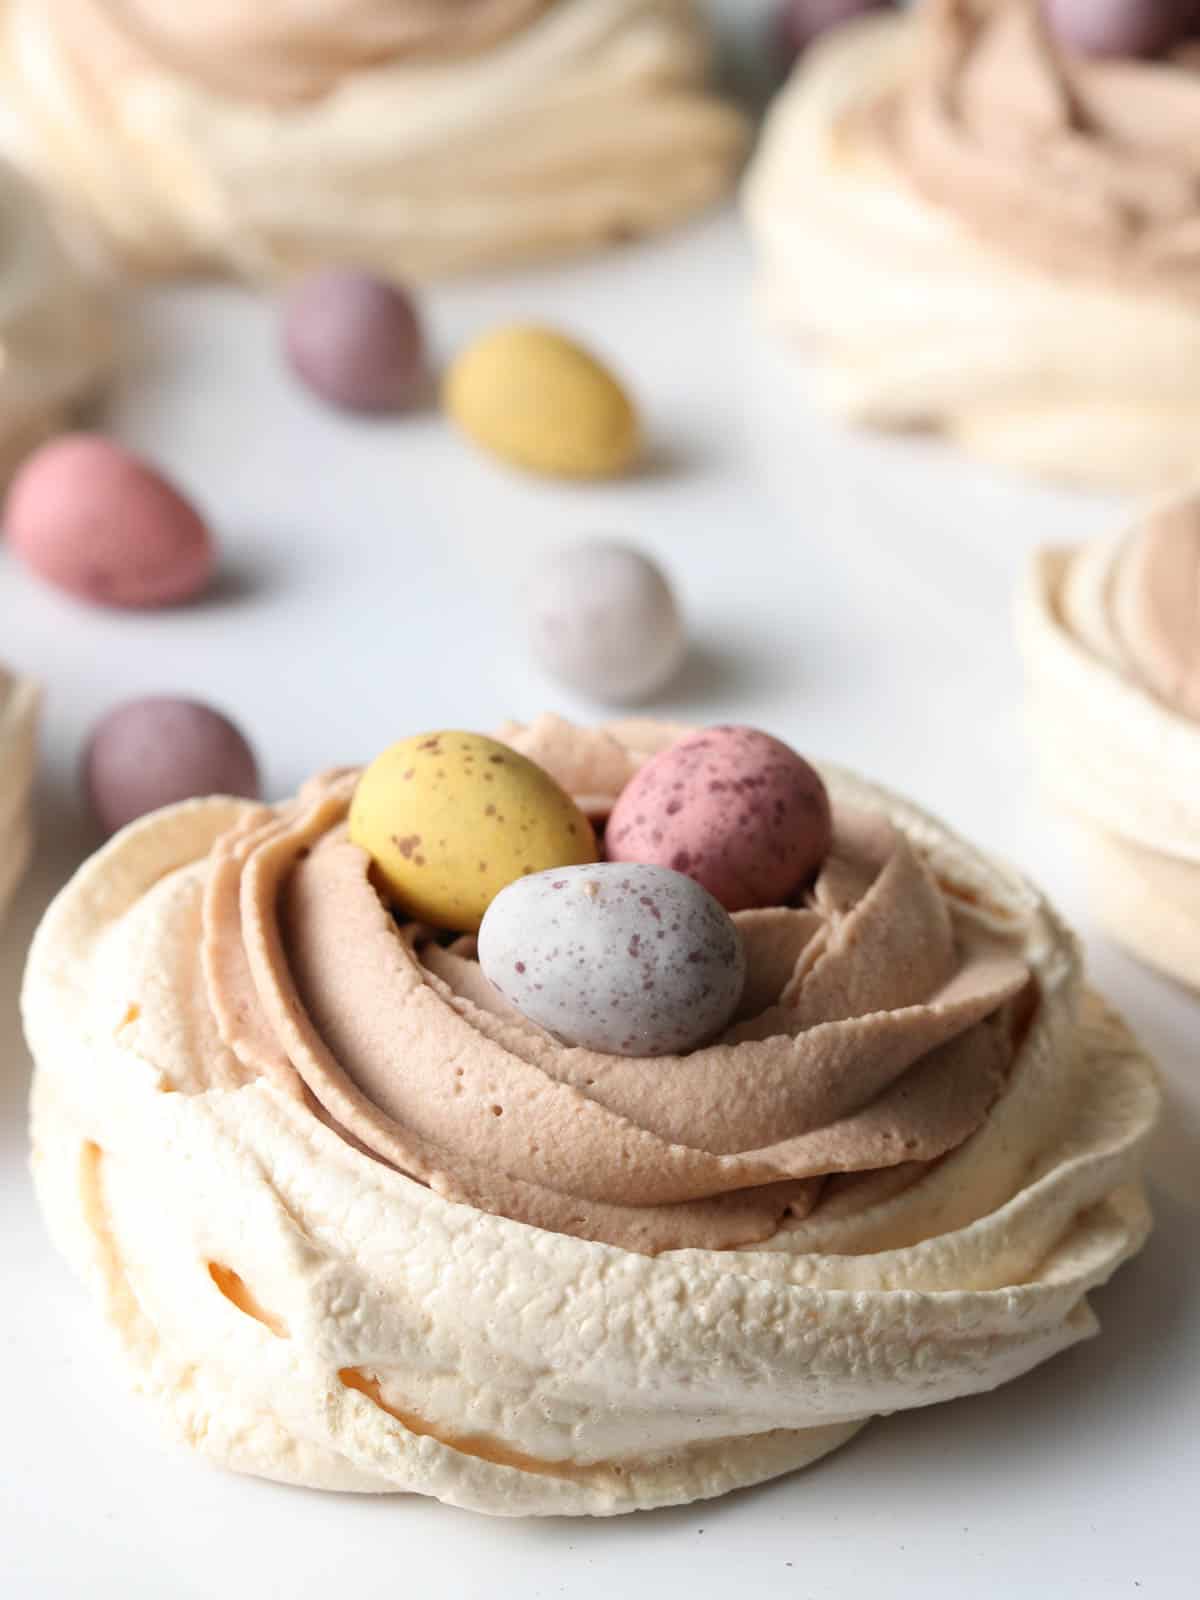
These cute Easter Meringues are filled with delicious chocolate whipped cream and topped with mini eggs for a most eggcellent Easter dessert.
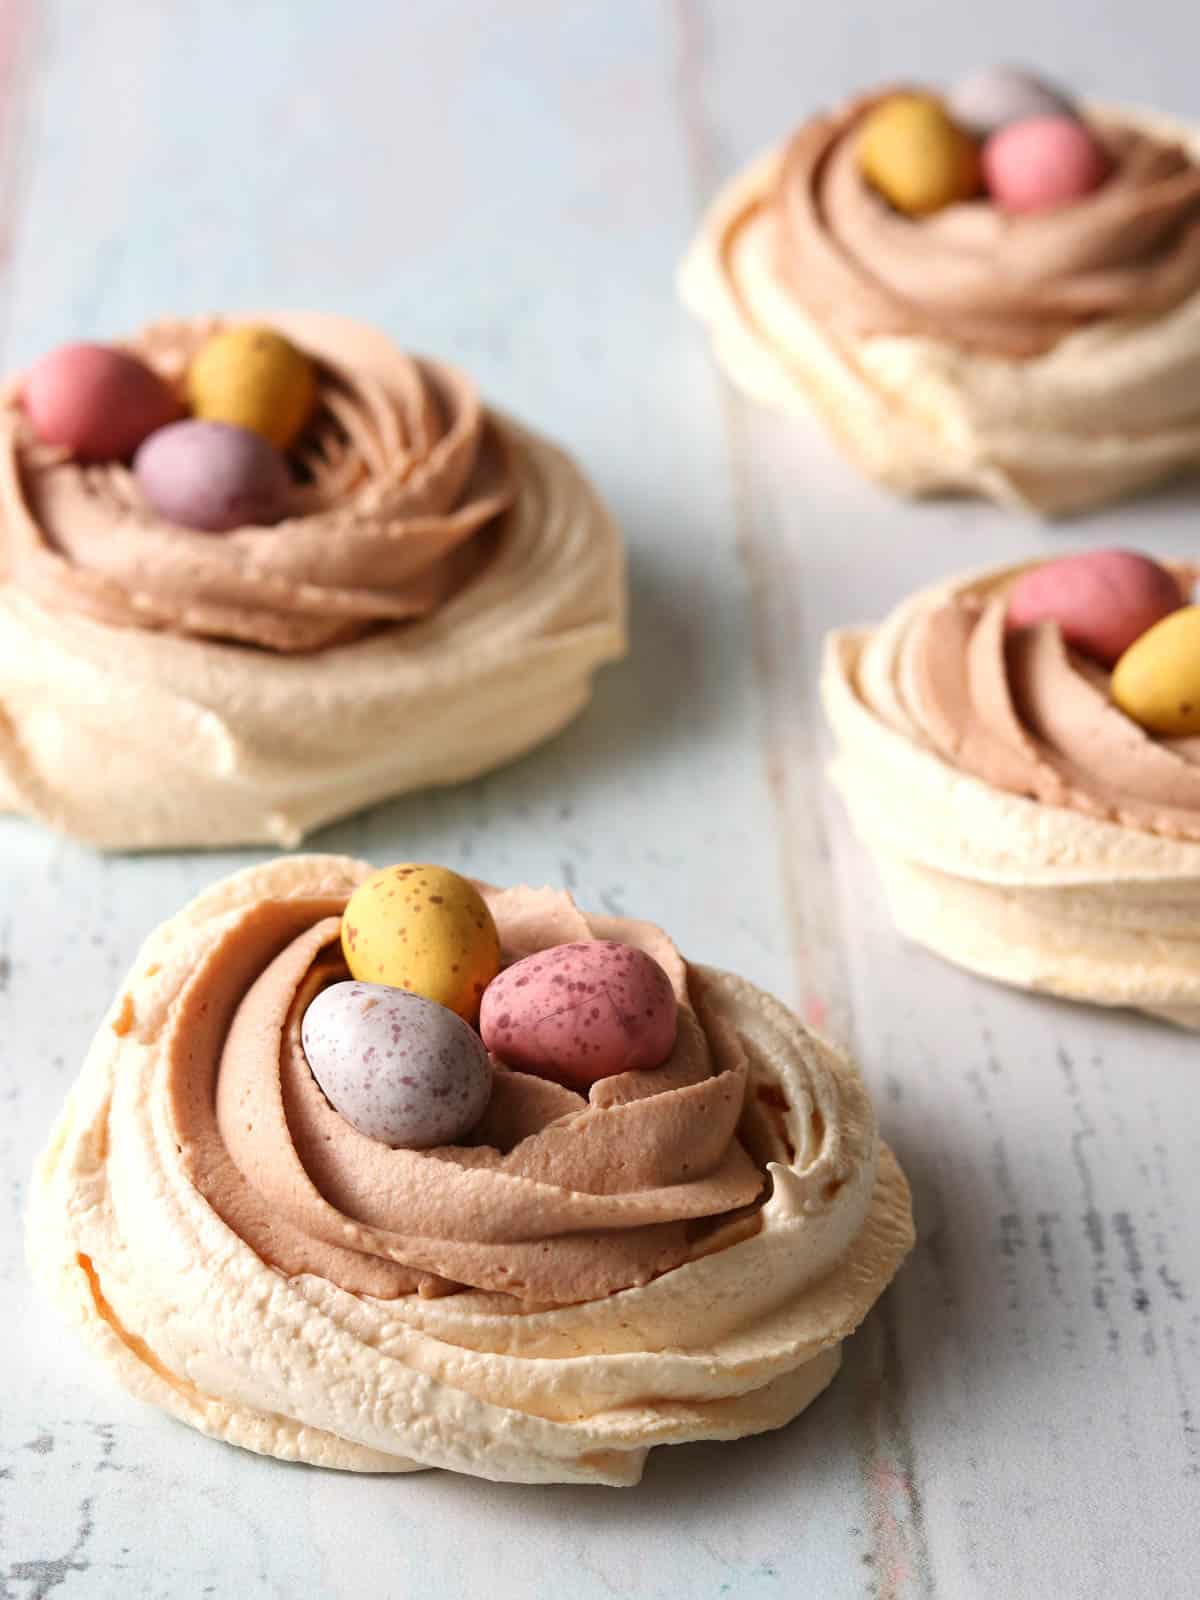
Everyone is going to love these cute little Easter meringue nests. Homemade meringues topped with delicious chocolate whipped cream and topped with mini eggs.
They're easy to make once you master the piping. And they look impressive.
Here, I am using a traditional way of making meringues, using an electric hand-held whisk. However, if you have a Thermomix, I recommend trying my Thermomix Meringue recipe to make these - it's even easier!
Looking for recipes to use up the egg yolks? I can recommend making my Thermomix Custard or Thermomix Hollandaise Sauce.
Jump to:
Why you'll love this recipe
- They are cute AND delicious.
- The kids will love them.
- They are perfect for an Easter afternoon tea or picnic.
- You can change it up for different seasons - fill it with whipped cream and berries for summer, or sprinkle with heart-shaped sprinkles for Valentine's Day.
Ingredients

For the meringues:
- Egg whites - make sure you are very careful when you separate the eggs. the slightest speck of egg yolk in the whites can stop them from whisking properly.
- Caster sugar
- Vanilla extract
For the chocolate whipped cream:
- Thickened cream - make sure the cream you use is suitable for whipping.
- Caster Sugar
- Cocoa Powder
- Vanilla Extract
To decorate:
- Mini chocolate eggs
Essentially there are two basic ingredients for meringue - egg whites and sugar. I like to add a teaspoon of vanilla too for added flavour.
Many people also add vinegar and cornflour or cream of tartar when making meringues. I have experimented both with and without the vinegar and cornflour, and I haven't found much difference so I usually just leave it out.
If I am making a pavlova, then I do use vinegar and cornflour, as I think it's more important to have that soft and sticky middle.
How to Make Meringue Nests
There are a few steps to making these meringue nests.
Step 1: Make the Meringue Mixture
Separate the egg whites into a large bowl. Be very careful not to get any egg yolk in with the egg white, or it will not whisk properly.
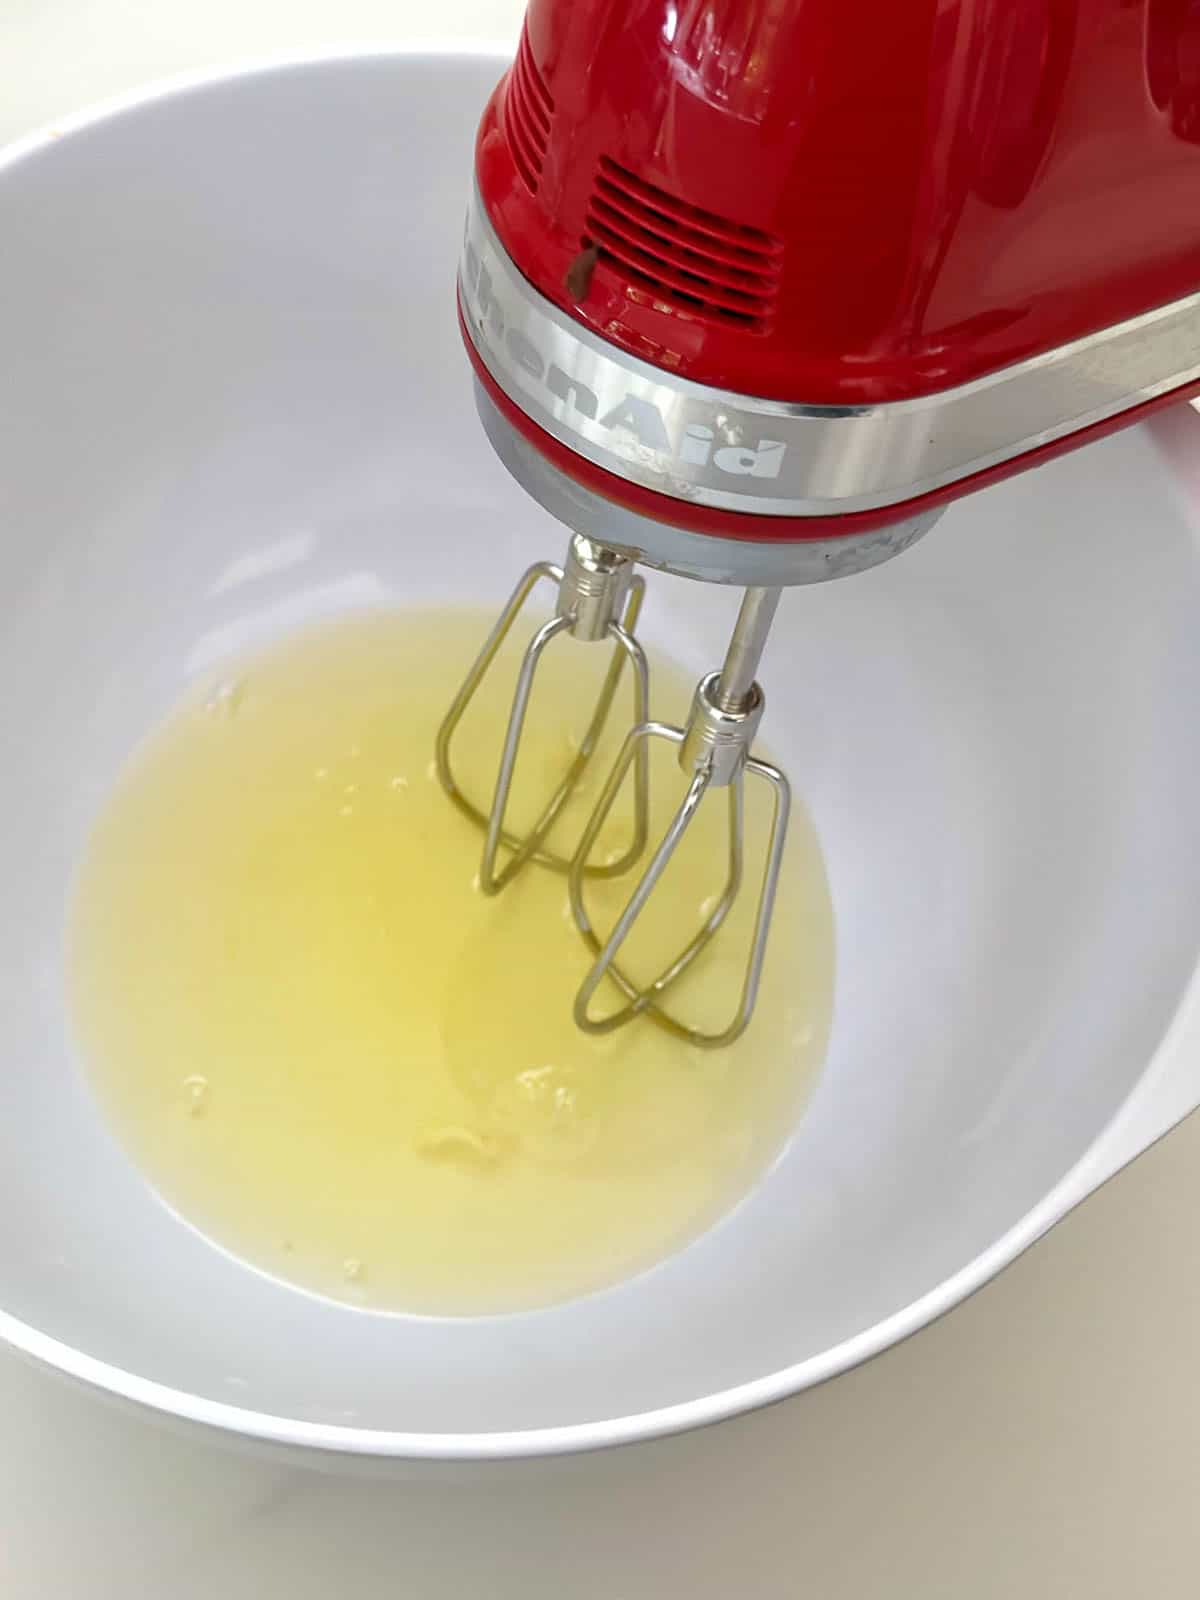
Top Tip: When I do this, I separate them individually into another small bowl first and then transfer each egg white as I go. This means that if one of the egg yolks breaks, I have only ruined that one egg, not all the others in the bowl.
Use an electric whisk to whisk the eggs until they are completely white and fluffy. You will know they are ready when you can turn the bowl upside down and they doesn't slide out.
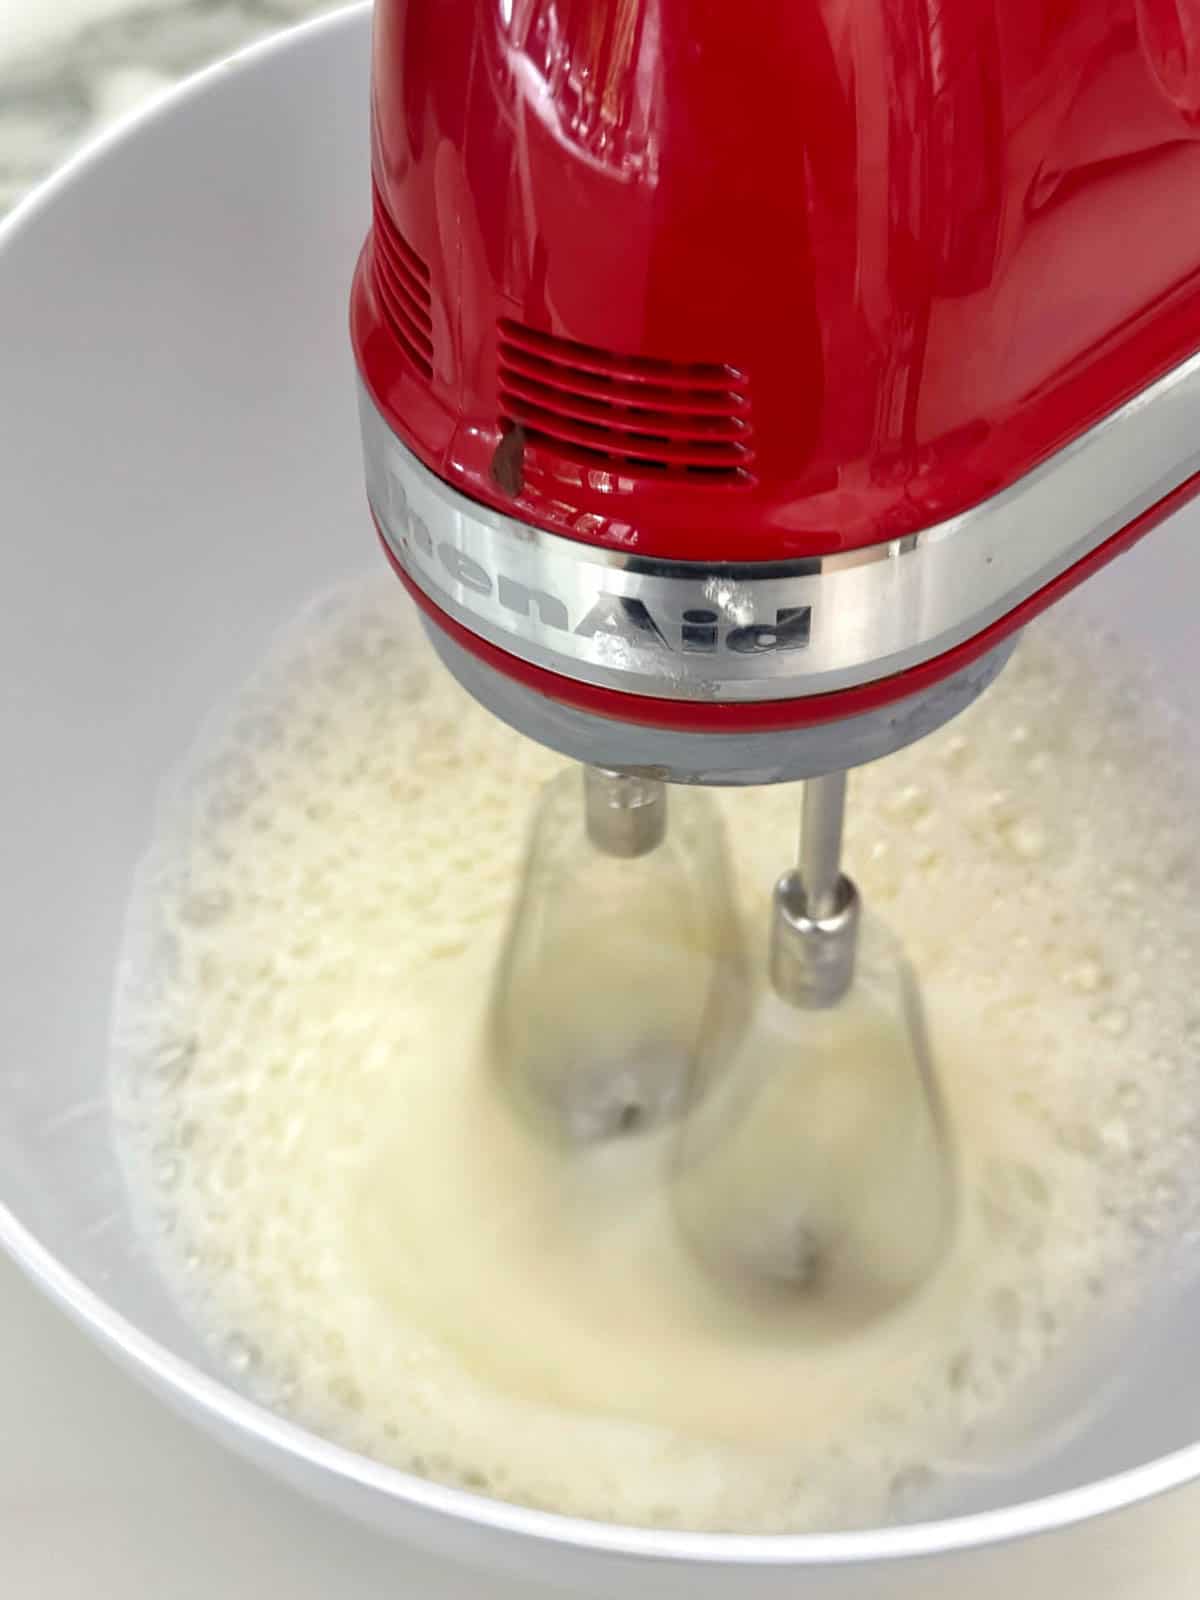
Next, slowly - one tablespoon at a time - add the sugar. Whisk for a few seconds after each spoonful to ensure it is incorporated before adding the next spoonful. Continue doing this until all the sugar has been used up.
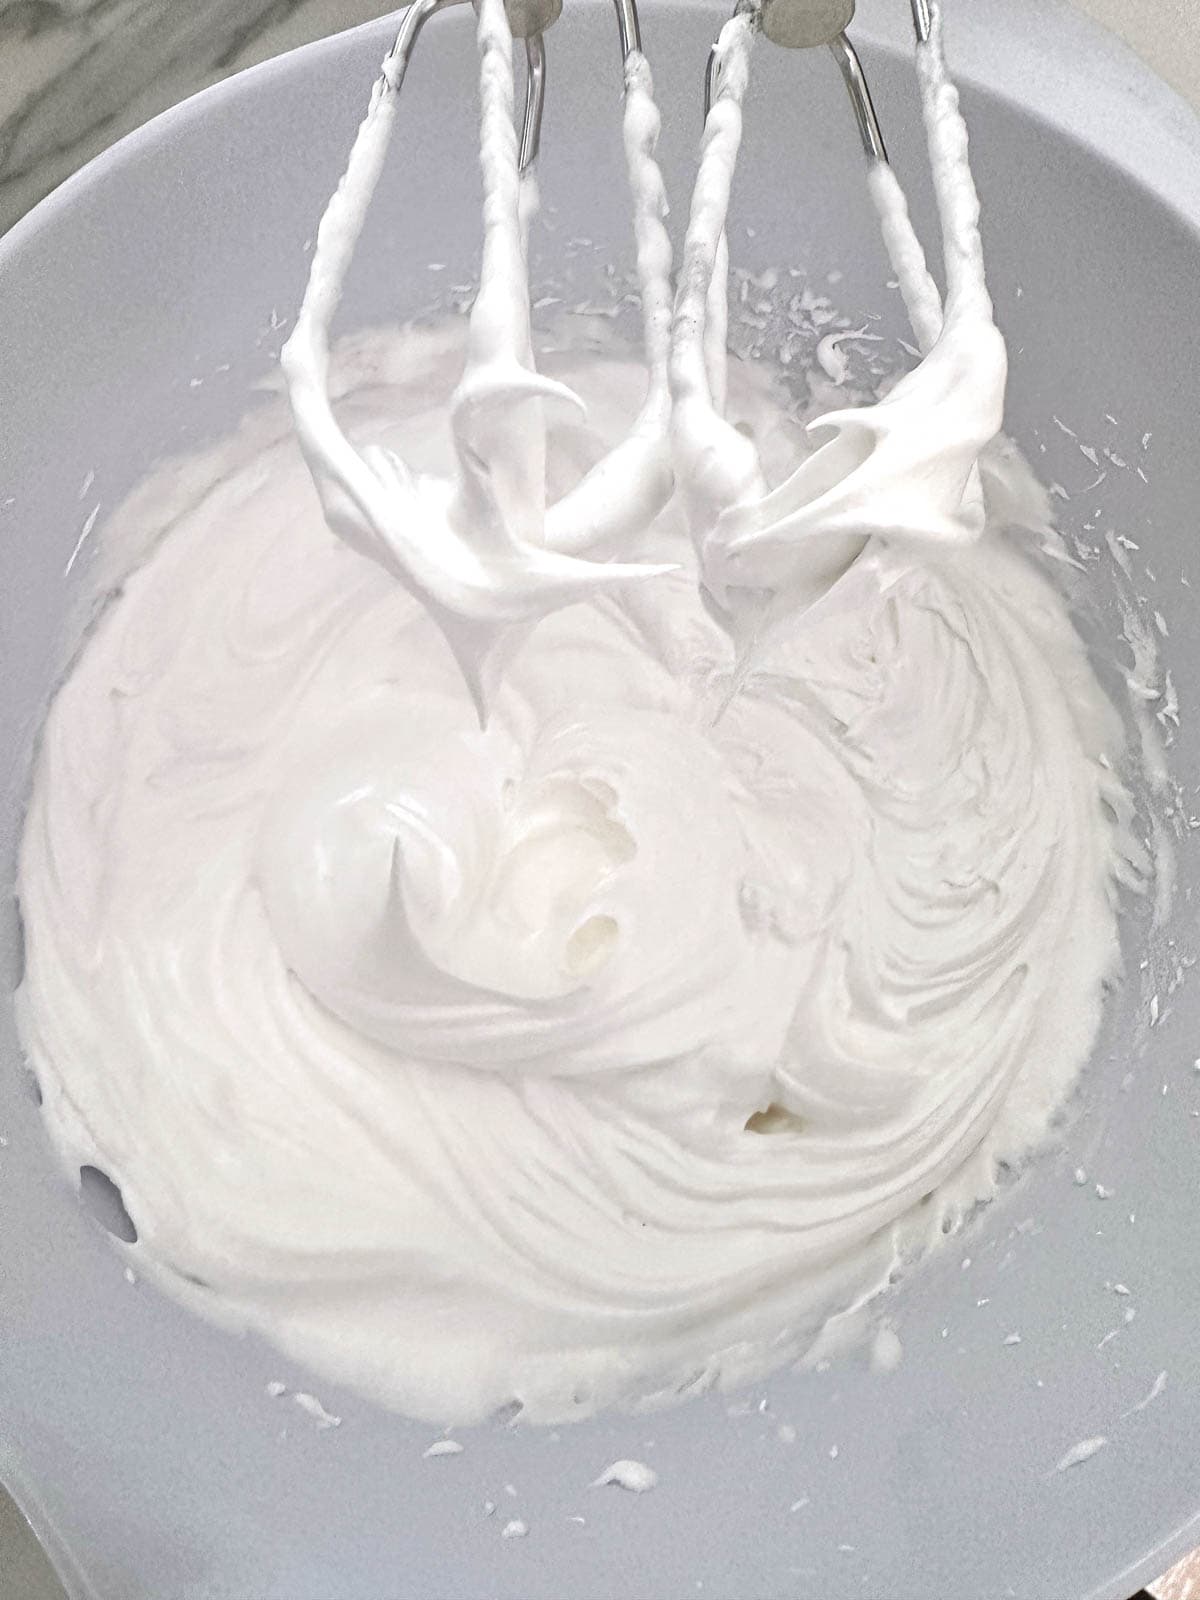
The meringue mixture should be white, smooth and glossy.
Step 2: Pipe the Meringues
Now transfer the meringue mixture to a piping bag. Make sure you have a large piping bag and use a large piping tip. I use a Wilton 1M (star tip).
Line a baking tray with baking paper. This will prevent the meringues from sticking to the tray. They are easy to peel off once they are cooked.

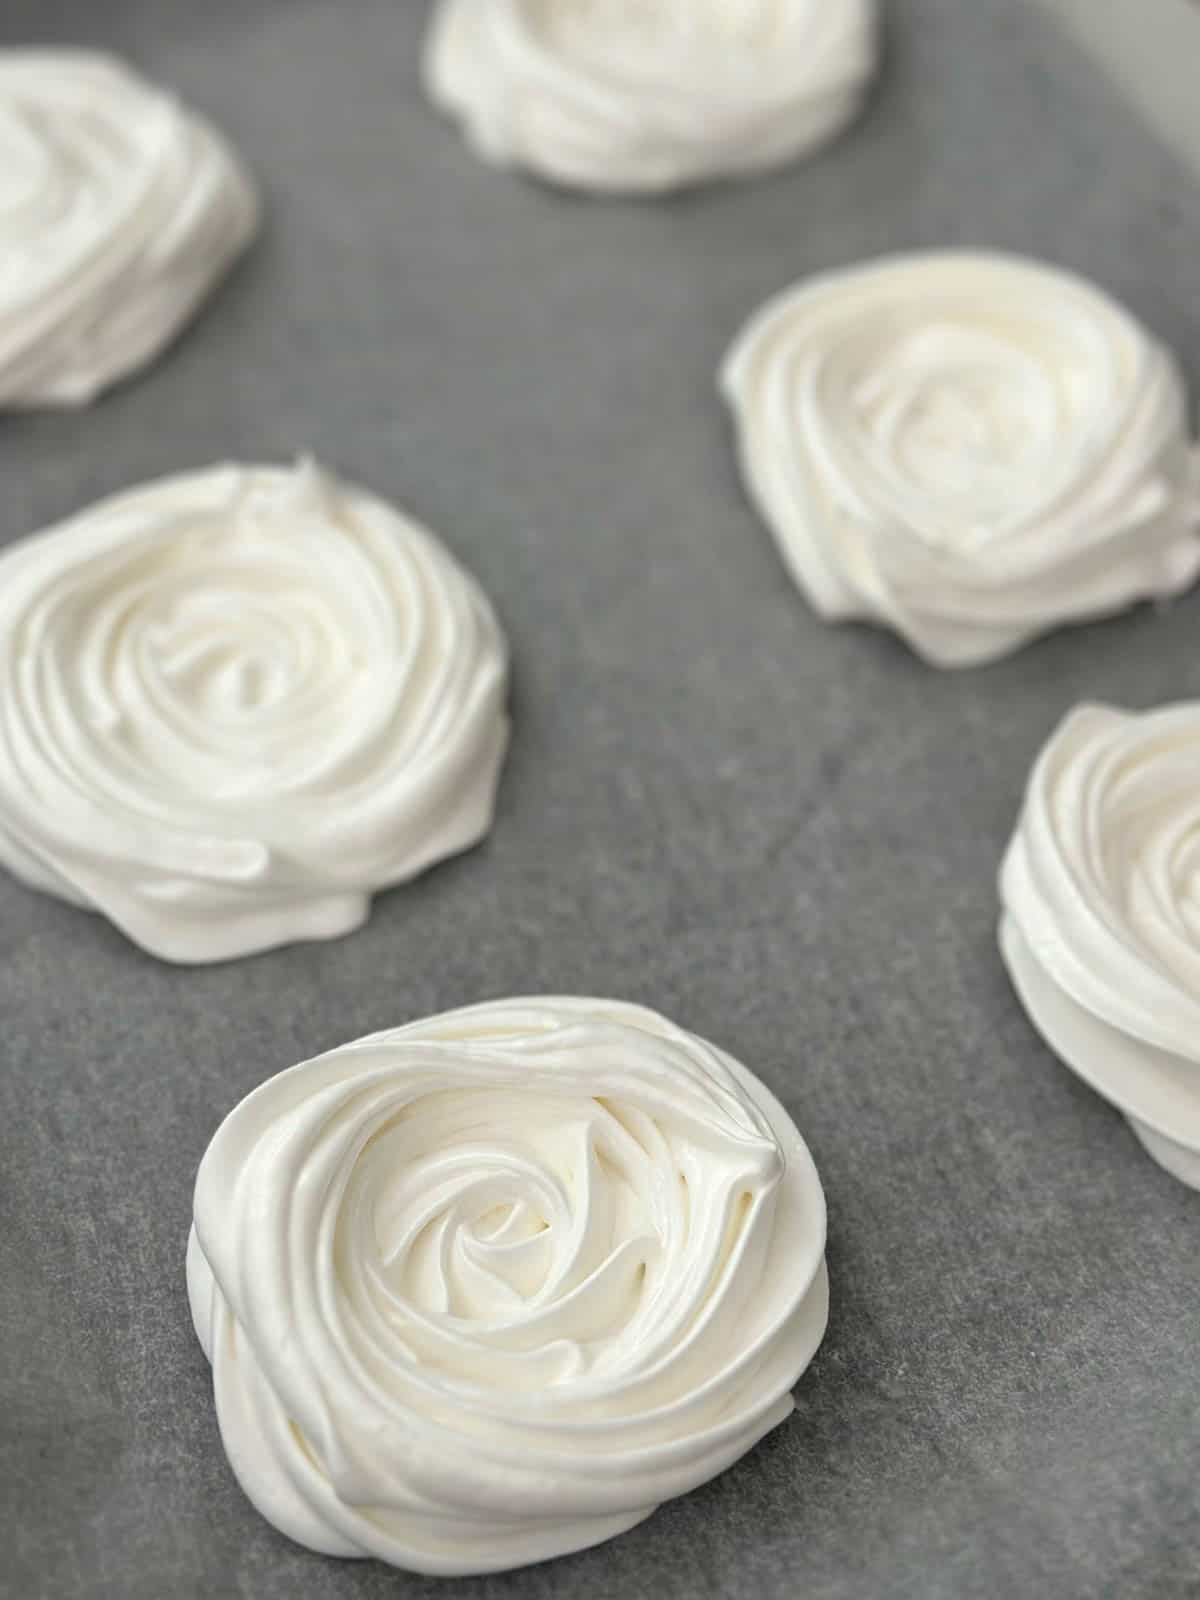
When piping these Easter nests, start from the inside and pipe around in a circle shape, working your way outwards. This is different from how you would normally pipe a meringue, where you would start on the outside and work your way in and up.
This is because here we want the outside to be higher than the inside, so it is shaped like a nest with room for the whipped cream on the inside.
Step 3: Cook the Meringues
Now they go into a low oven for an hour and twenty minutes. Don't open the door while they are cooking!
Once the time is up, keep the door closed and leave the meringues in the oven until they are completely cool.
Step 4: Make the Chocolate Whipped Cream
To make the chocolate whipped cream, place all the ingredients into a large bowl.
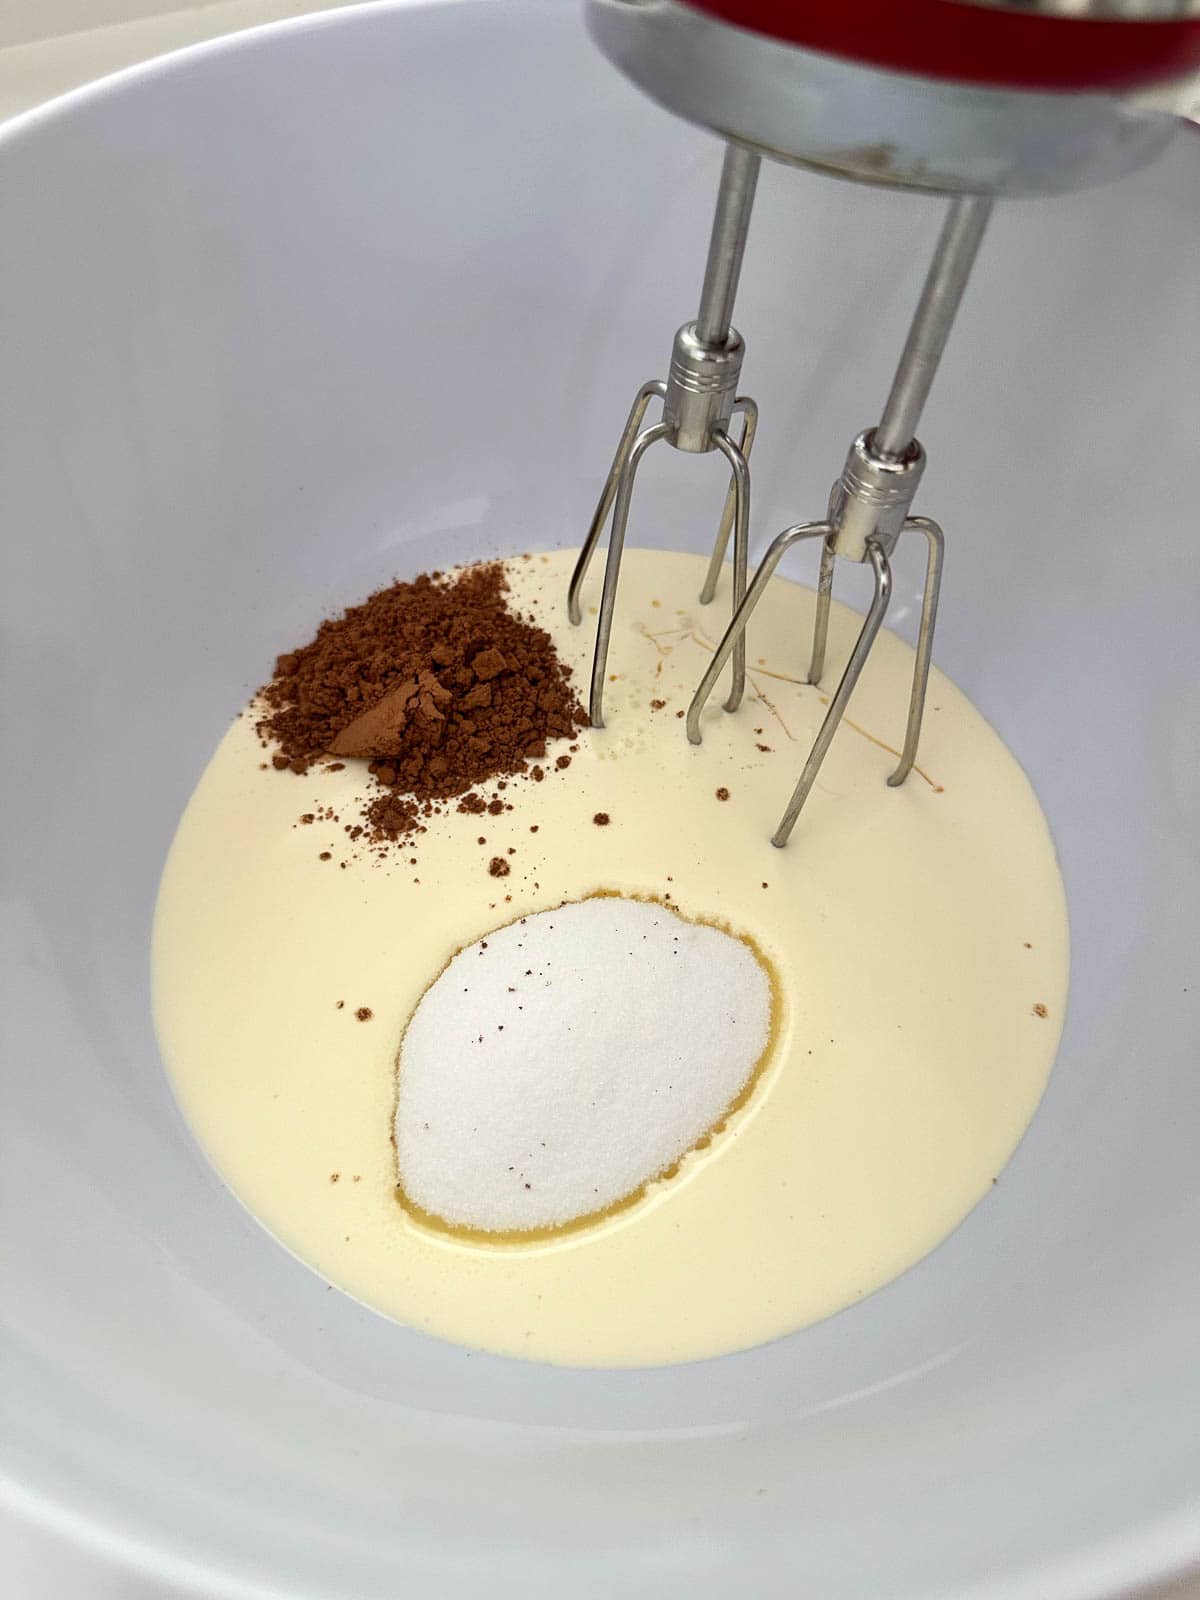
Then mix together using your electric whisk. Start slow (or you will end up with cocoa powder all over your kitchen) and increase the speed as the ingredients come together.
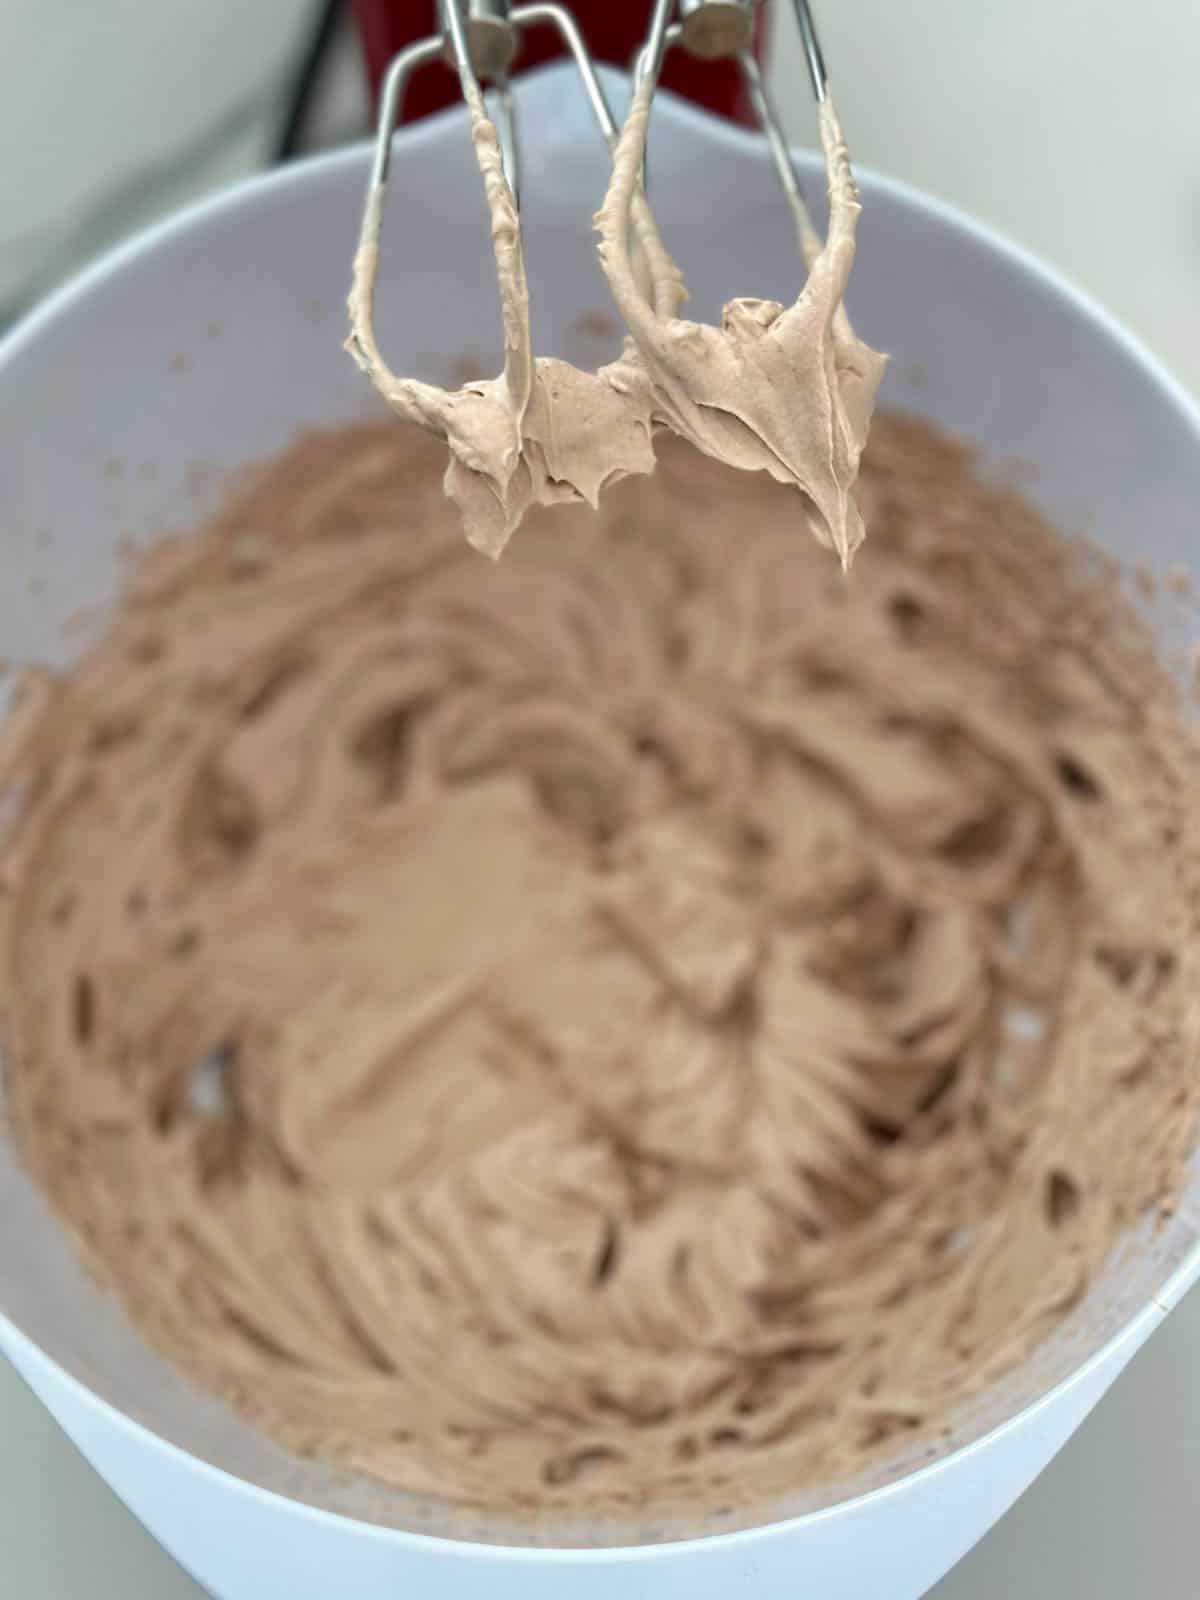
Once mixed together, continue to whisk on a high speed until stiff peaks form.
Step 5: Pipe the Whipped Cream and decorate
Transfer the buttercream to a large piping bag. Using the large piping tip again (Wilton 1M star tip) pipe the cream onto the meringues.
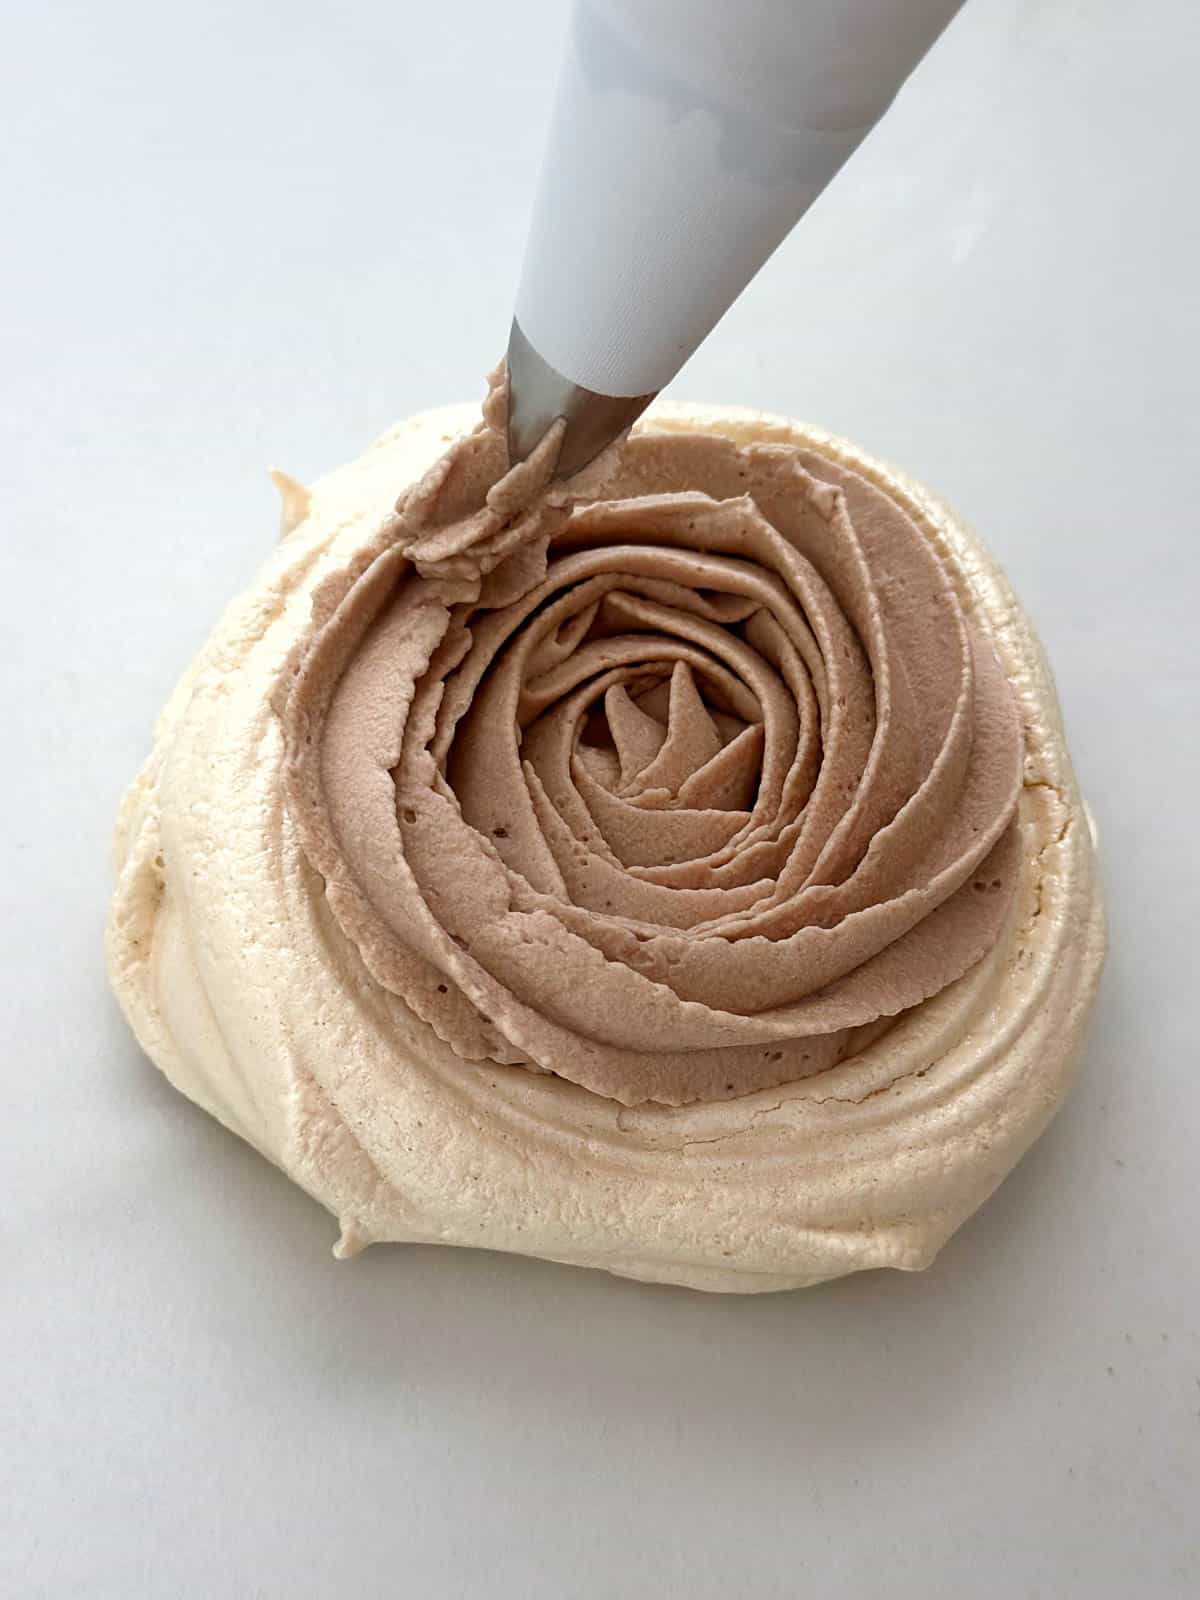
Use the same technique as before - start on the inside and work your way outwards.
Then you can decorate with a few mini eggs, and you're done!
Top Tips for Making Meringues
Meringue making is really not that difficult but there are a few rules you should follow to ensure perfect meringues. Here are my top tips:
- Make sure your bowl is completely clean and dry before starting.
- Egg whites whisk best when they are at room temperature (but eggs are easier to separate when cold from the fridge).
- Be very careful when you separate the eggs. The slightest speck of egg yolk in the whites will stop them from whisking properly.
- Add the sugar slowly - one spoonful at a time.
- If possible, try to avoid overly humid days for making meringues.
- Bake meringues at a low oven temperature.
- Leave them in the oven to cool completely.

Love Meringues? You may also like these recipes:
Did you try this recipe? Please leave me a ⭐ review below!
Don’t forget to tag me on Instagram @mamalovestocookblog and follow along on Pinterest and Facebook! Enjoy!!!
Easter Meringue Nests
Equipment
- 1 Wilton Icing Tip, X-Large
- Baking tray
- baking paper
Ingredients
For the meringues
- 4 egg whites
- 220 g caster sugar
- 1 tsp vanilla extract
For the chocolate whipped cream
- 300 ml thickened cream (suitable for whipping)
- 50 g caster sugar
- 1 tablespoon cocoa powder
- 1 teaspoon vanilla extract
To decorate
- 36 mini eggs
Instructions
To make the meringues
- Pre-heat the oven to 100 C / 210F. Line two baking sheets with baking paper.
- Separate the egg whites into a large bowl. Be very careful not to get any egg yolk in with the egg white, or it will not whisk properly.
- Use an electric whisk to whisk the eggs until they are completely white and fluffy. You will know they are ready when you can turn the bowl upside down, and they don't slide out.
- Add the vanilla extract.
- Now slowly - one tablespoon at a time - add the sugar. Whisk for a few seconds after each spoonful to ensure it is incorporated before adding the next spoonful. Continue doing this until all the sugar has been used up. The meringue mixture should be white, smooth and glossy.
- Transfer the meringue mixture to a piping bag. Make sure you have a large piping bag and use a large piping tip. I use a Wilton 1M (star tip).
- On your baking tray, pipe circular nests - six per tray spaced out. Start from the inside and pipe around in a circle shape, working your way outwards. This will create a nest that is lower in the middle and higher on the outside edge.
- Bake in the oven for 1 hour and 20 minutes. Do not open the door during this time. Once the time is up, leave the door closed and leave the meringues in the oven until they are completely cool.
To make the chocolate whipped cream
- Add all the ingredients to the bowl.
- Use an electric whisk on a slow setting to combine the ingredients.
- Once they are combined, whisk on high until stiff peaks form.
To decorate
- Transfer the chocolate whipped cream to a piping bag with a large piping tip. Use the same technique as before to pipe the cream onto the meringue (start in the middle, move outwards)
- Top each nest with mini eggs and serve.
Notes
- Make sure your bowl is completely clean and dry before starting.
- Egg whites whisk best when they are at room temperature (but eggs are easier to separate when cold from the fridge).
- Be very careful when you separate the eggs. The slightest speck of egg yolk in the whites will stop them from whisking properly.
- Add the sugar slowly - one spoonful at a time.
- If possible, try to avoid overly humid days for making meringues.
- Bake meringues at a low oven temperature.
- Leave them in the oven to cool completely.





Leave a Reply